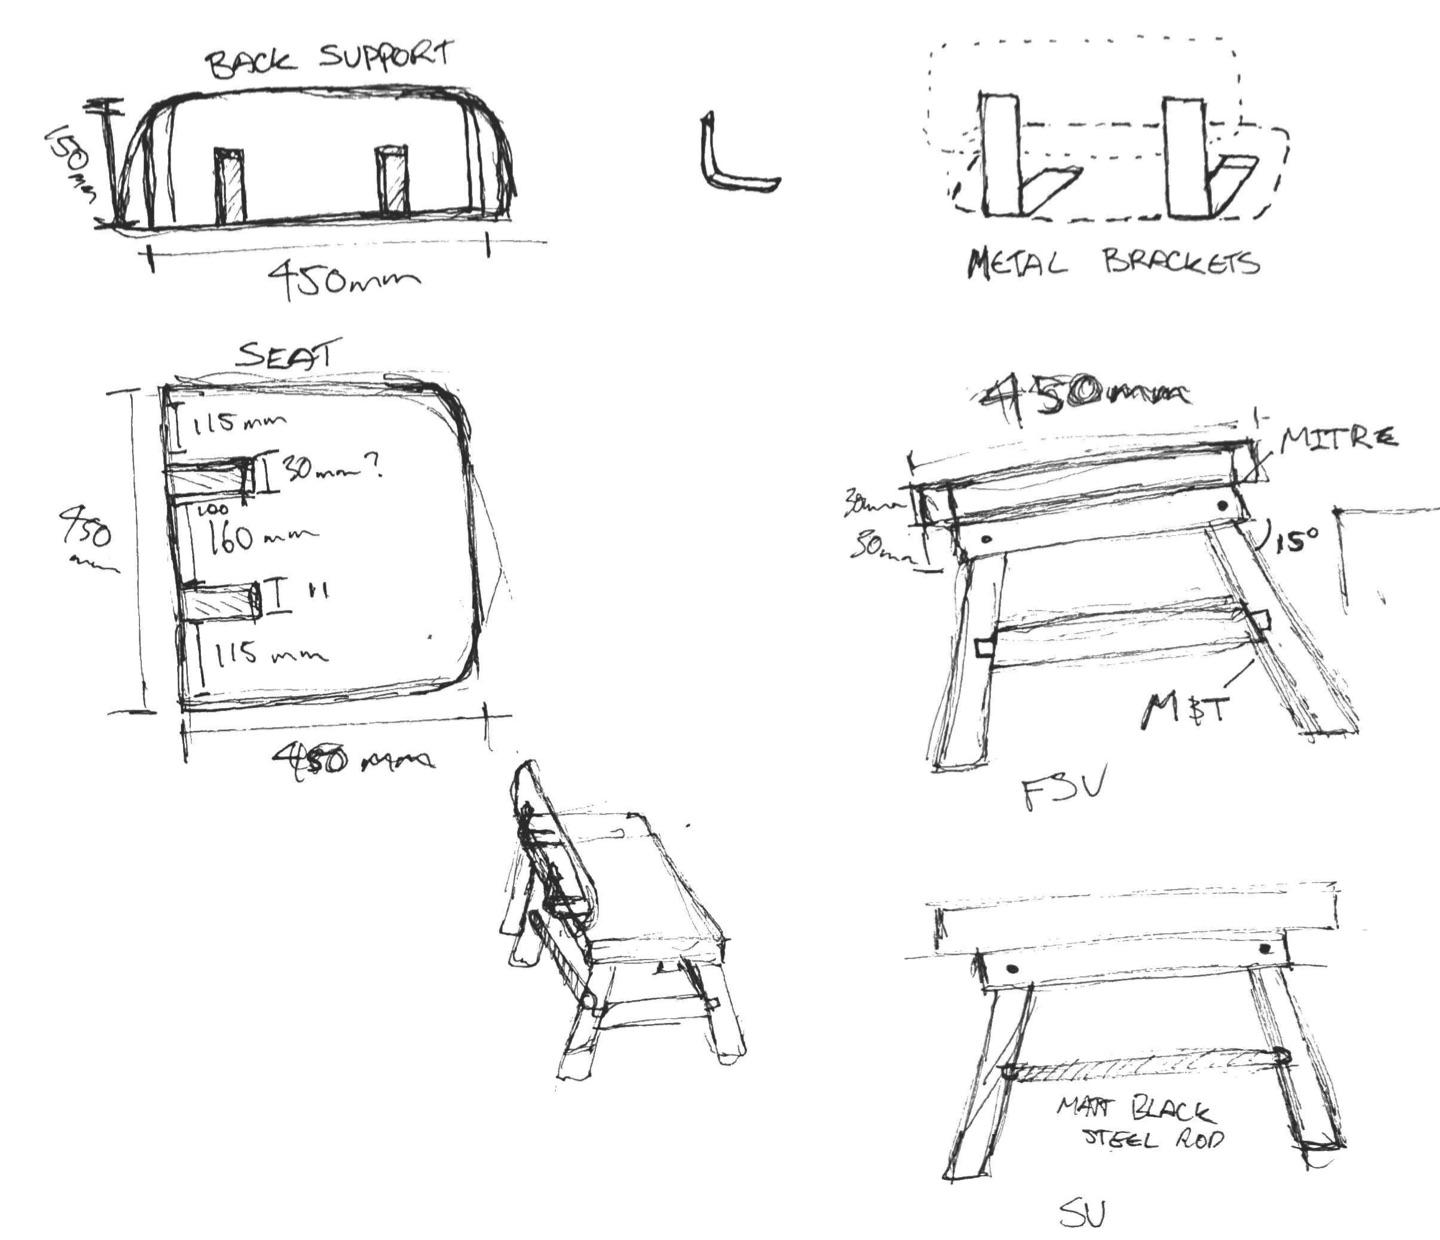
Step By Step Process
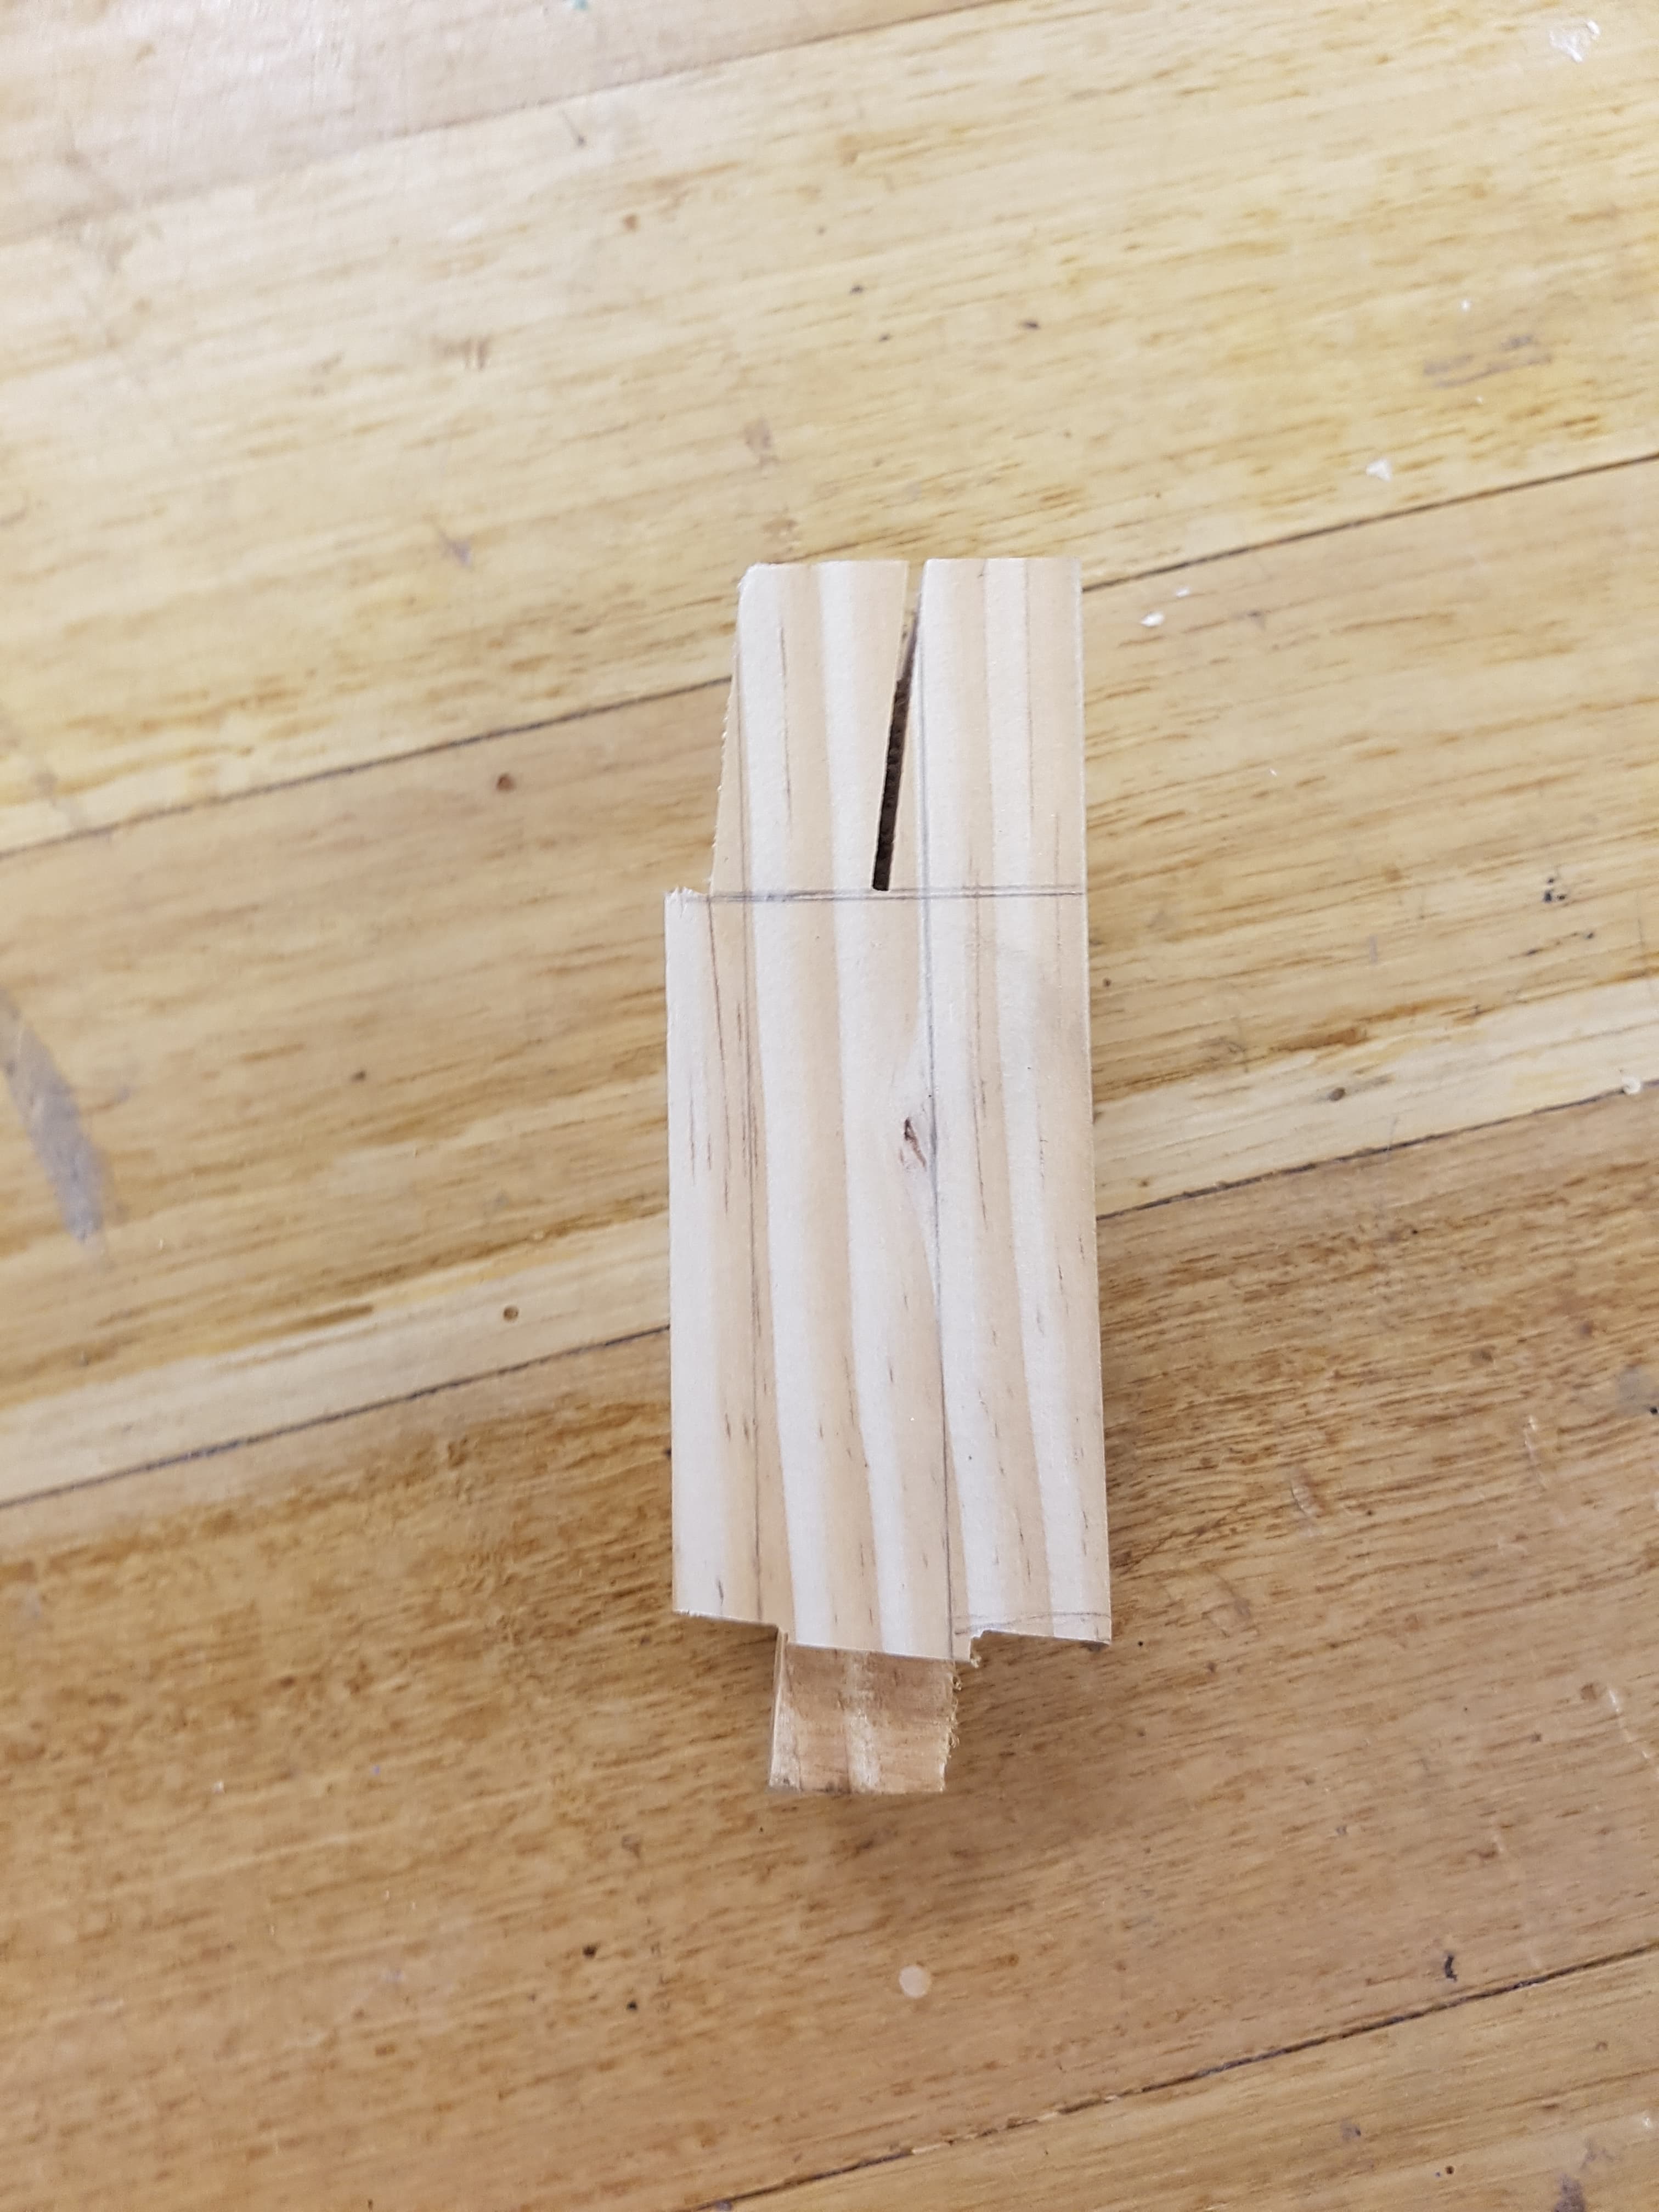
As I had decided to change the legs on my chair in order to incorporate an angle on the legs for stability, I decided to practice the angled tenon that would required in order to fit the mortise. I struggled with comprehending and visualising the angle and direction that would be required for the leg to butt into the corner of the chair frame.
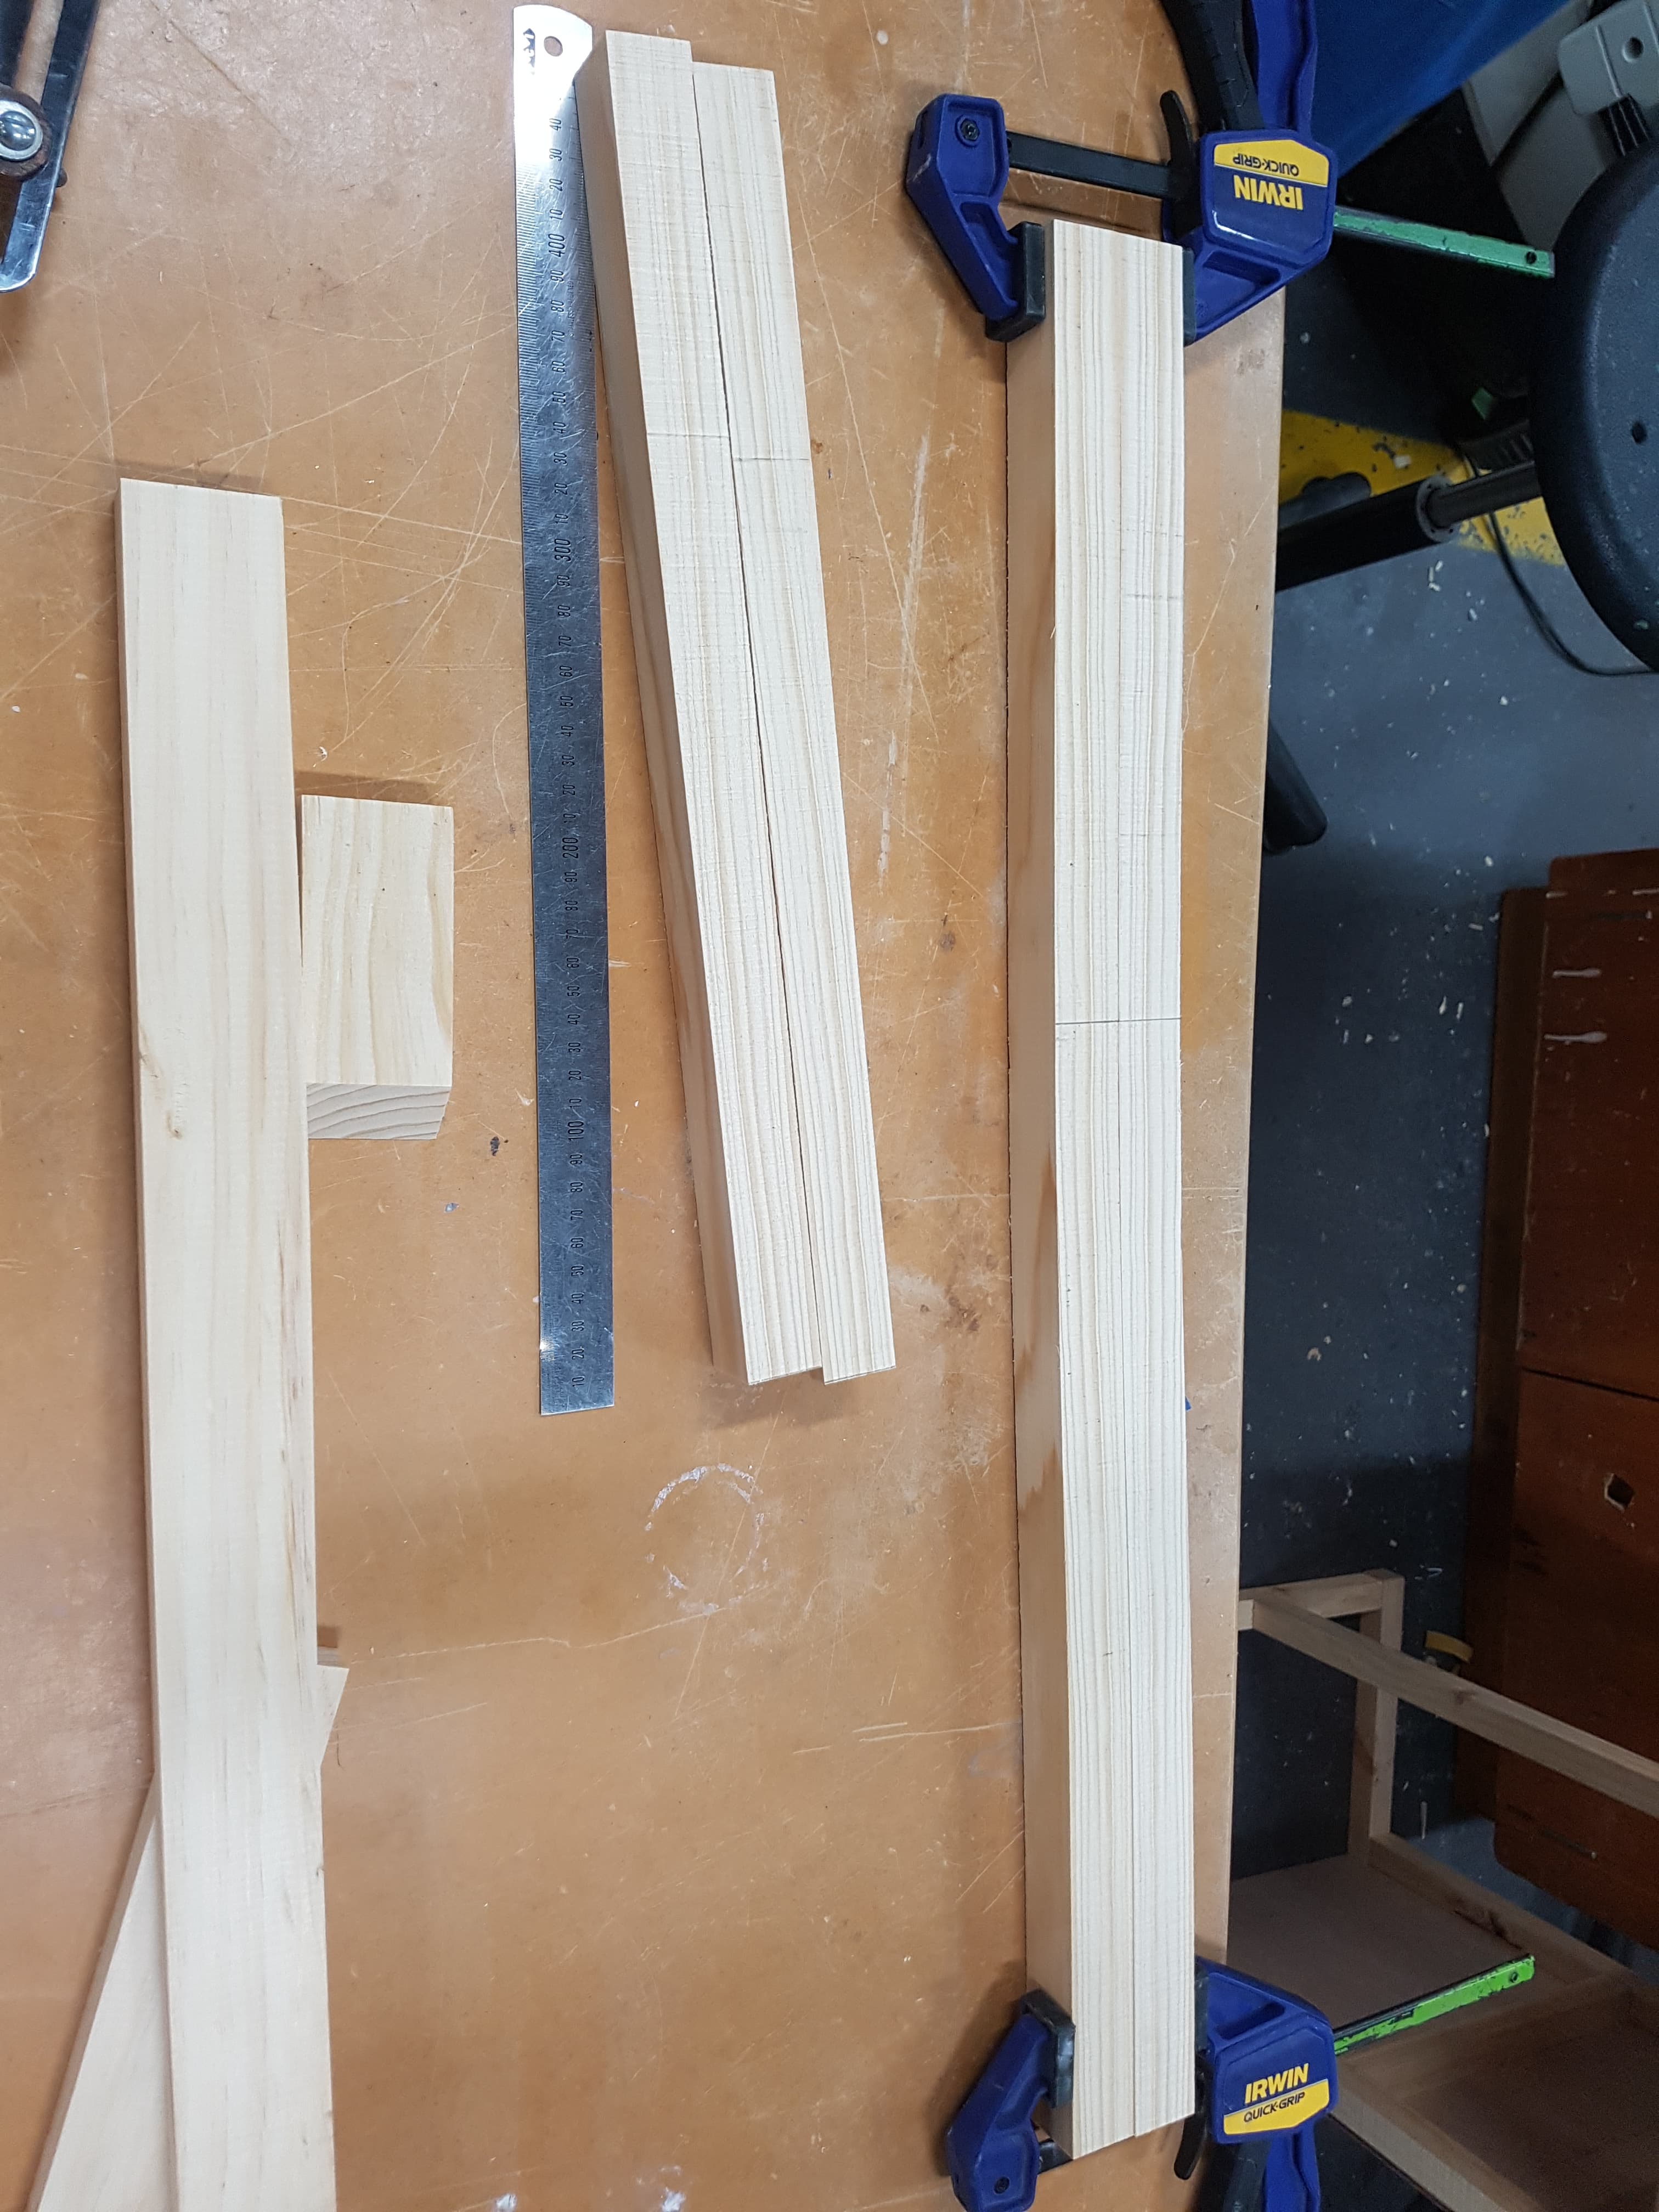
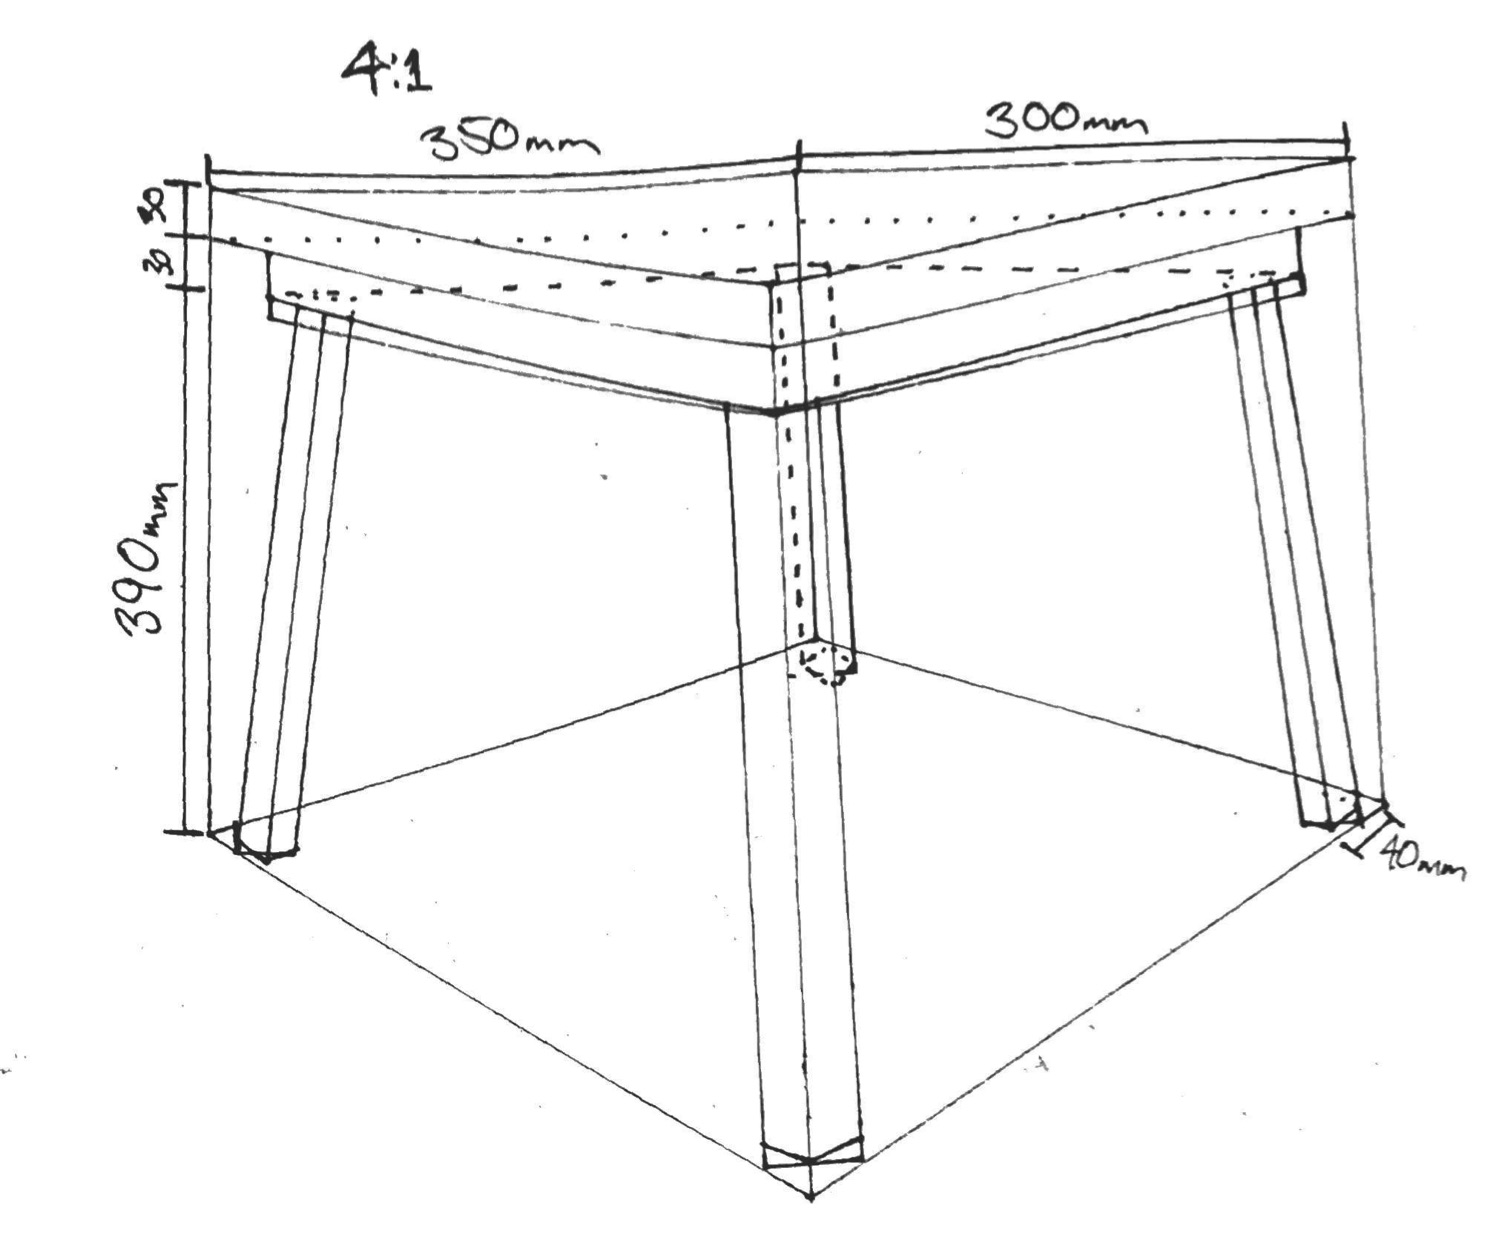
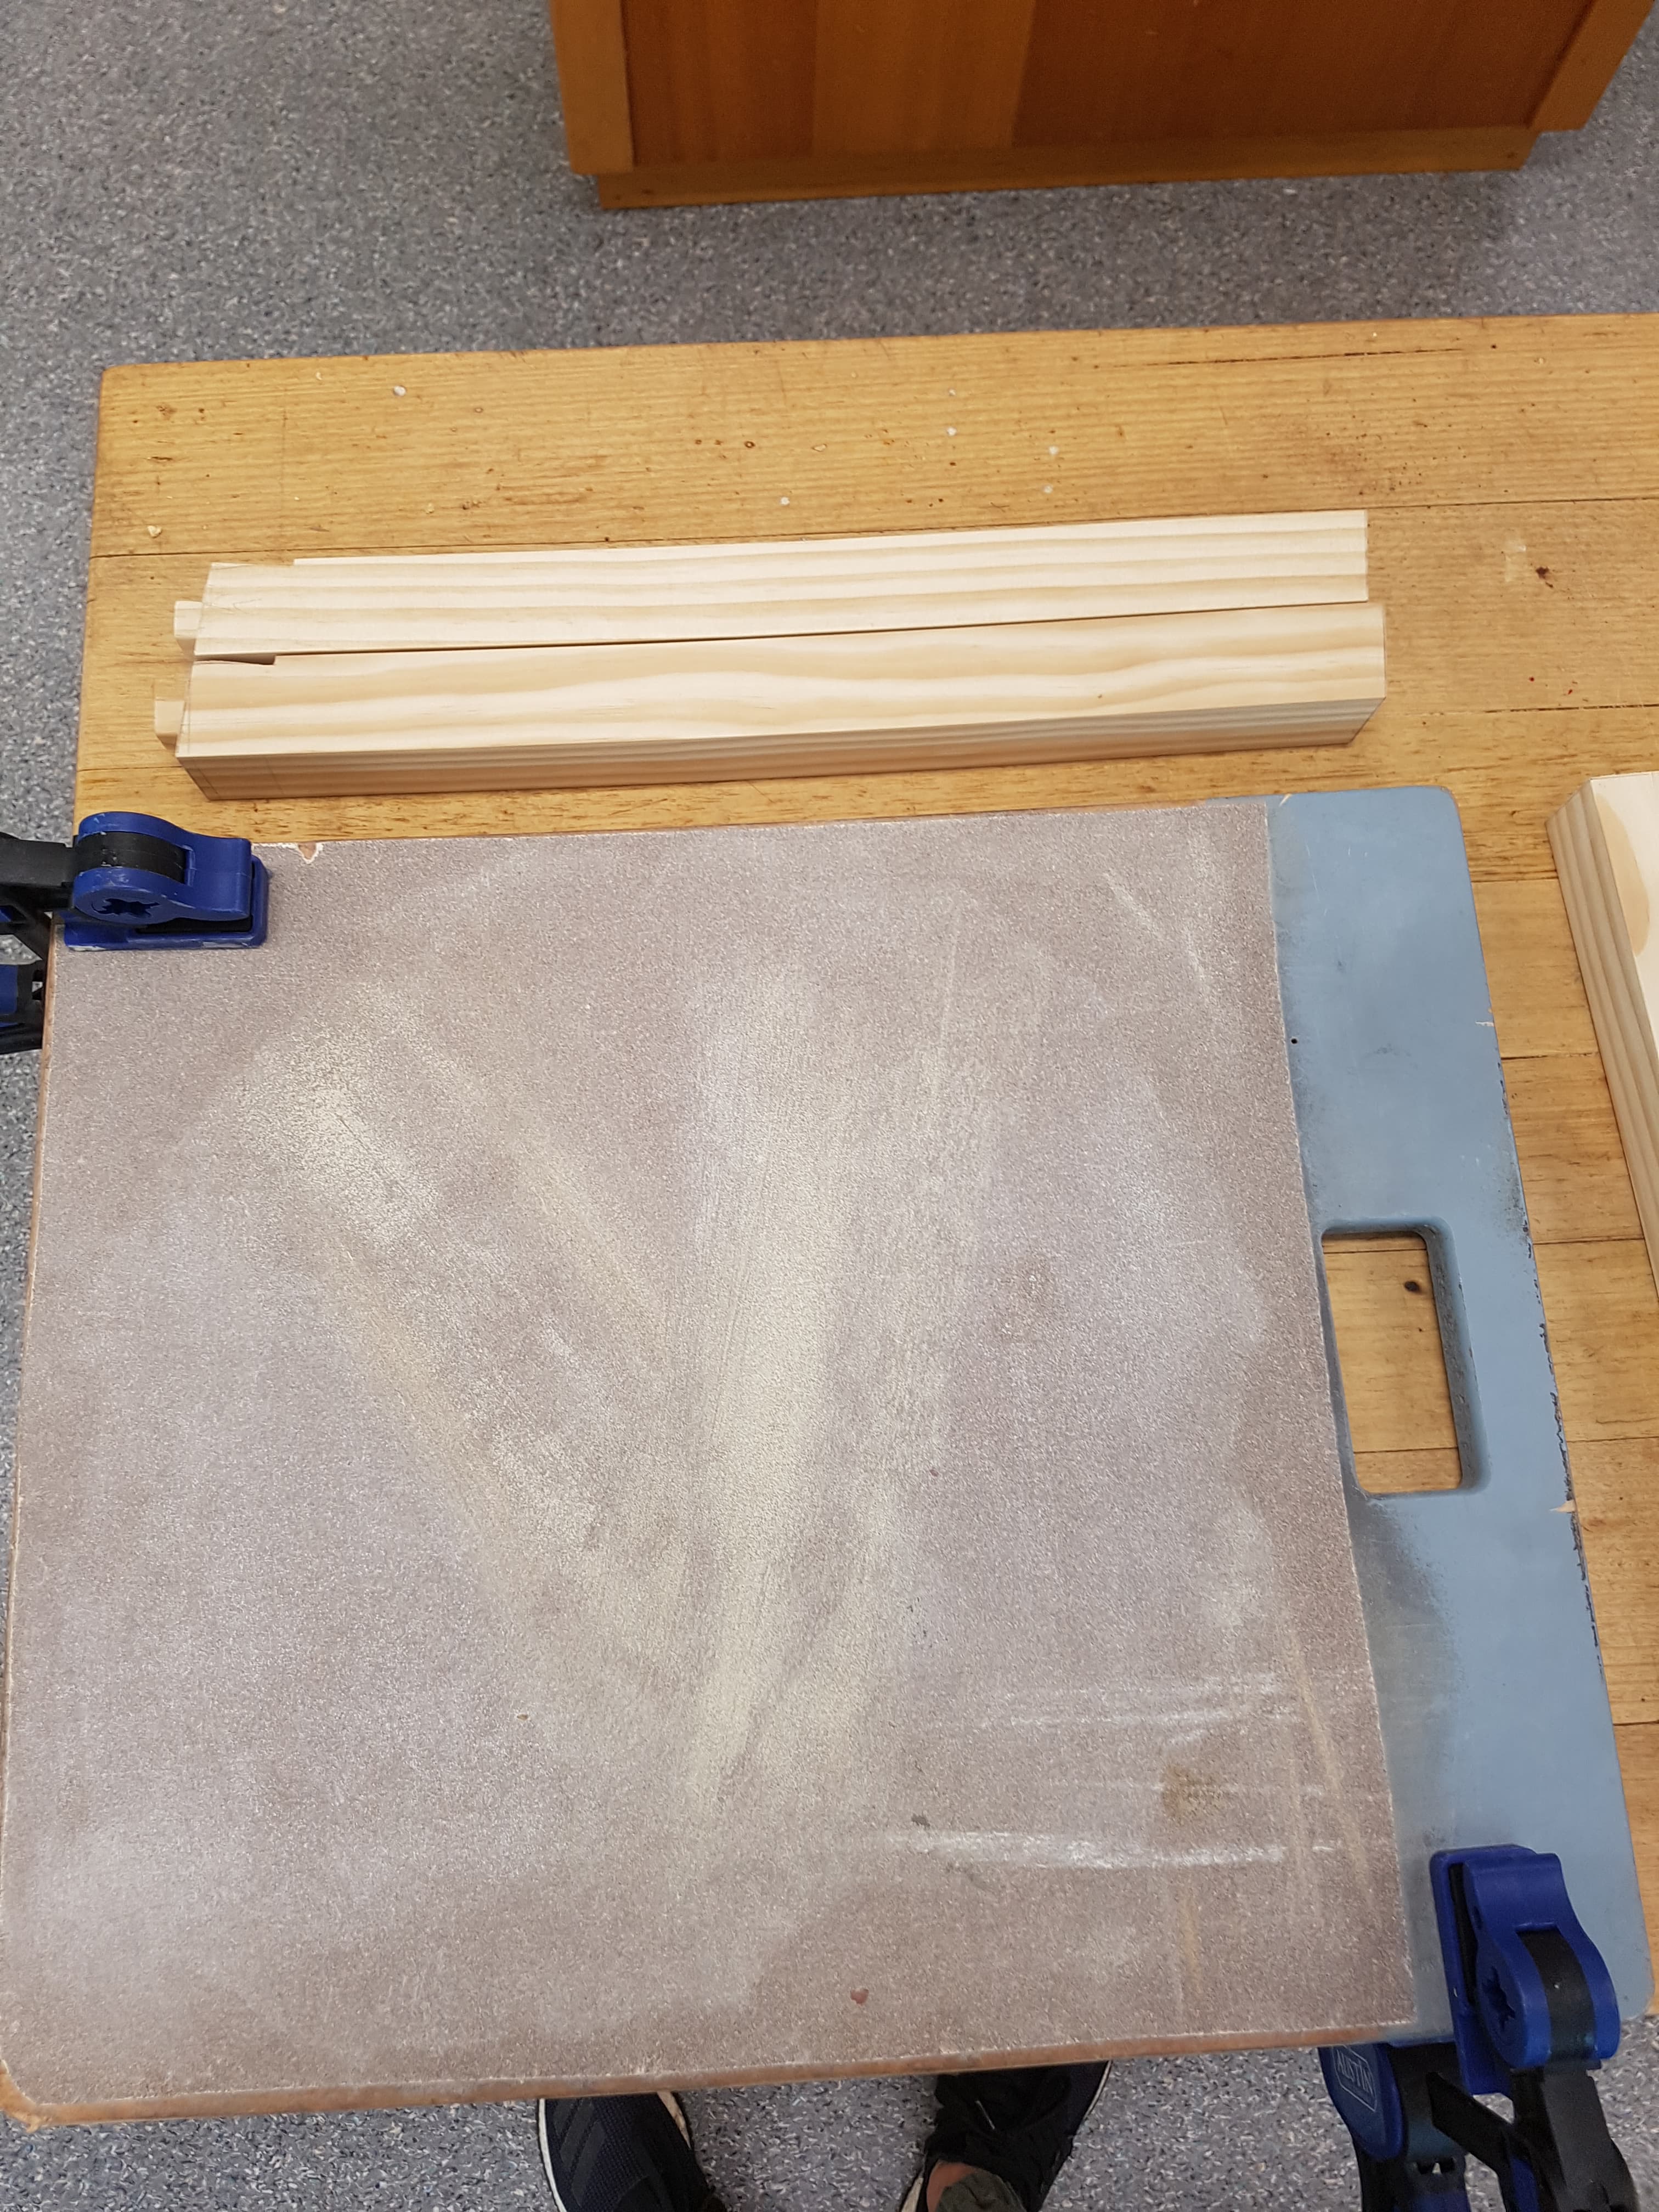
After figuring out the angles required for the tenons for two of the legs, the next step was to measure and cut the lengths of timber required both for the inside supporting frame and the stool legs.
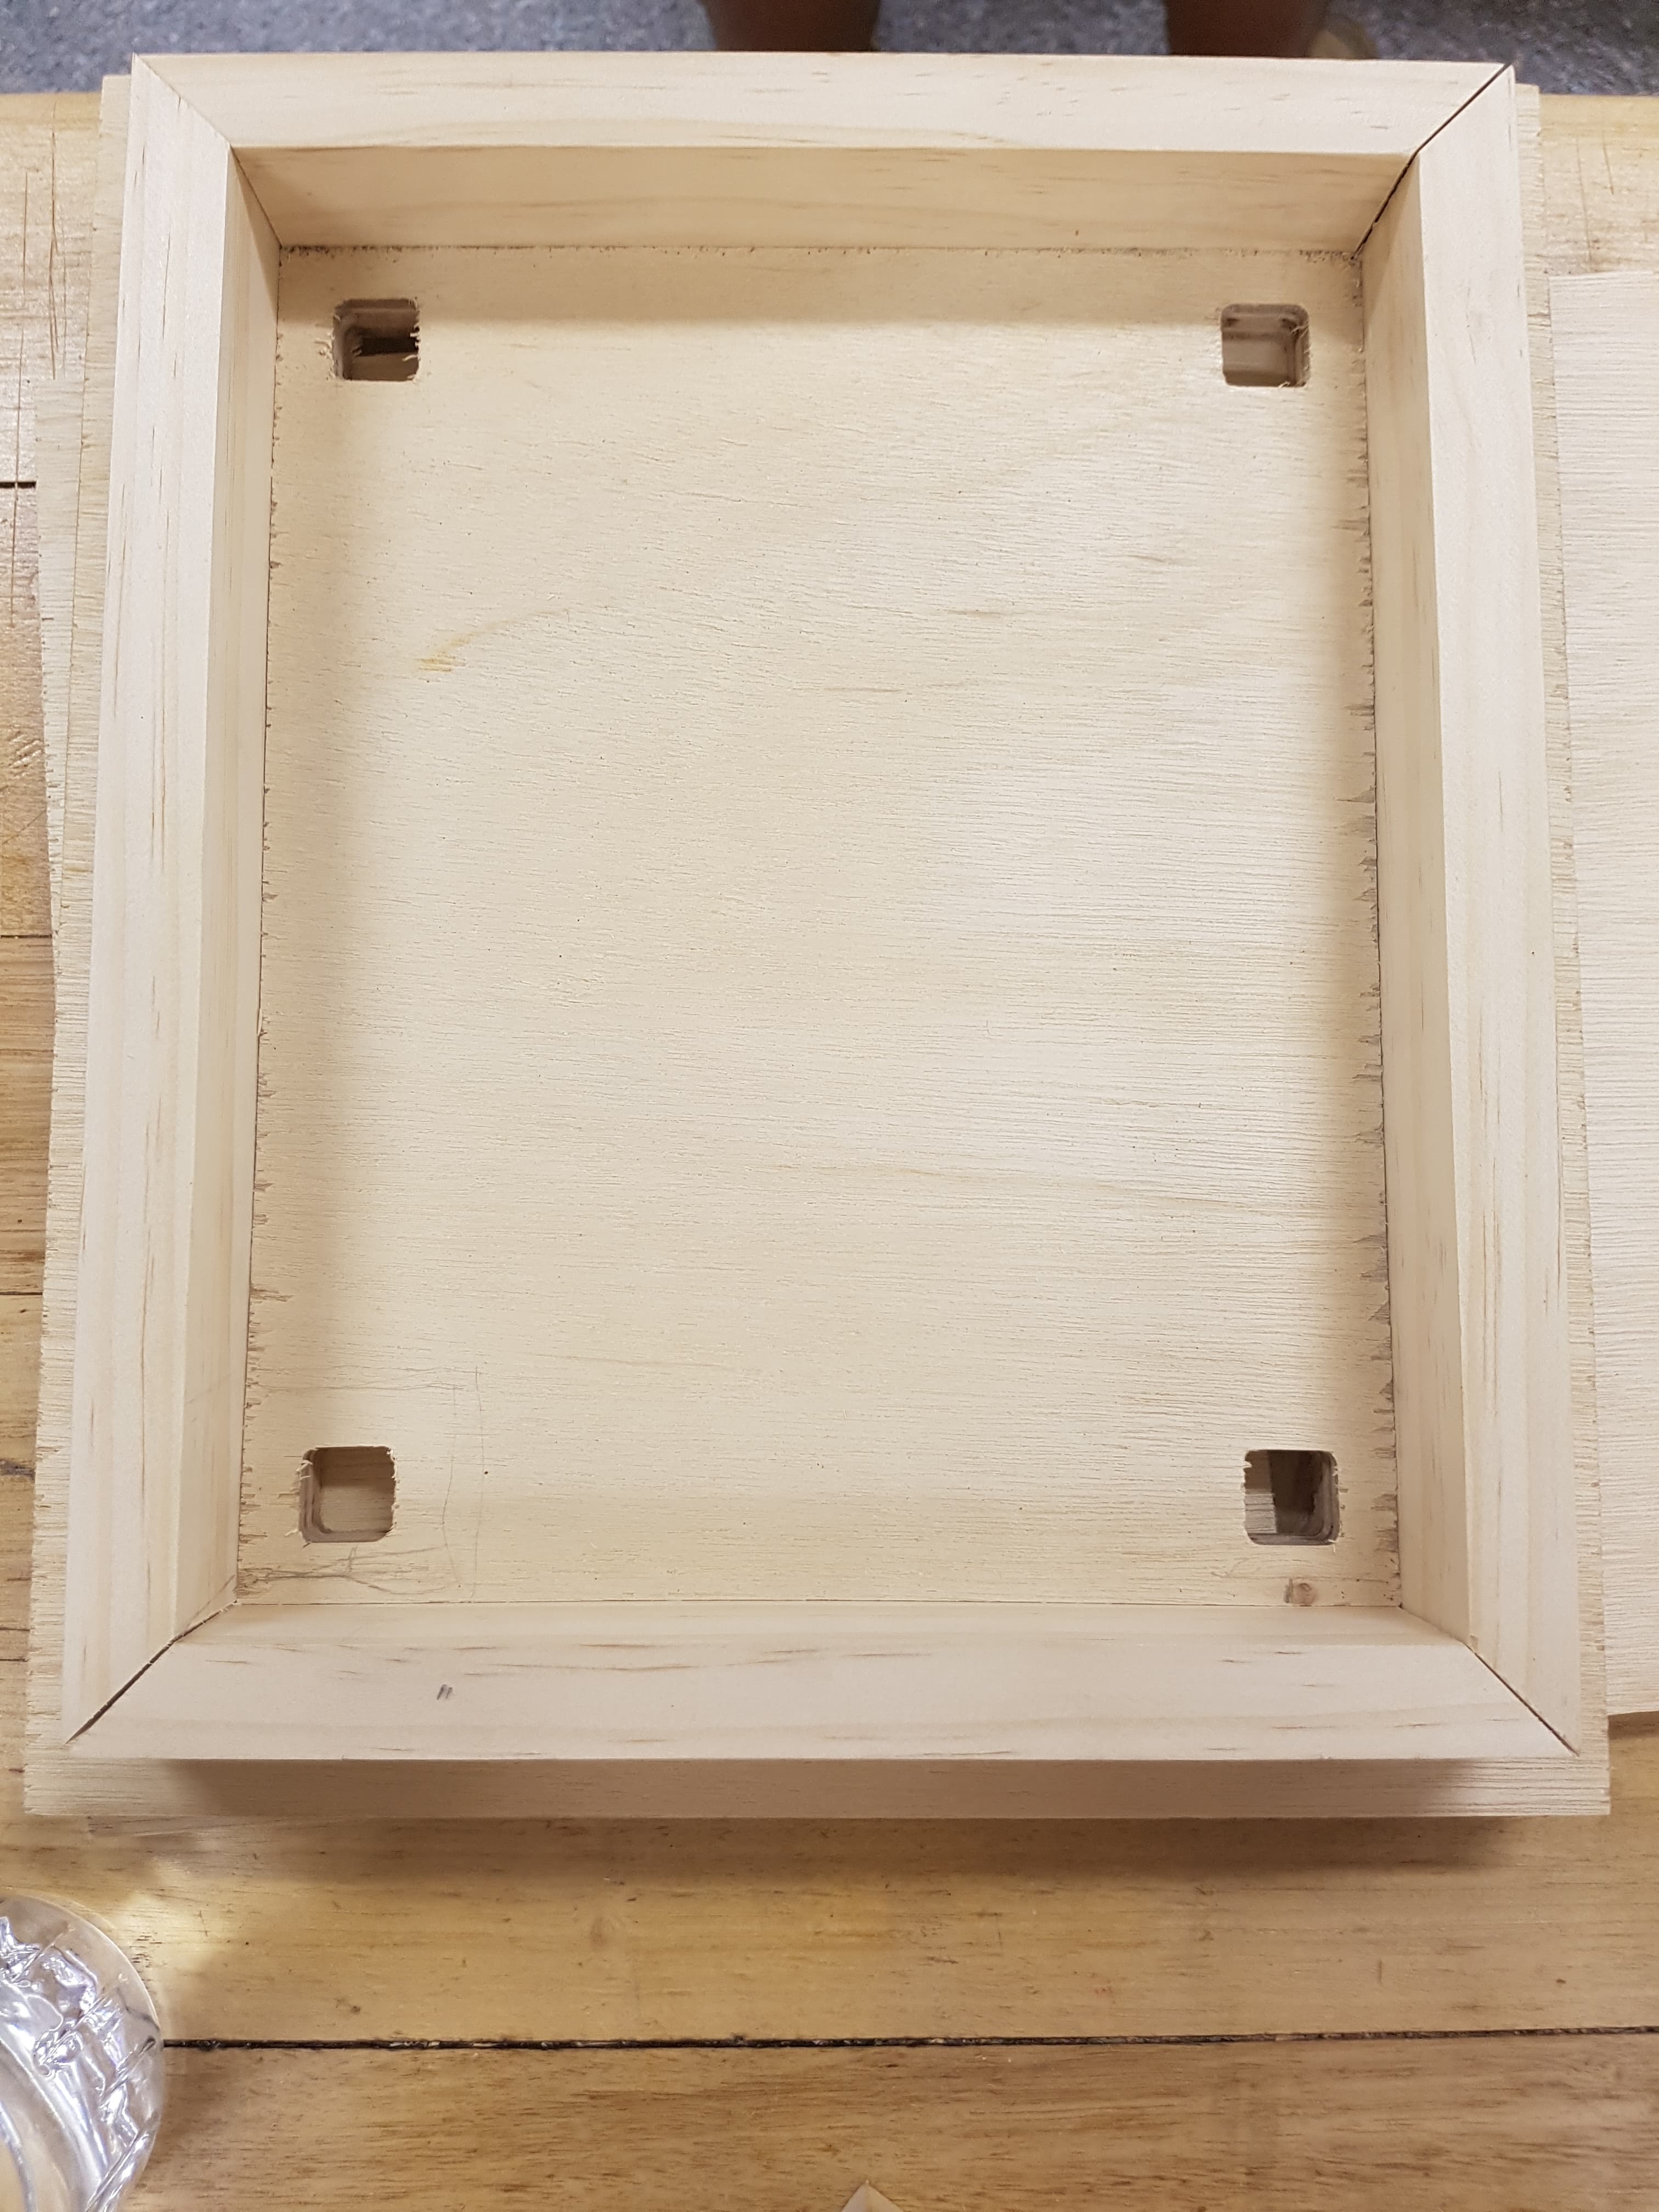
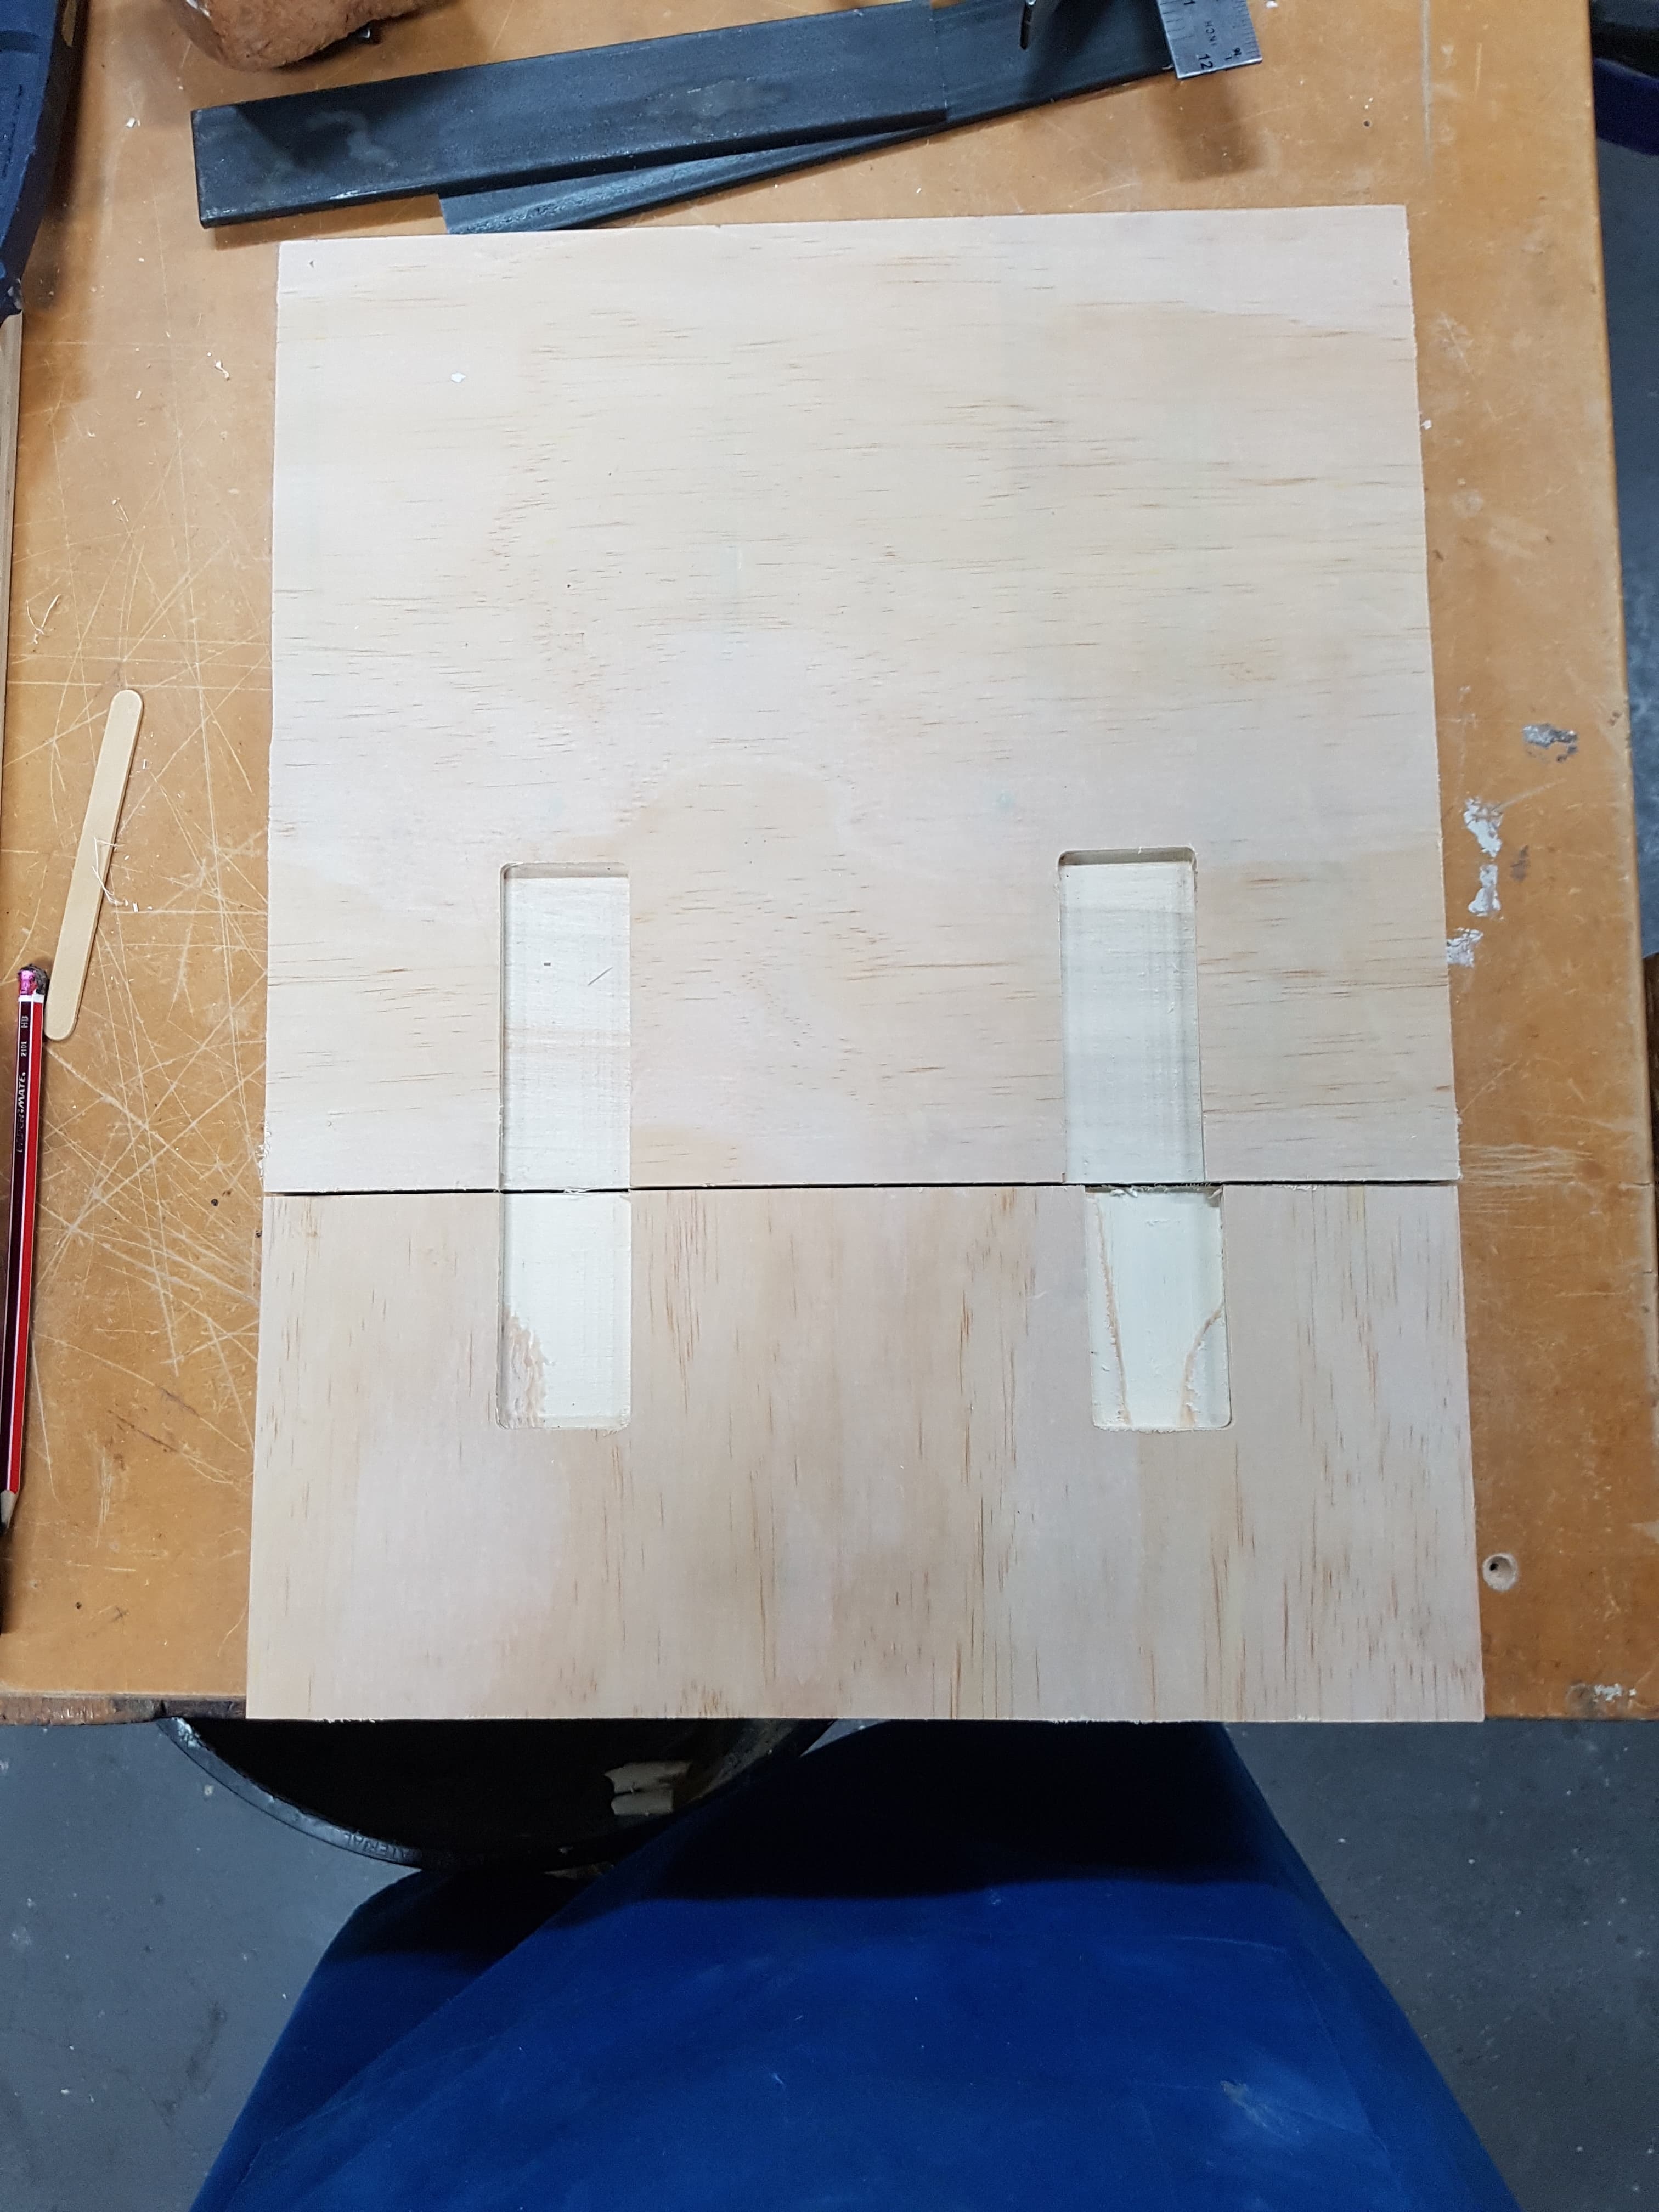
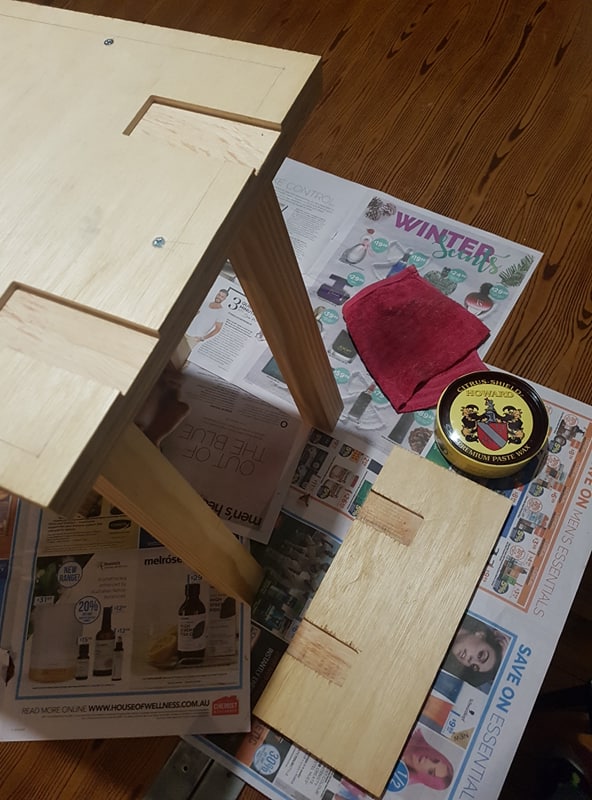
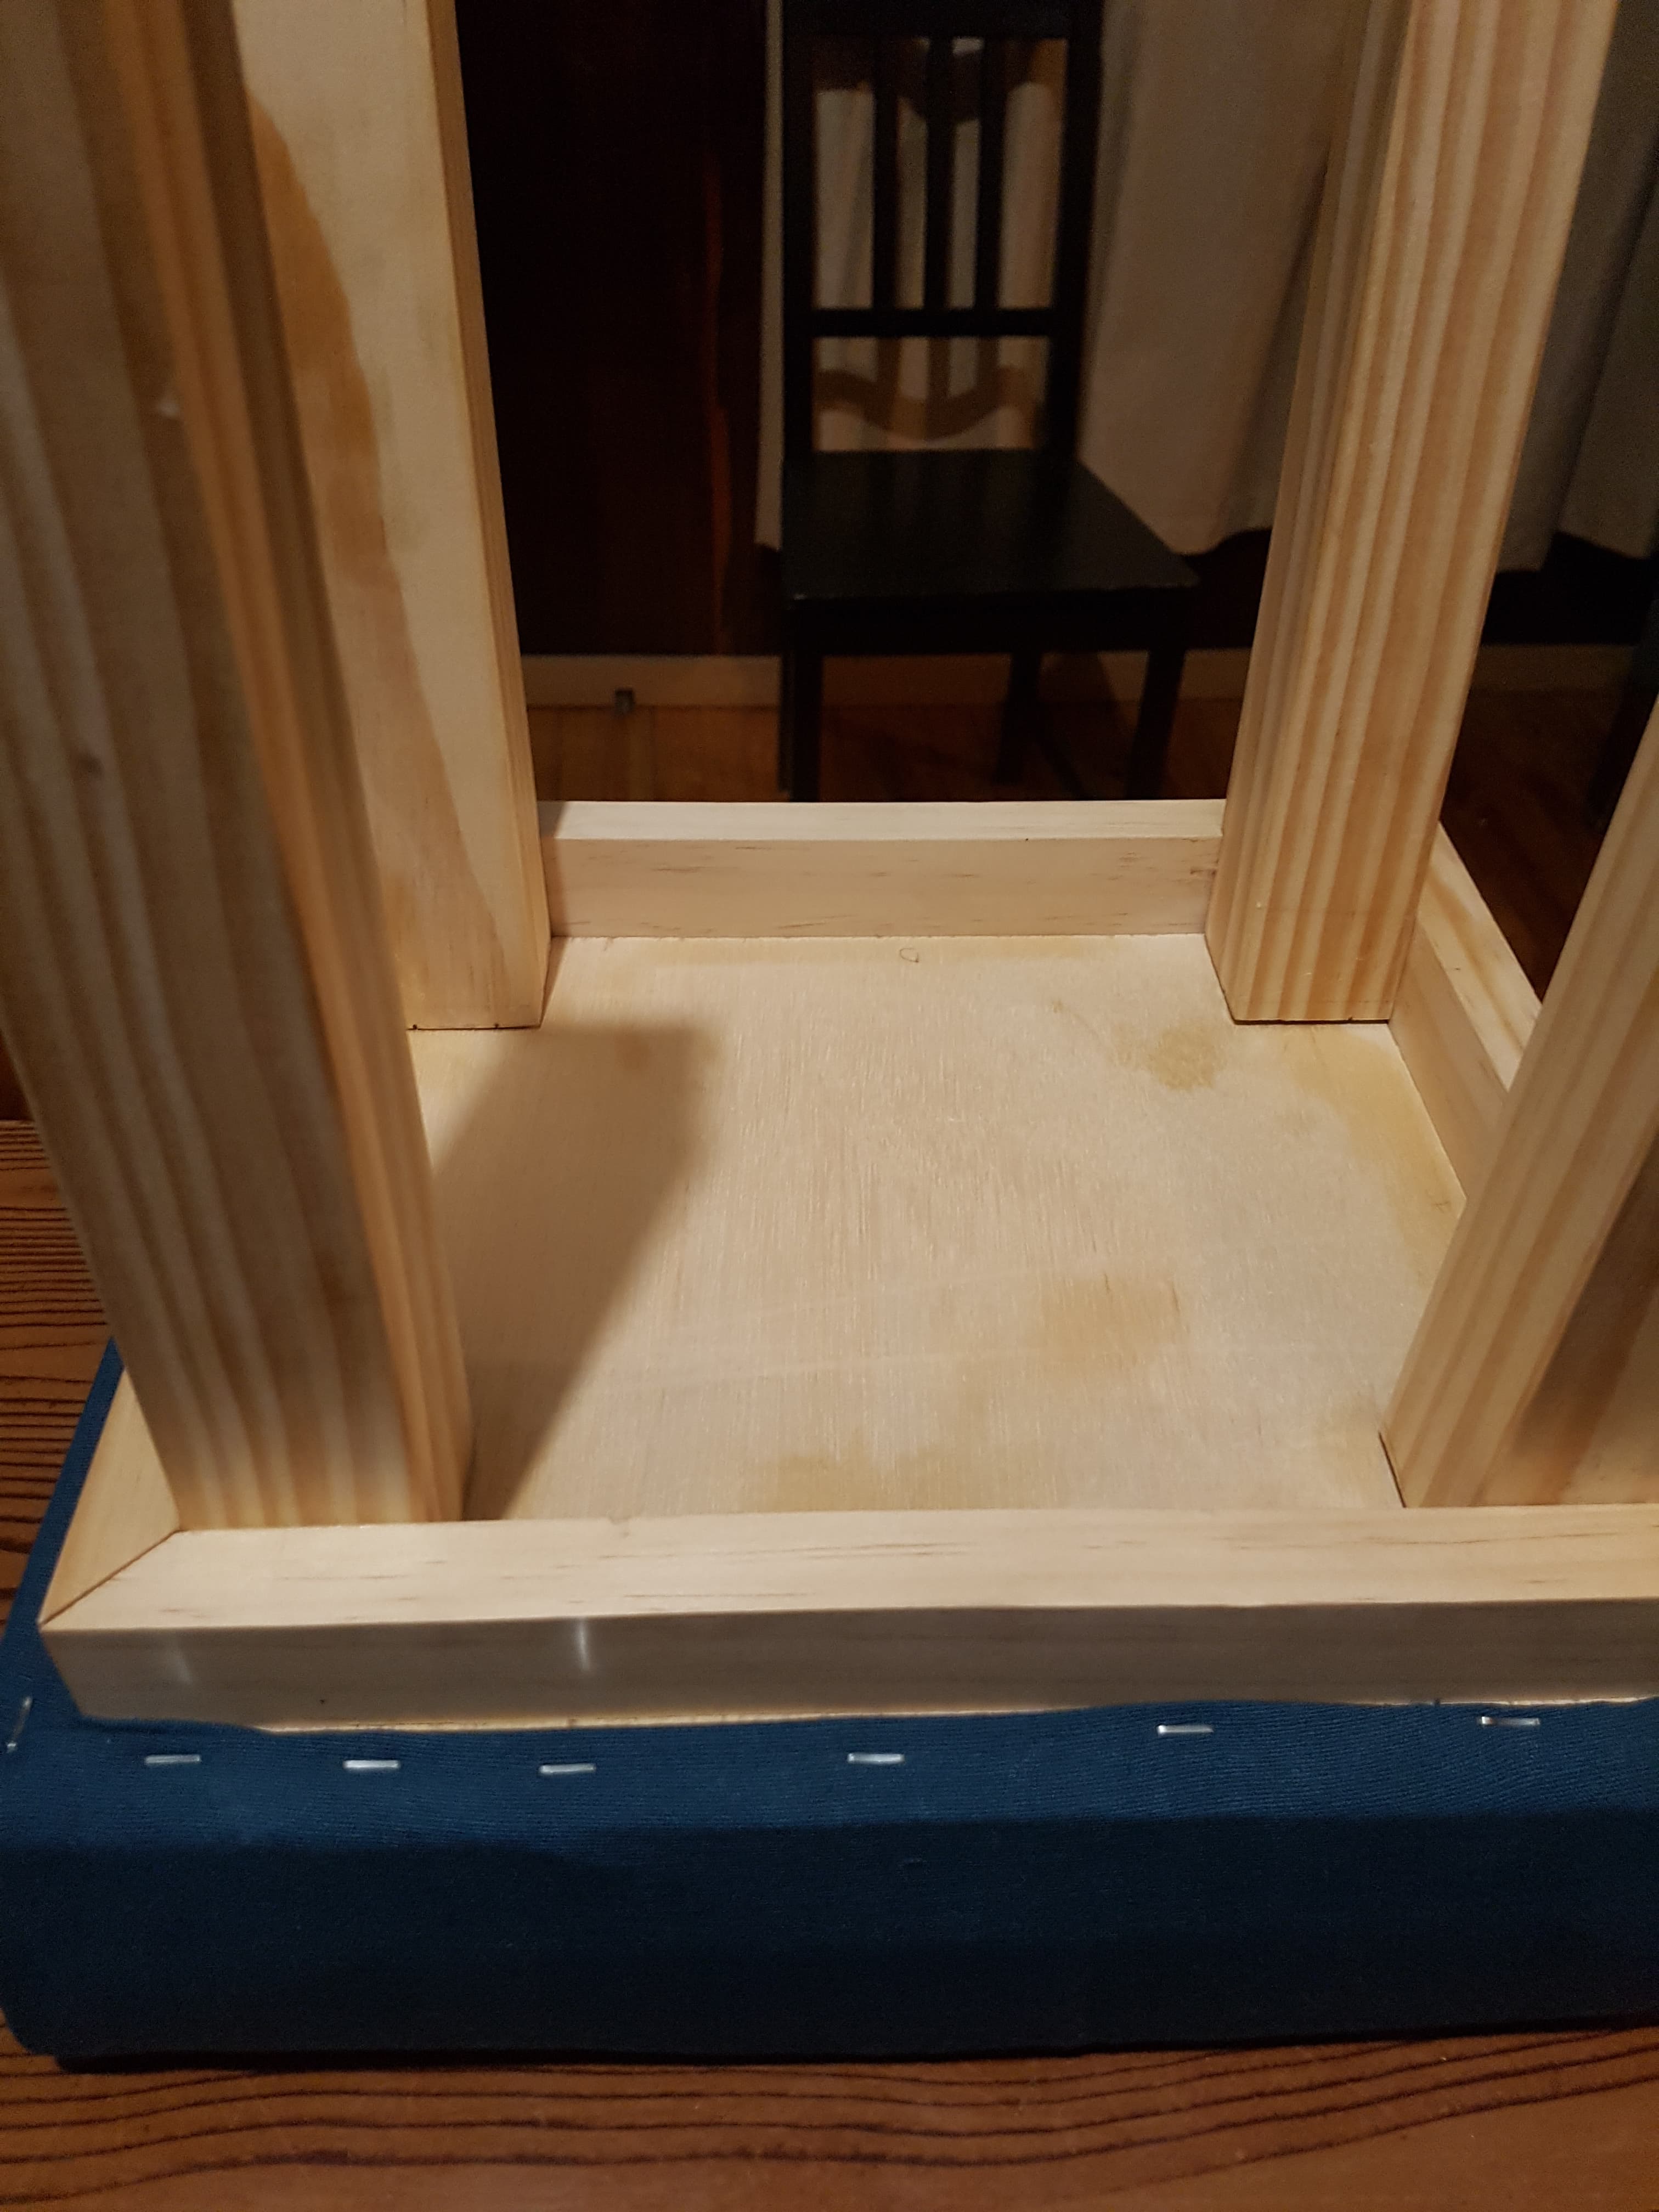
After cutting the lengths for the mitred frame, the dimensions were checked through a dry-fit, which showed a tight fit, perfect for the intended purpose of the frame.
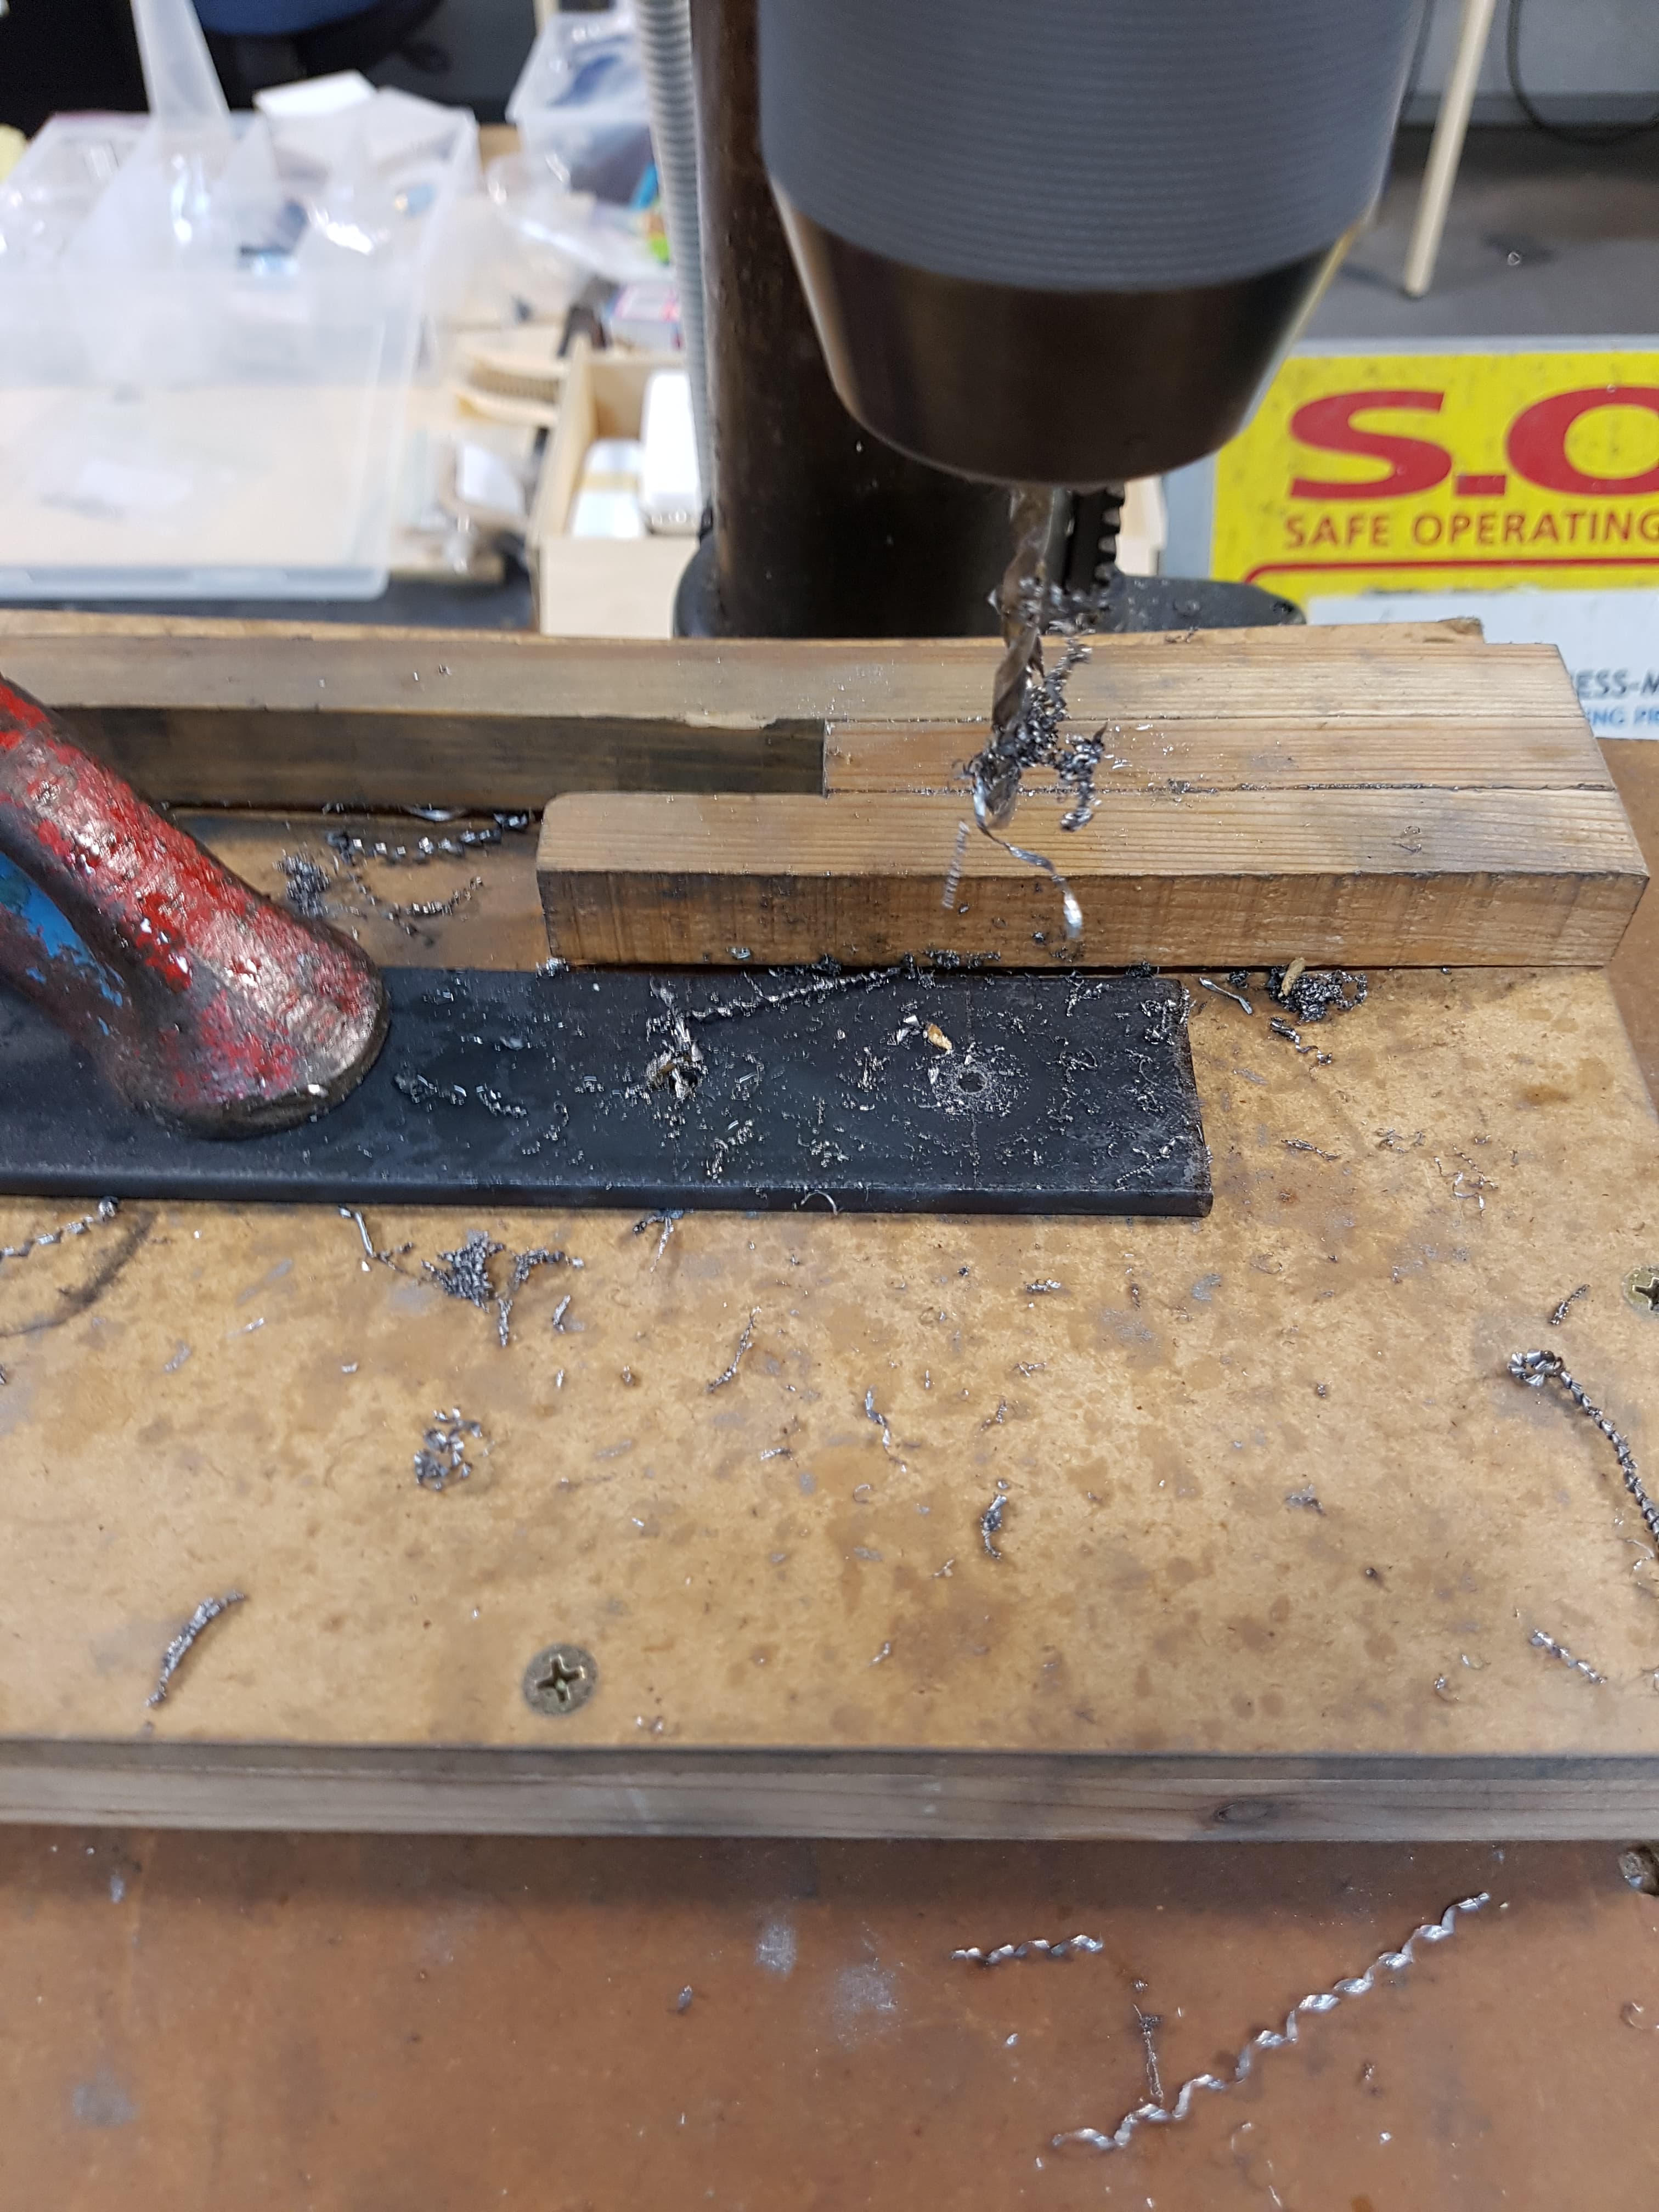
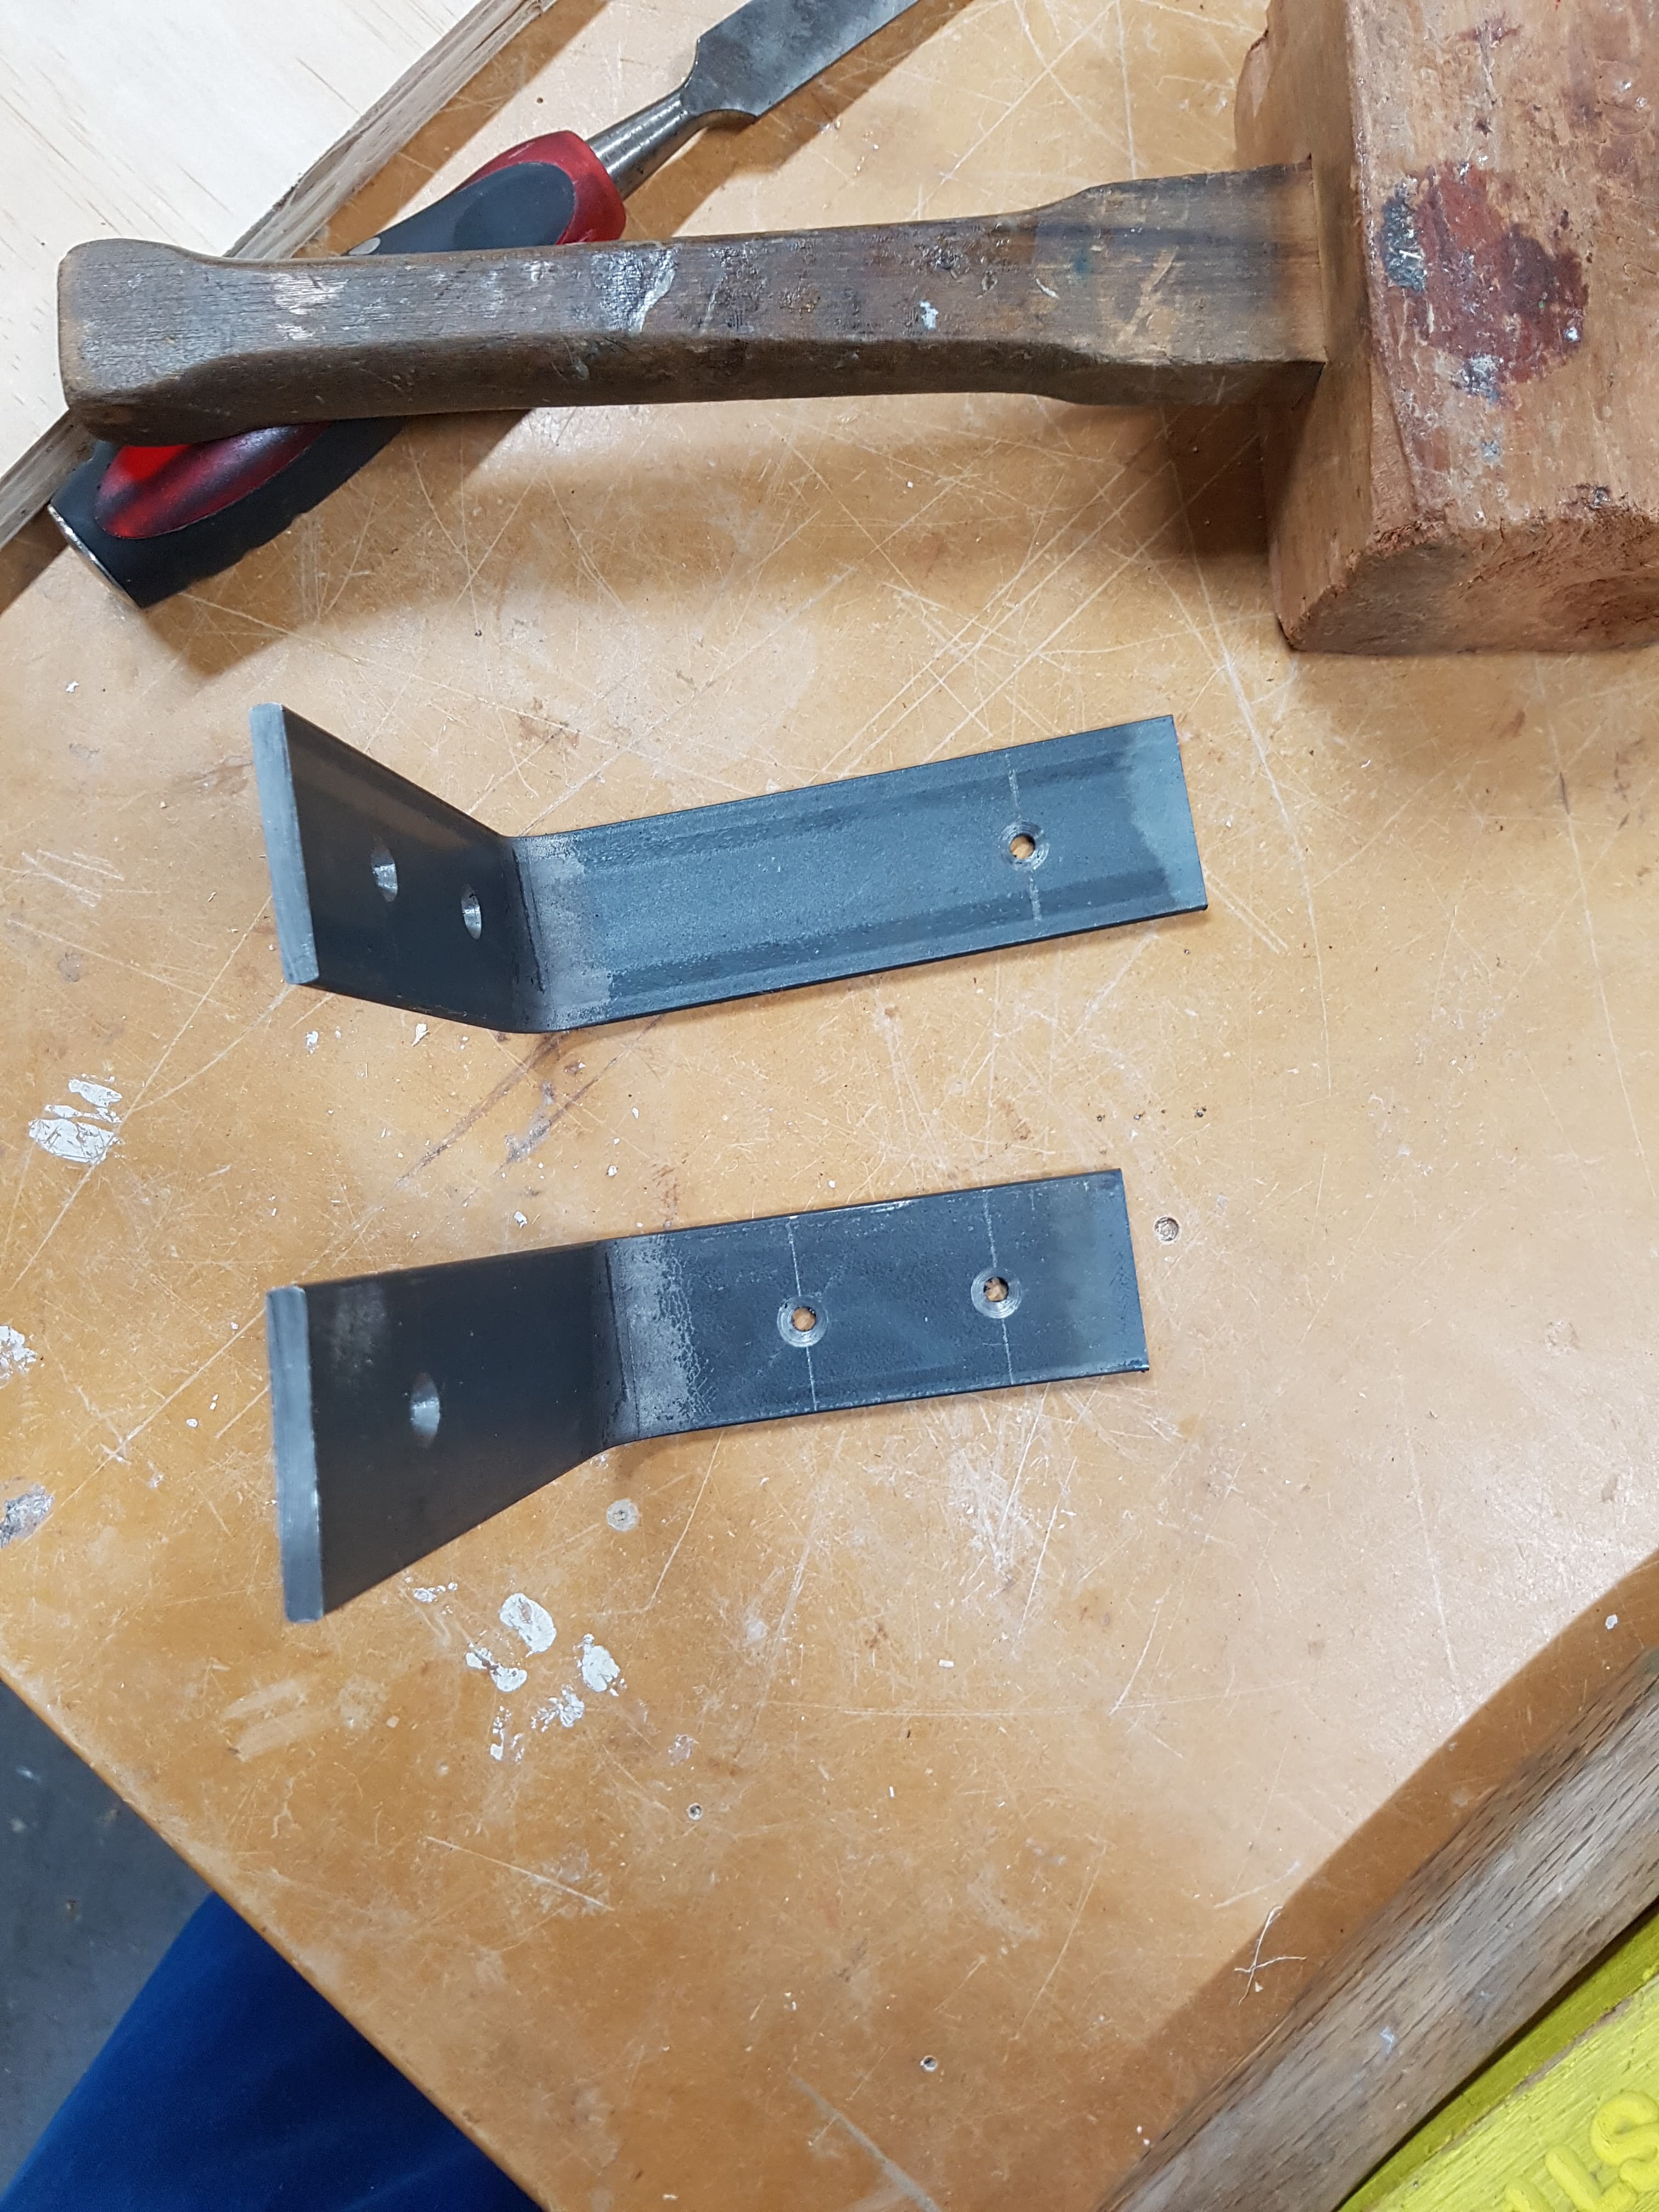
Before starting on the stool legs, the holes were drilled into the metal brackets and counter-sunk. This was done in order to try and optimise use of time in the workshops as many students would be using the woodwork machinery.
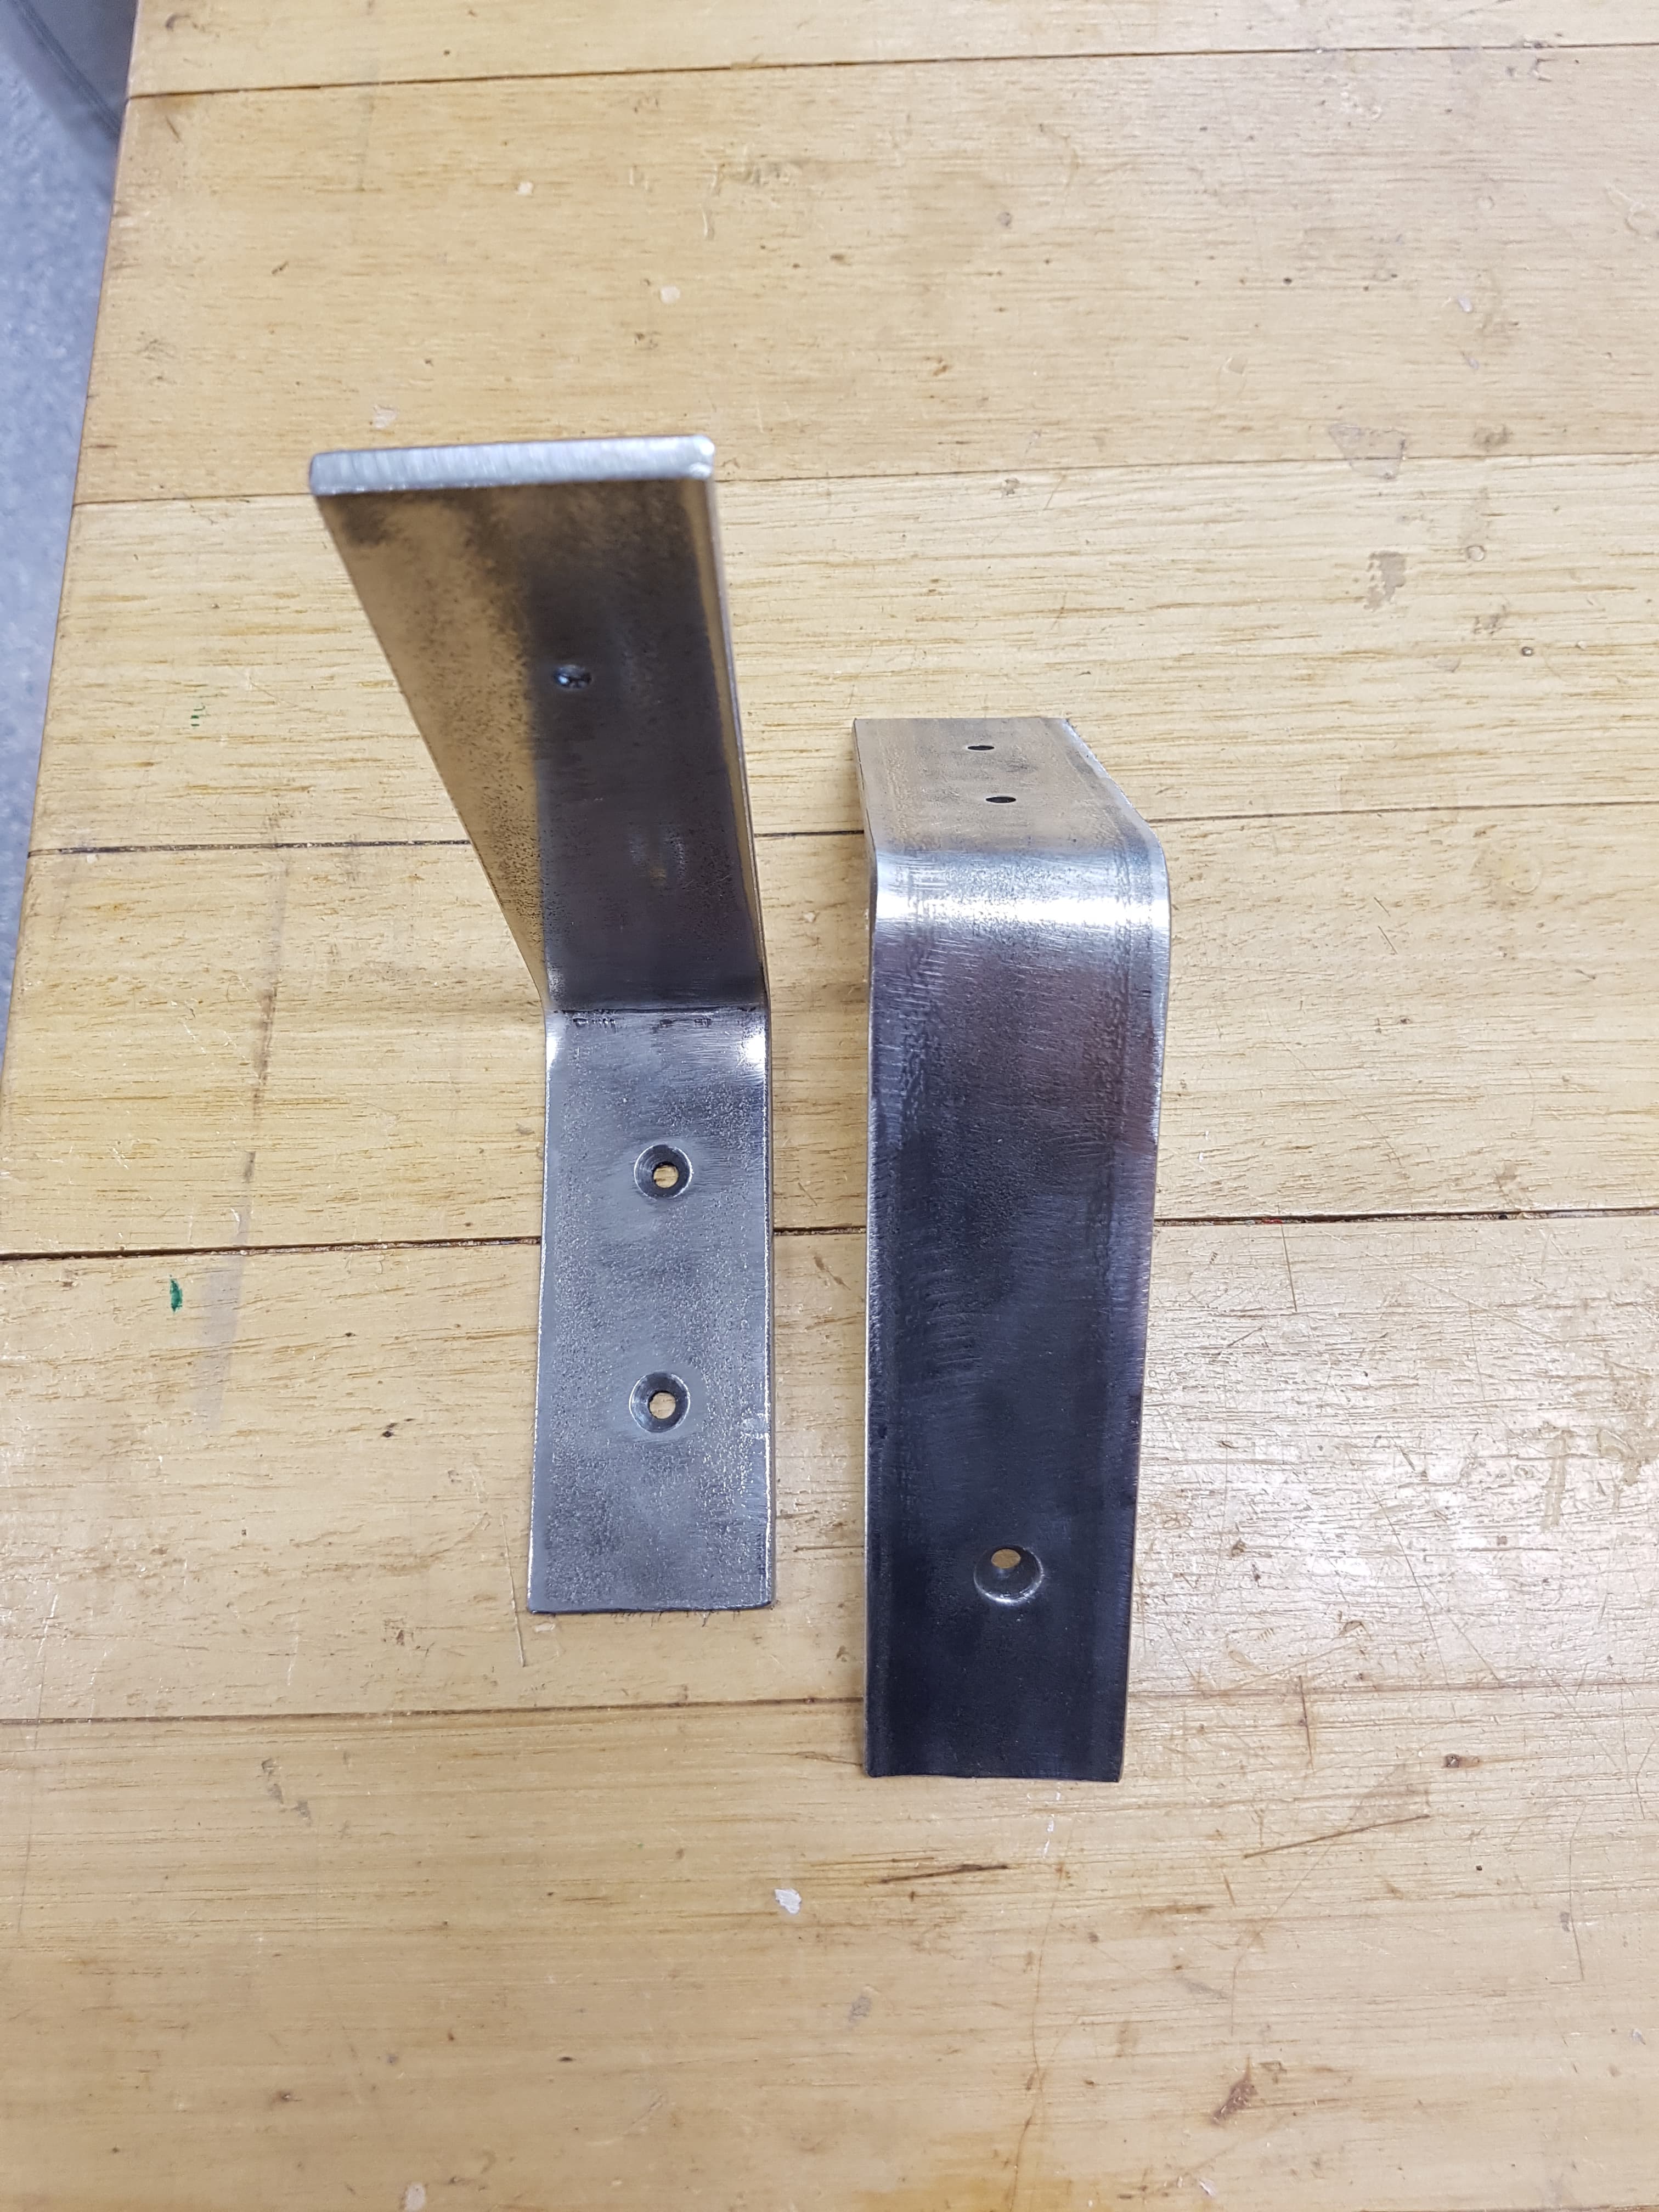
I started off by polishing the metal brackets to see how they would look, but was unhappy with the consistency of the finish. Based on the advice of peers and after weighing up my options, I decided to bead-blast the brackets to get a more consistent finish.
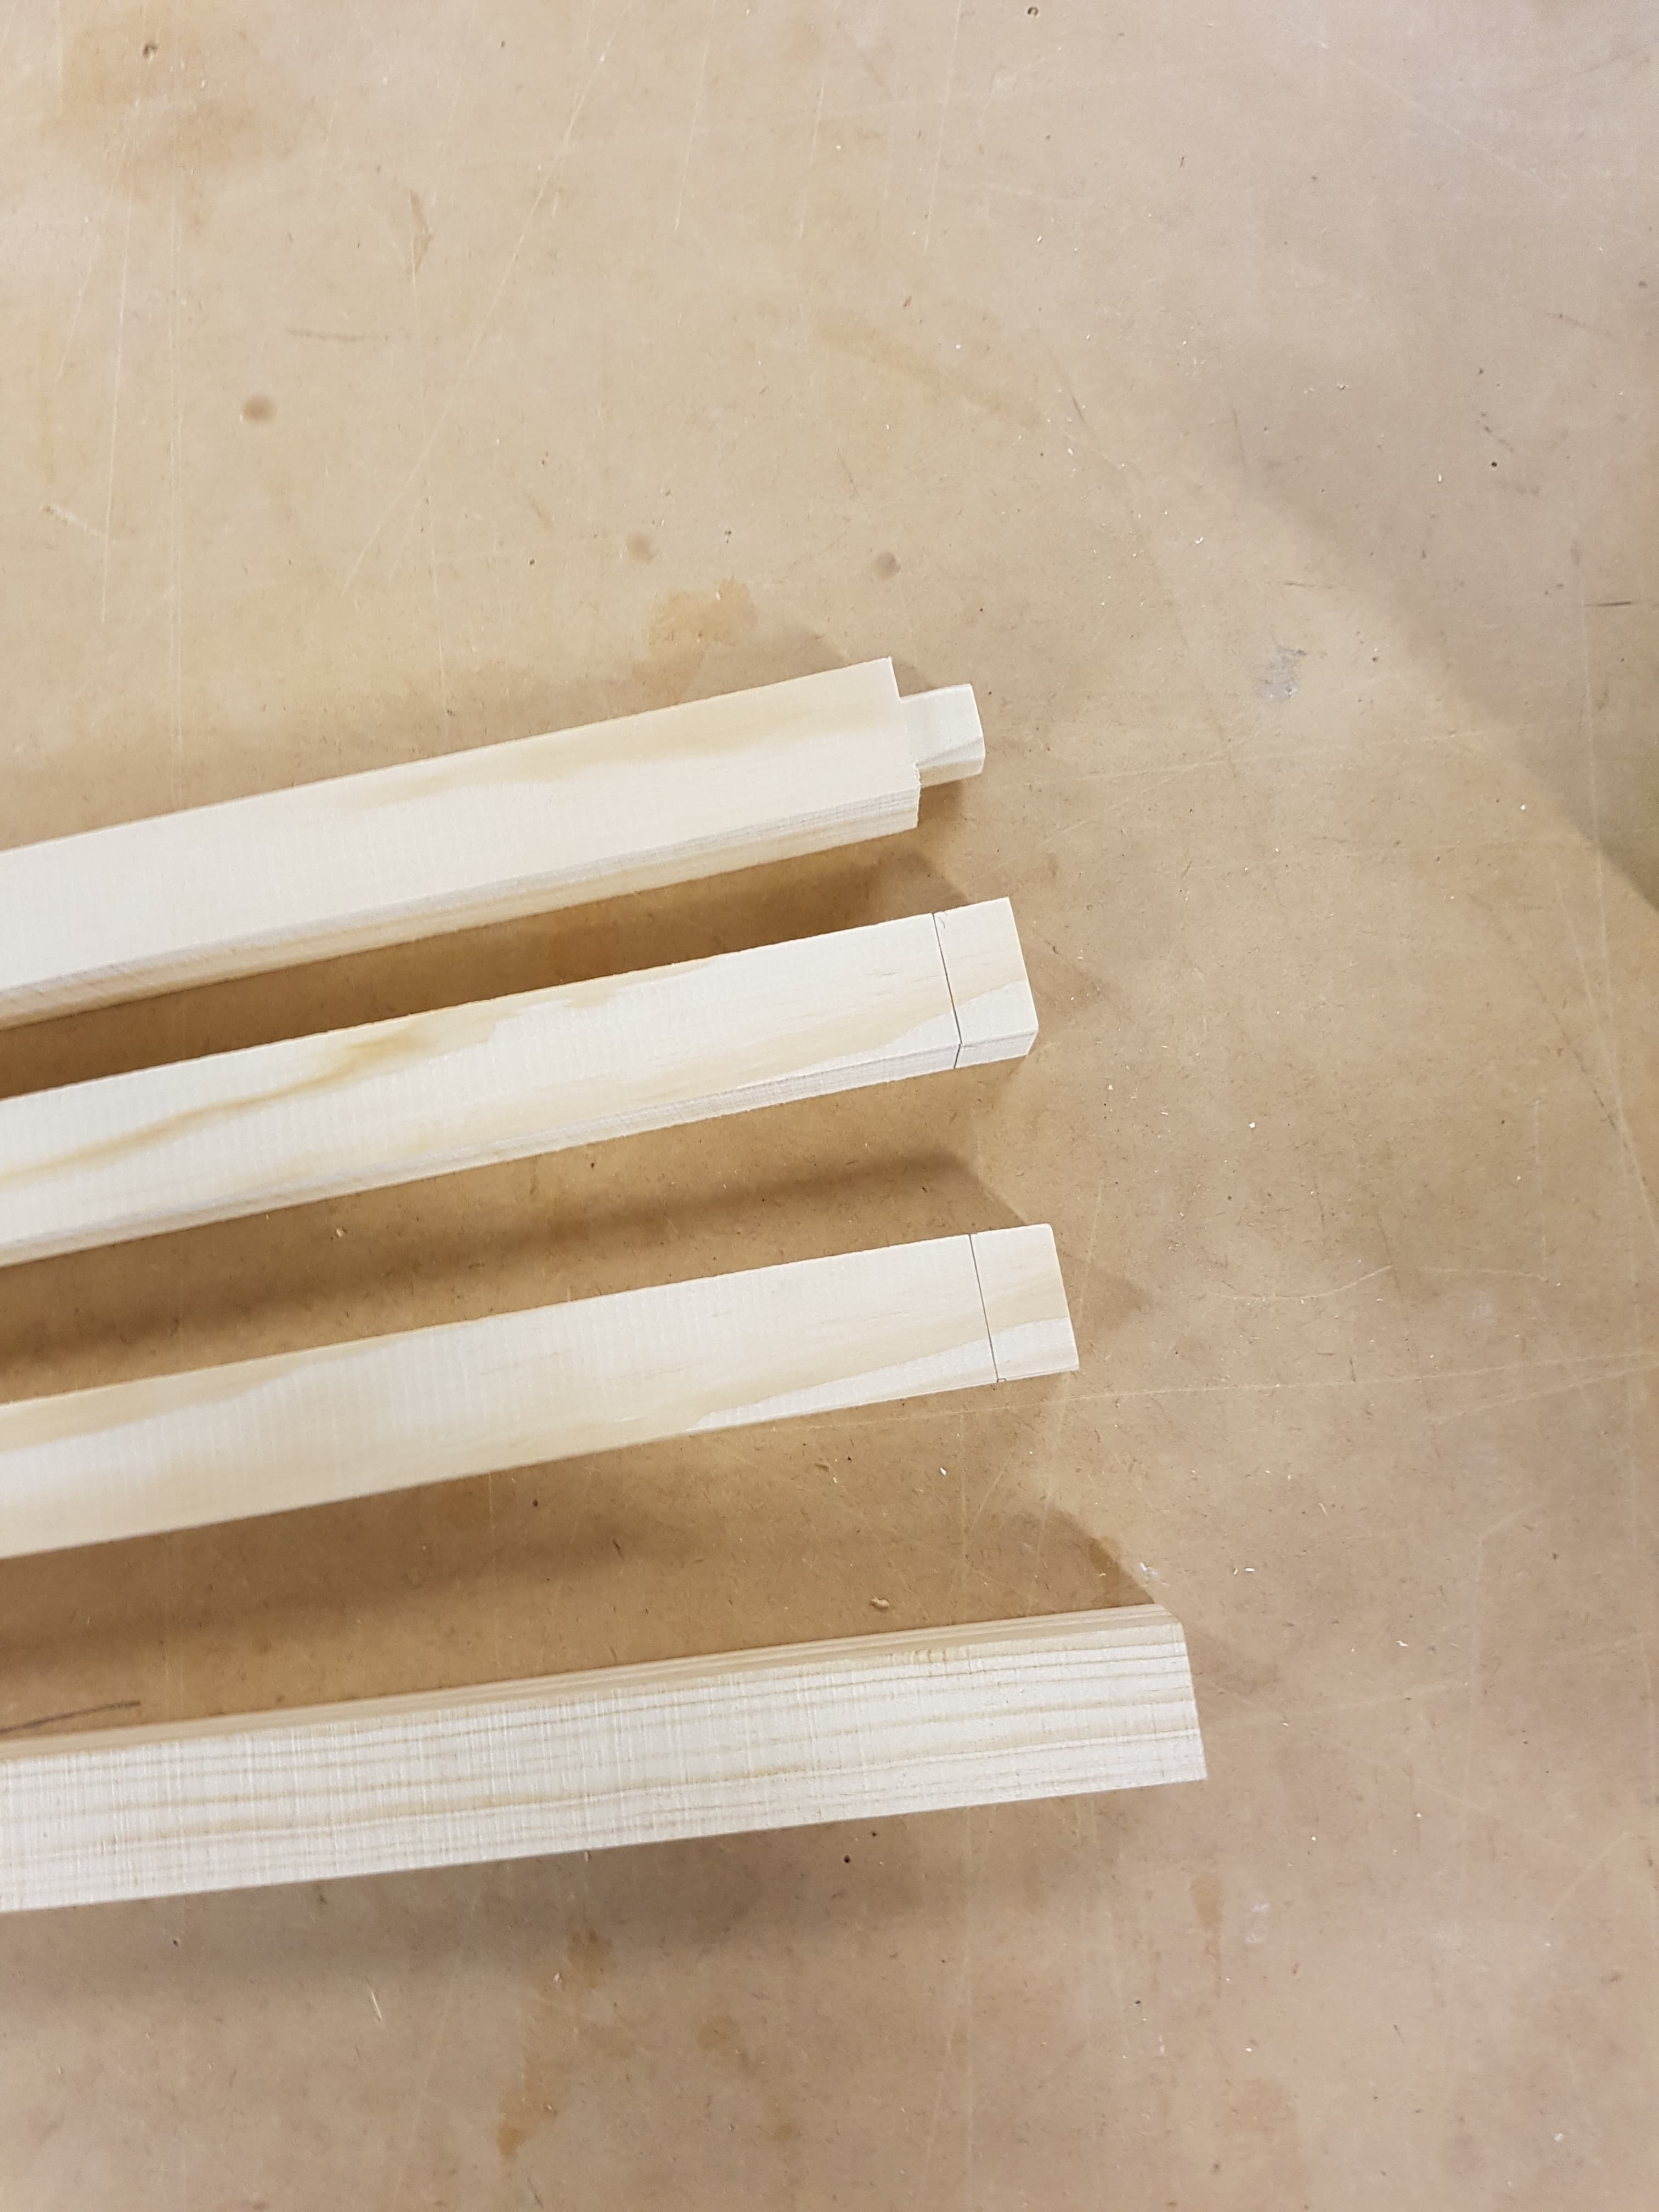
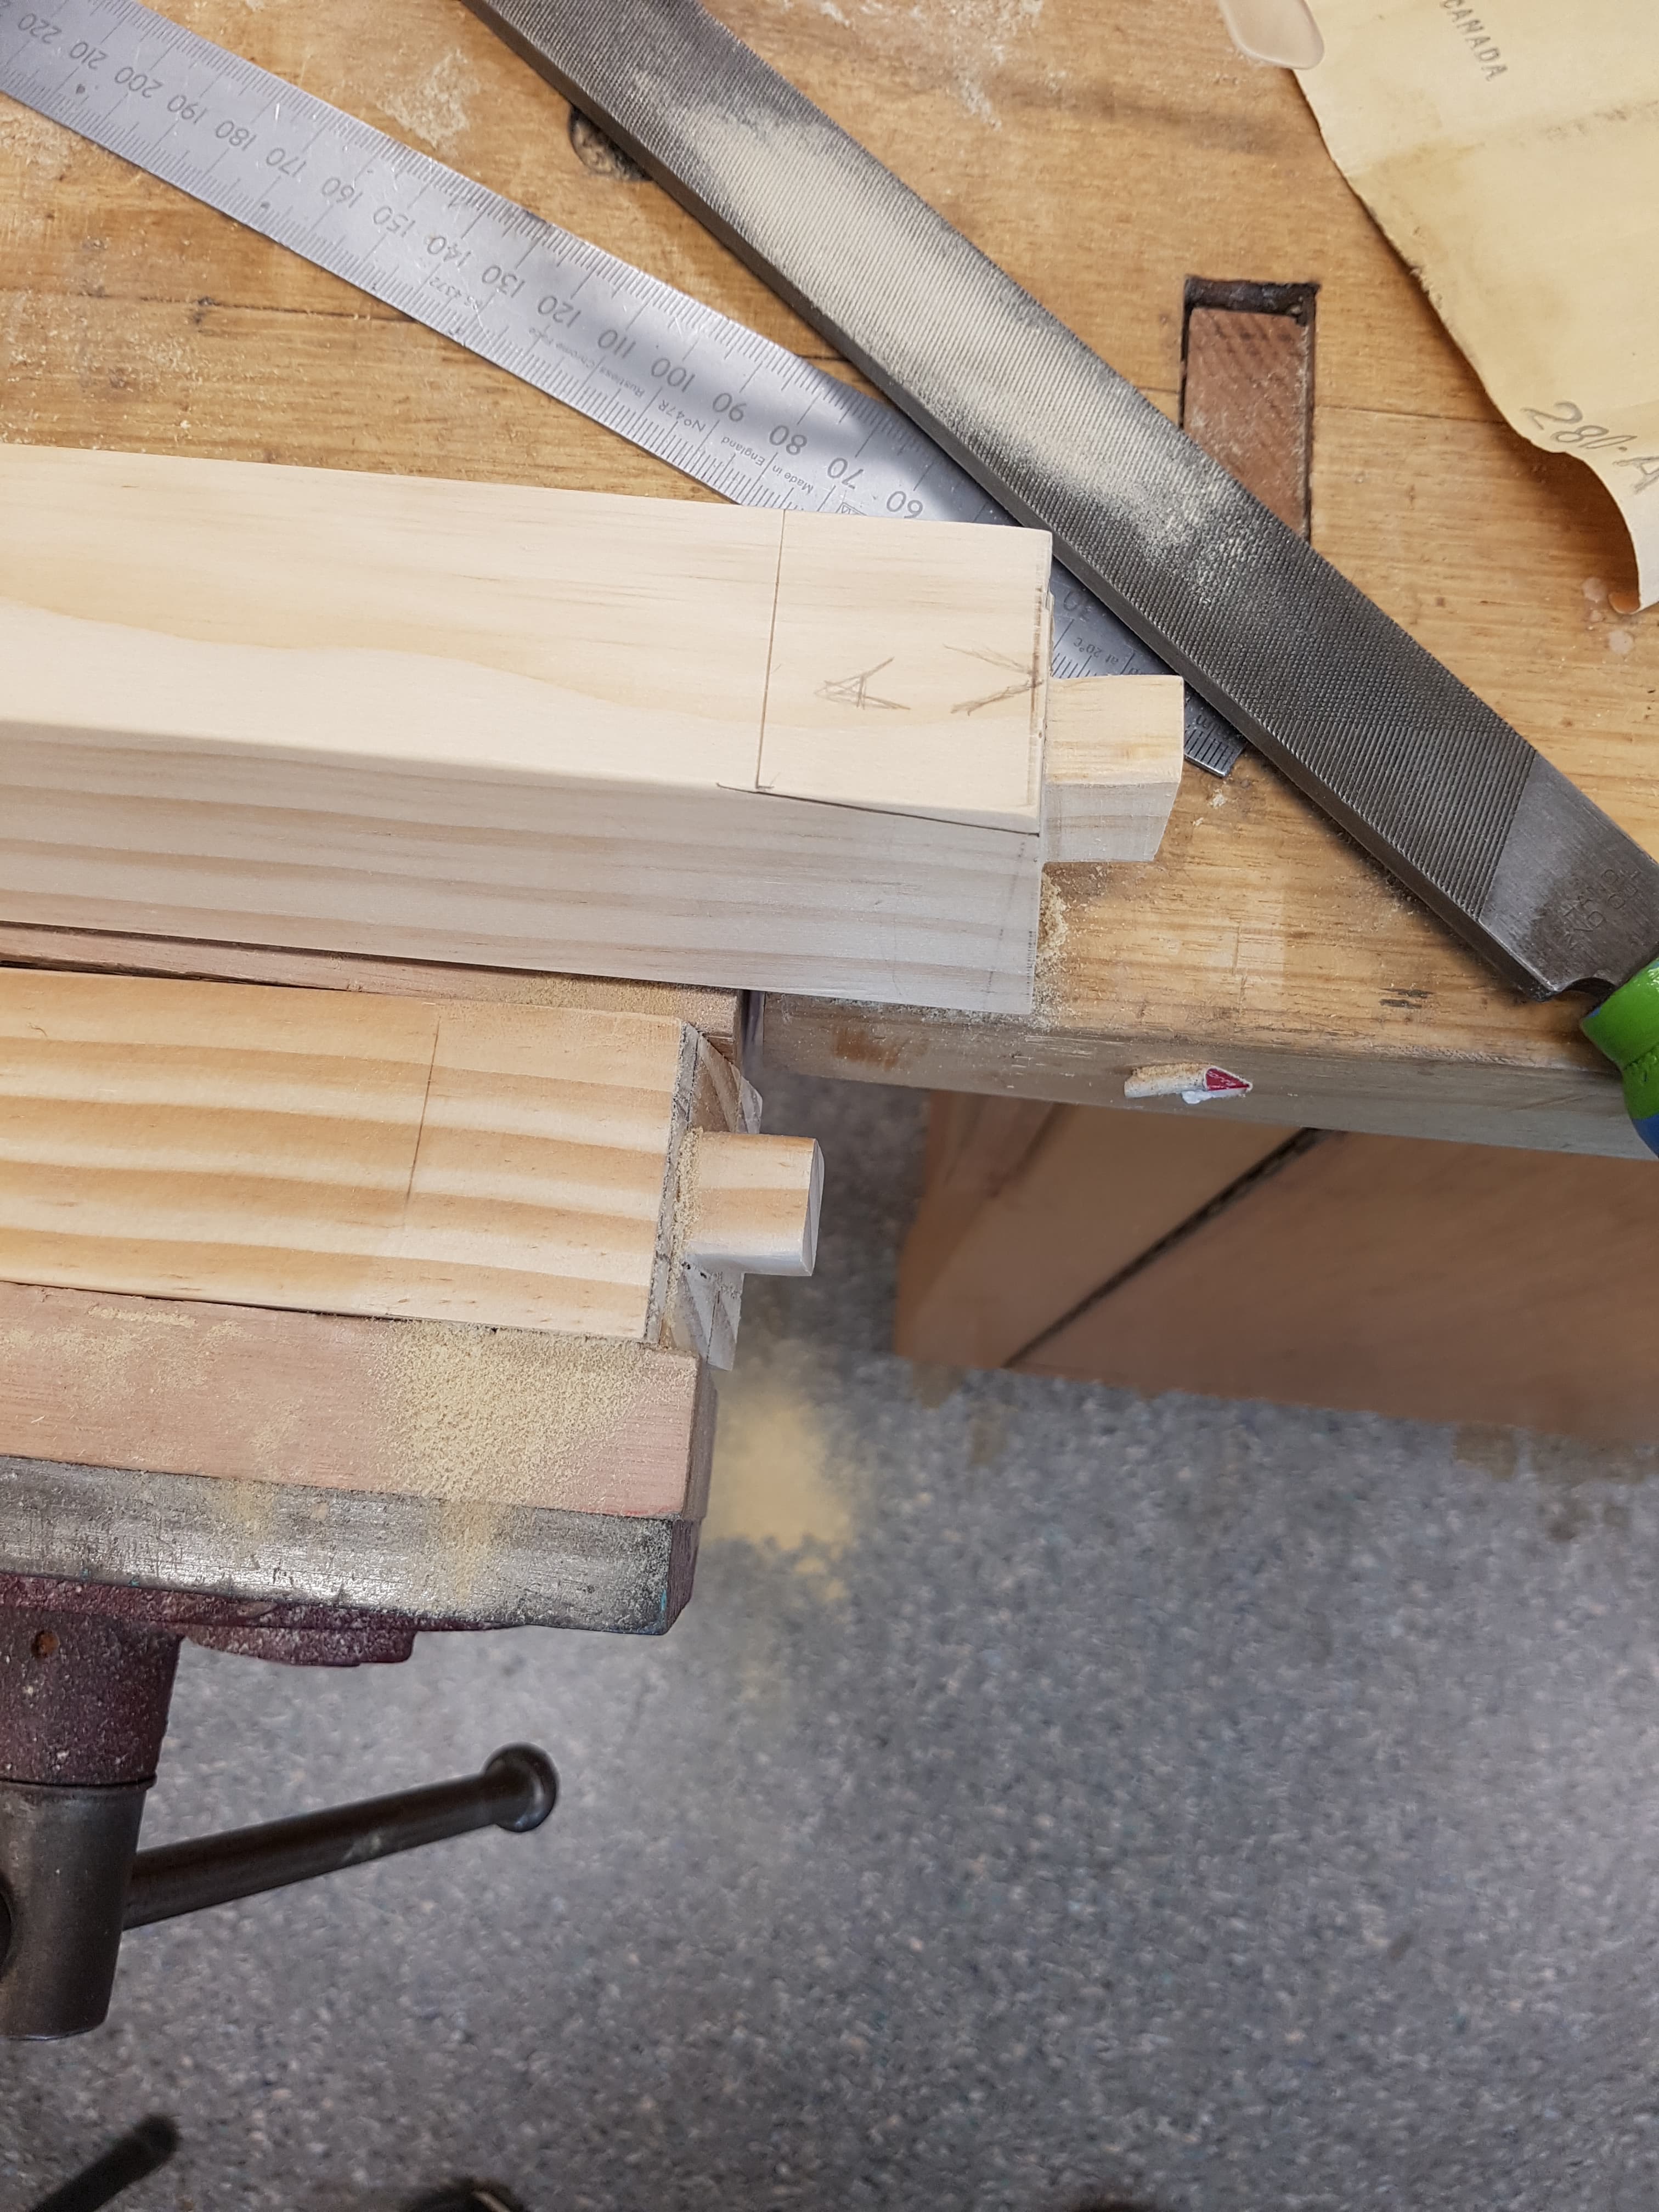
The straight tenons were the first ones that I cut in order to confirm the size that the tenon needed to be in order to fit the CNC-cut mortises inside the frame.
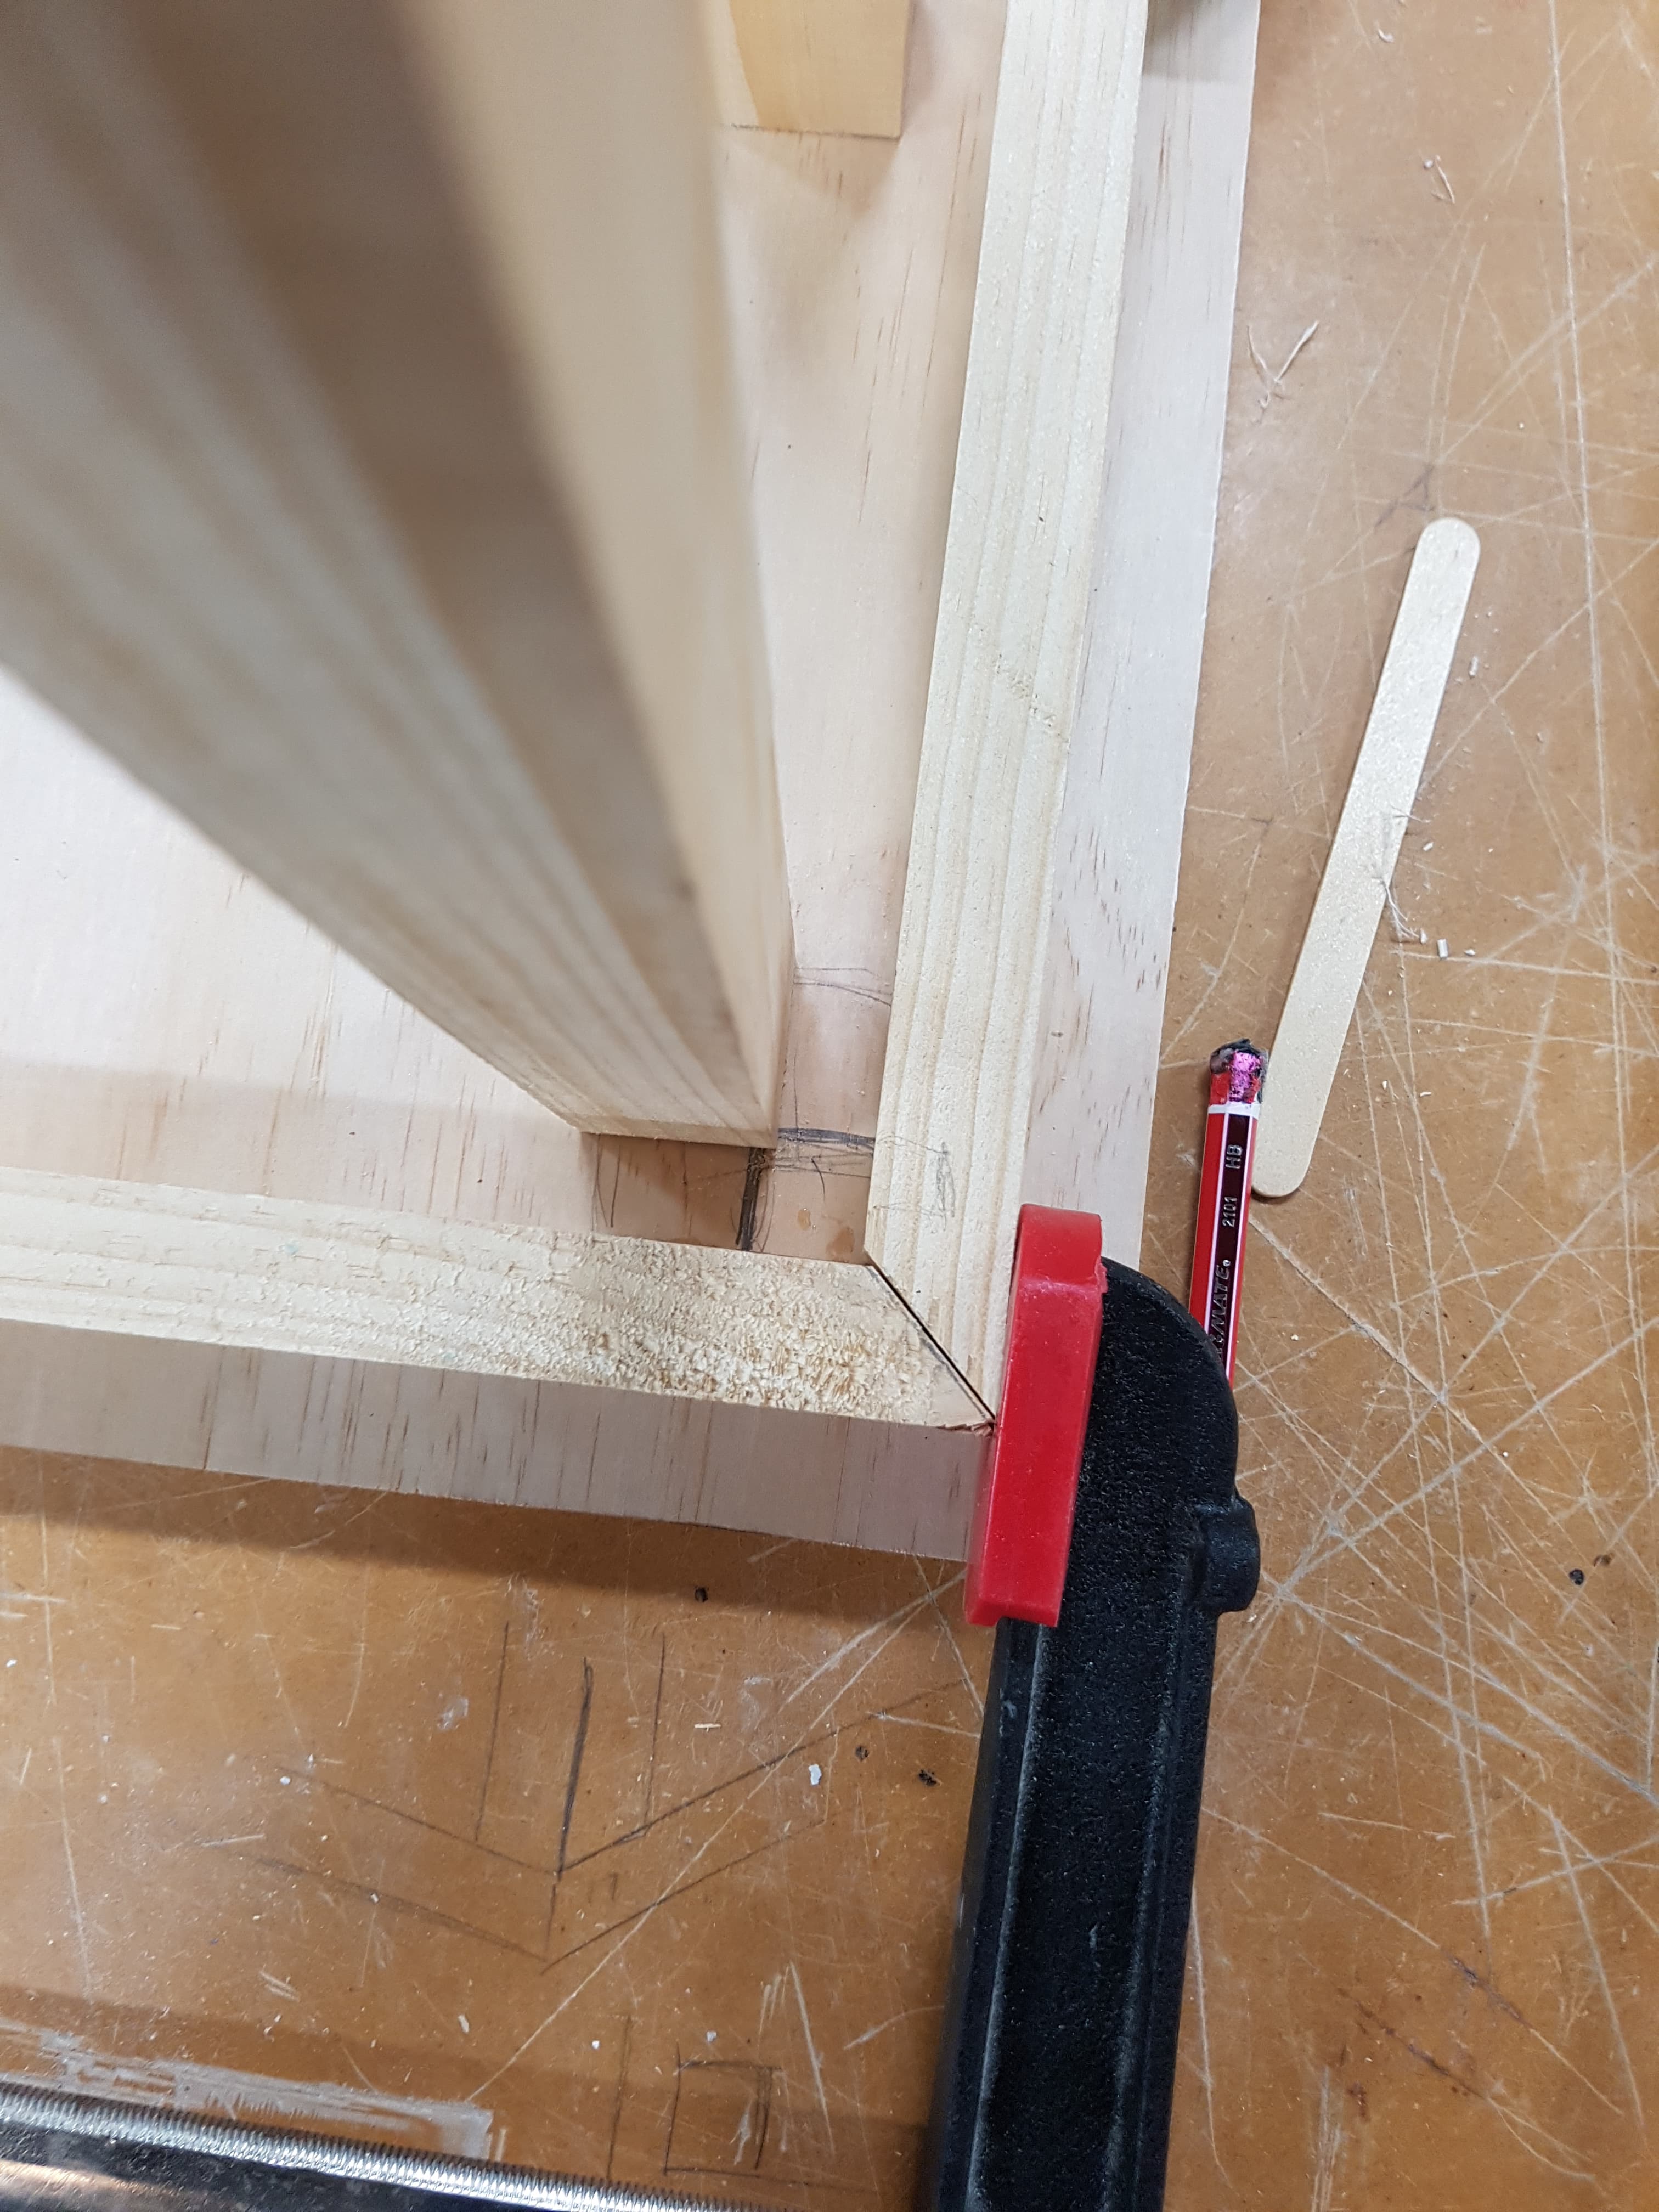
After completing the straight tenoned legs, I worked on getting the angled legs finished. I allowed for the length of these legs to be longer than the other in case mistakes were made and the tenons had to be re-cut. These angled cuts were calculated using a jig made with a 6° taper, which was the angle that I wanted the legs to move away from the stool at.
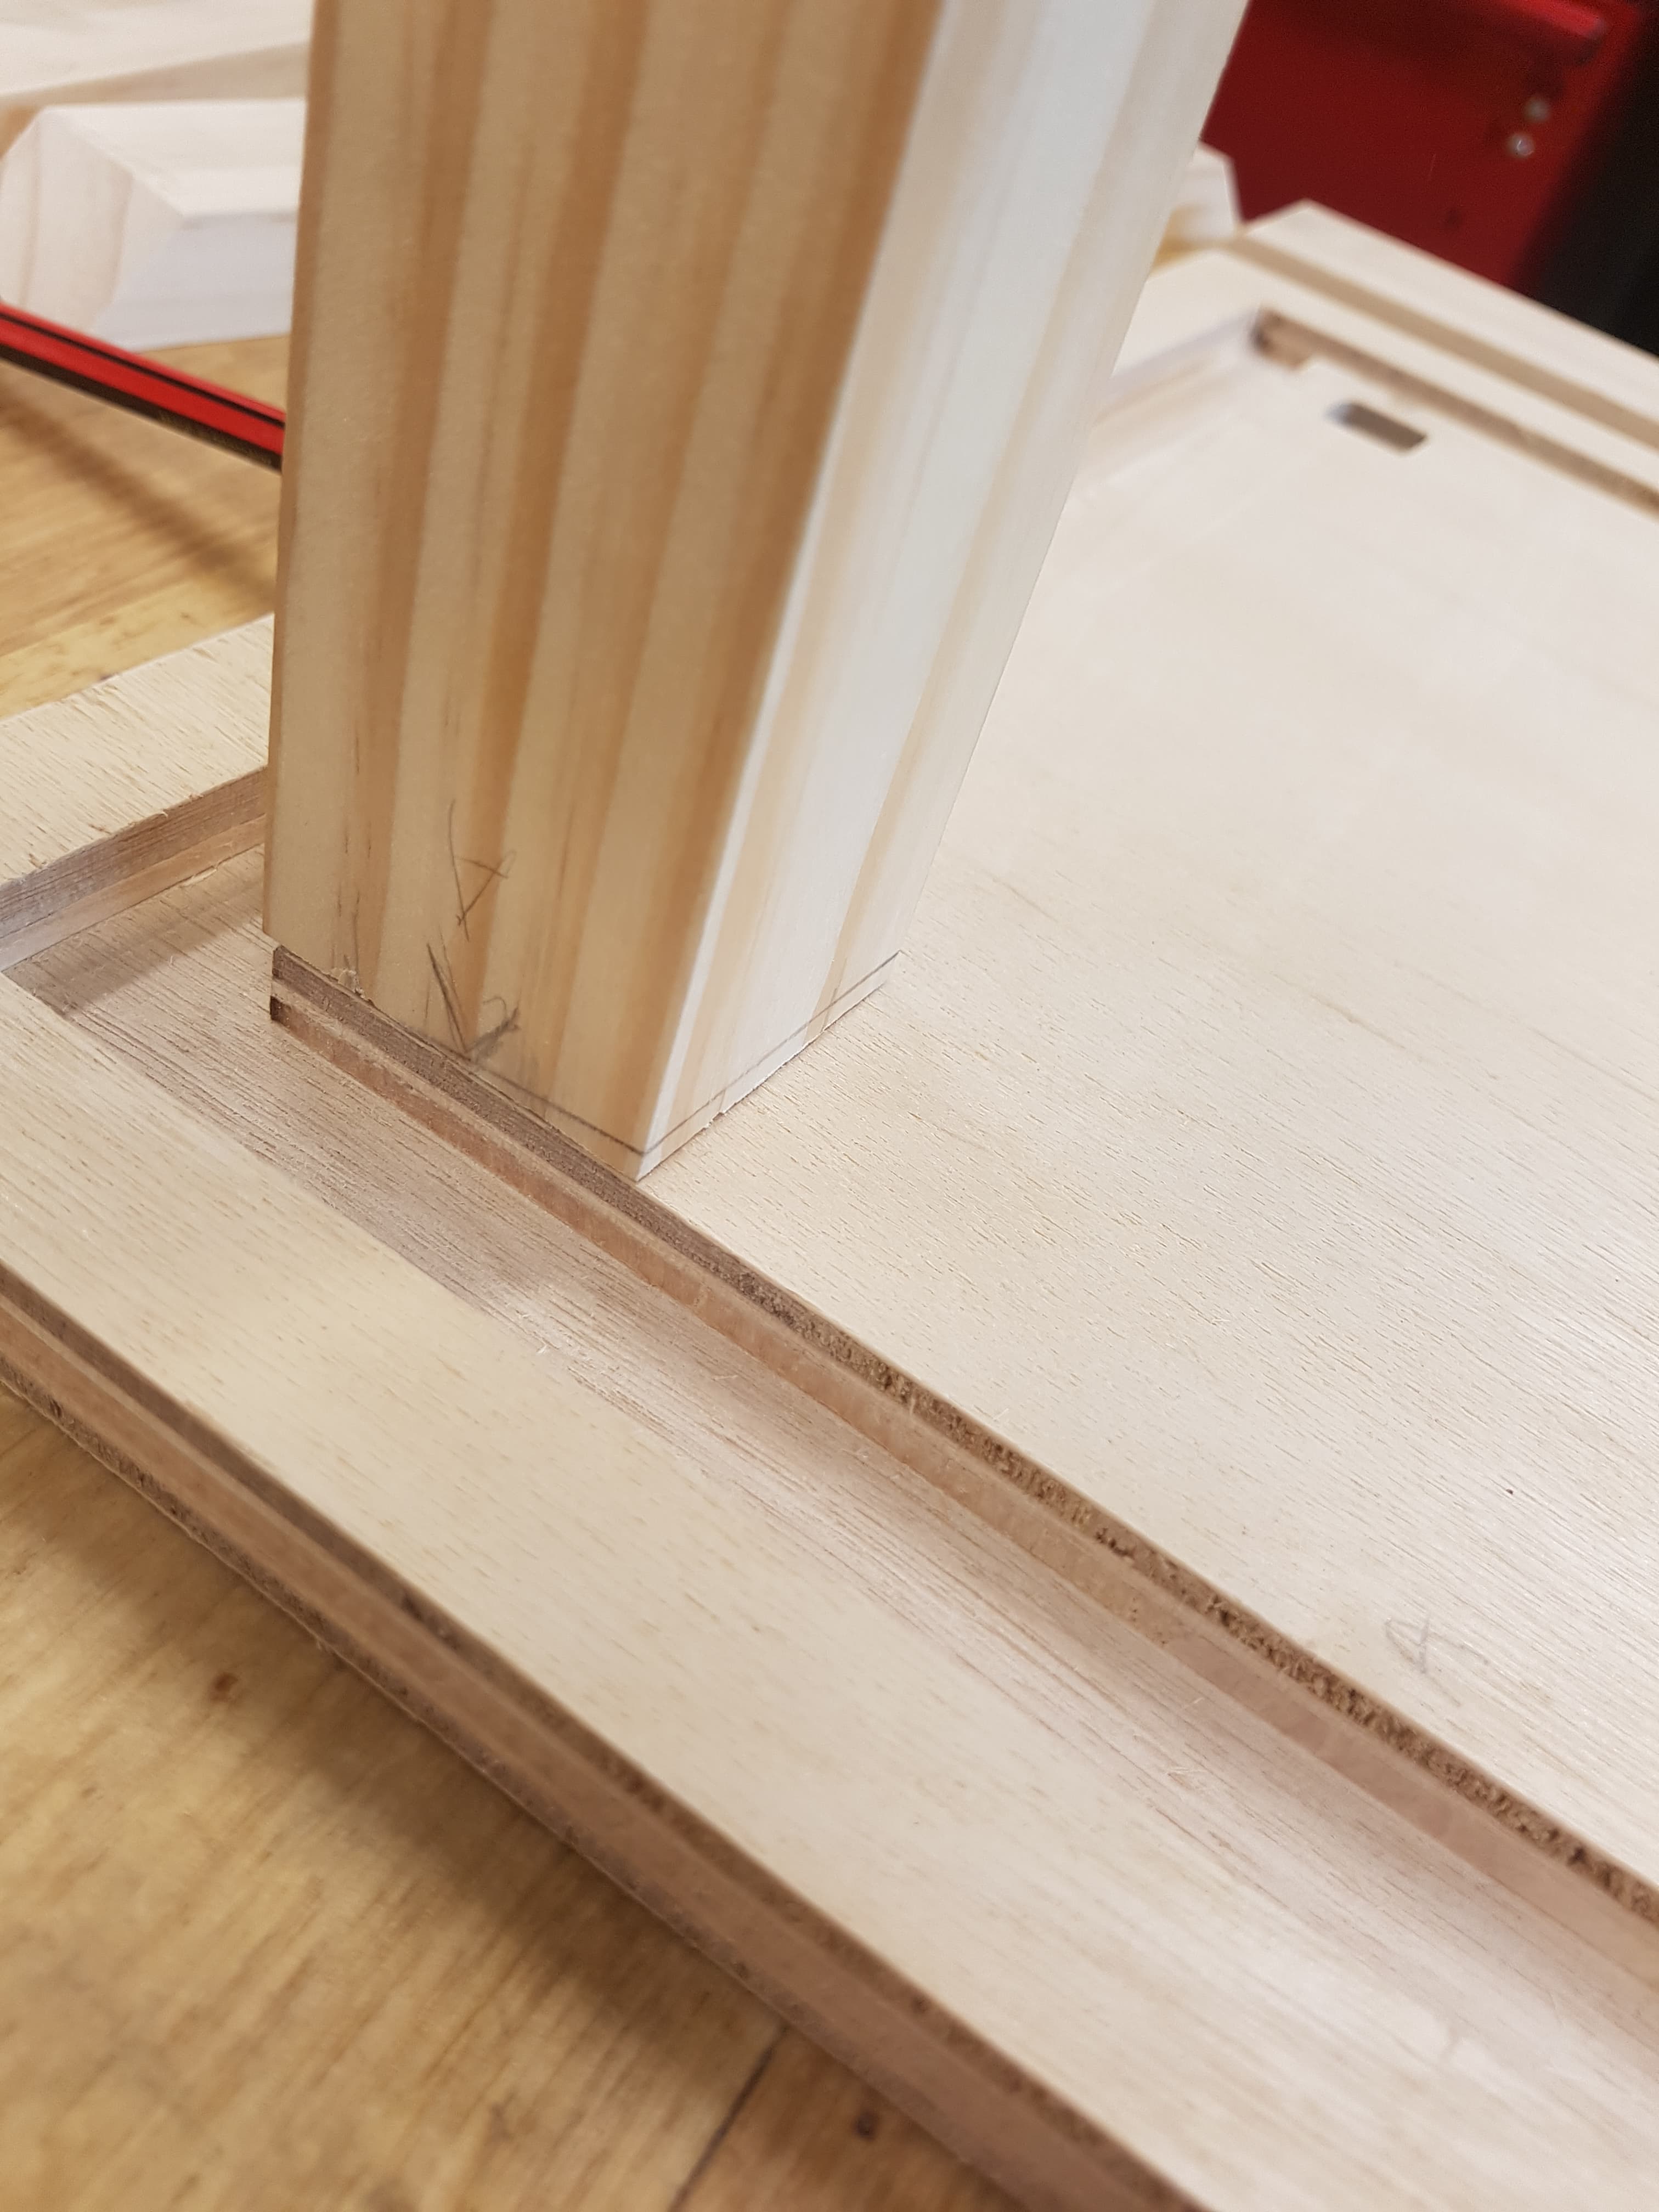
Once all the tenons had been completed to a degree, I filed down the corners so that they would fit into the rounded edges on the mortises. The legs were then dry-fit and labeled based on the side that they best fit against during the dry-fit process. this would help to reduce the number of alterations required before completing the construction
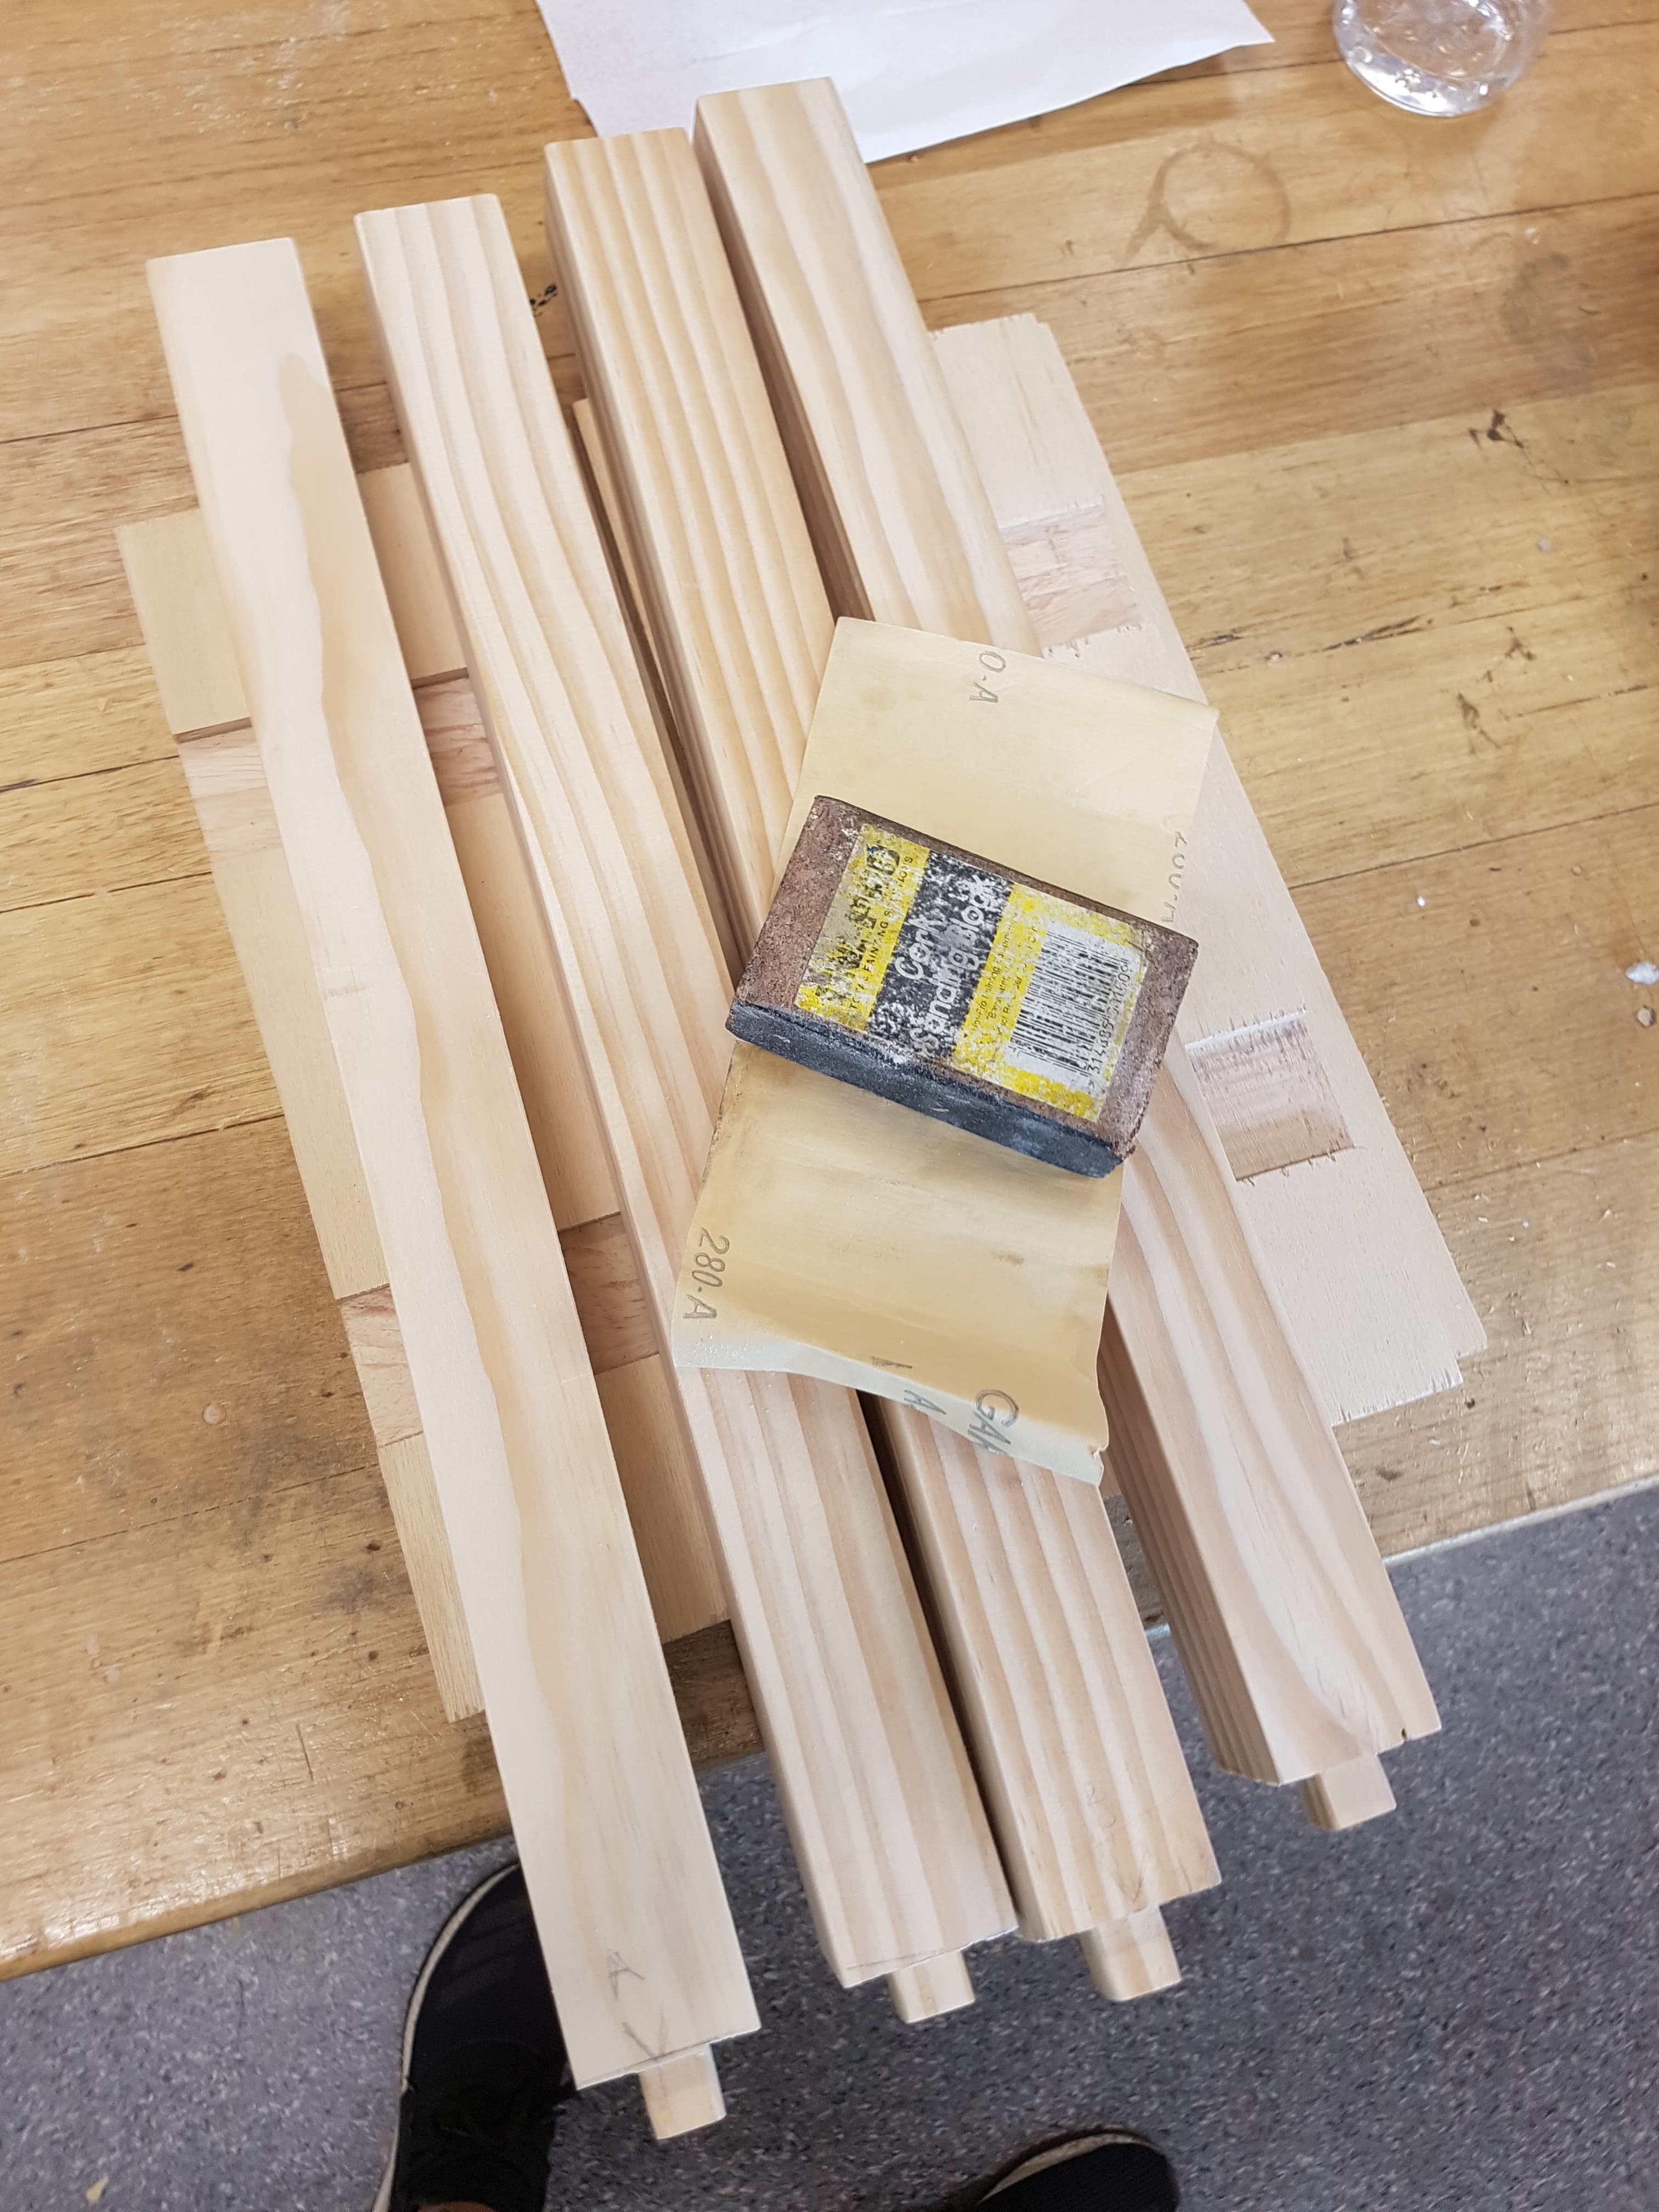
Using a fine-grit sandpaper, I cleaned up the finish on the sides of the legs before moving on. At this point I also made any necessary adjustments to the tenons in order to fit the chair seat correctly.
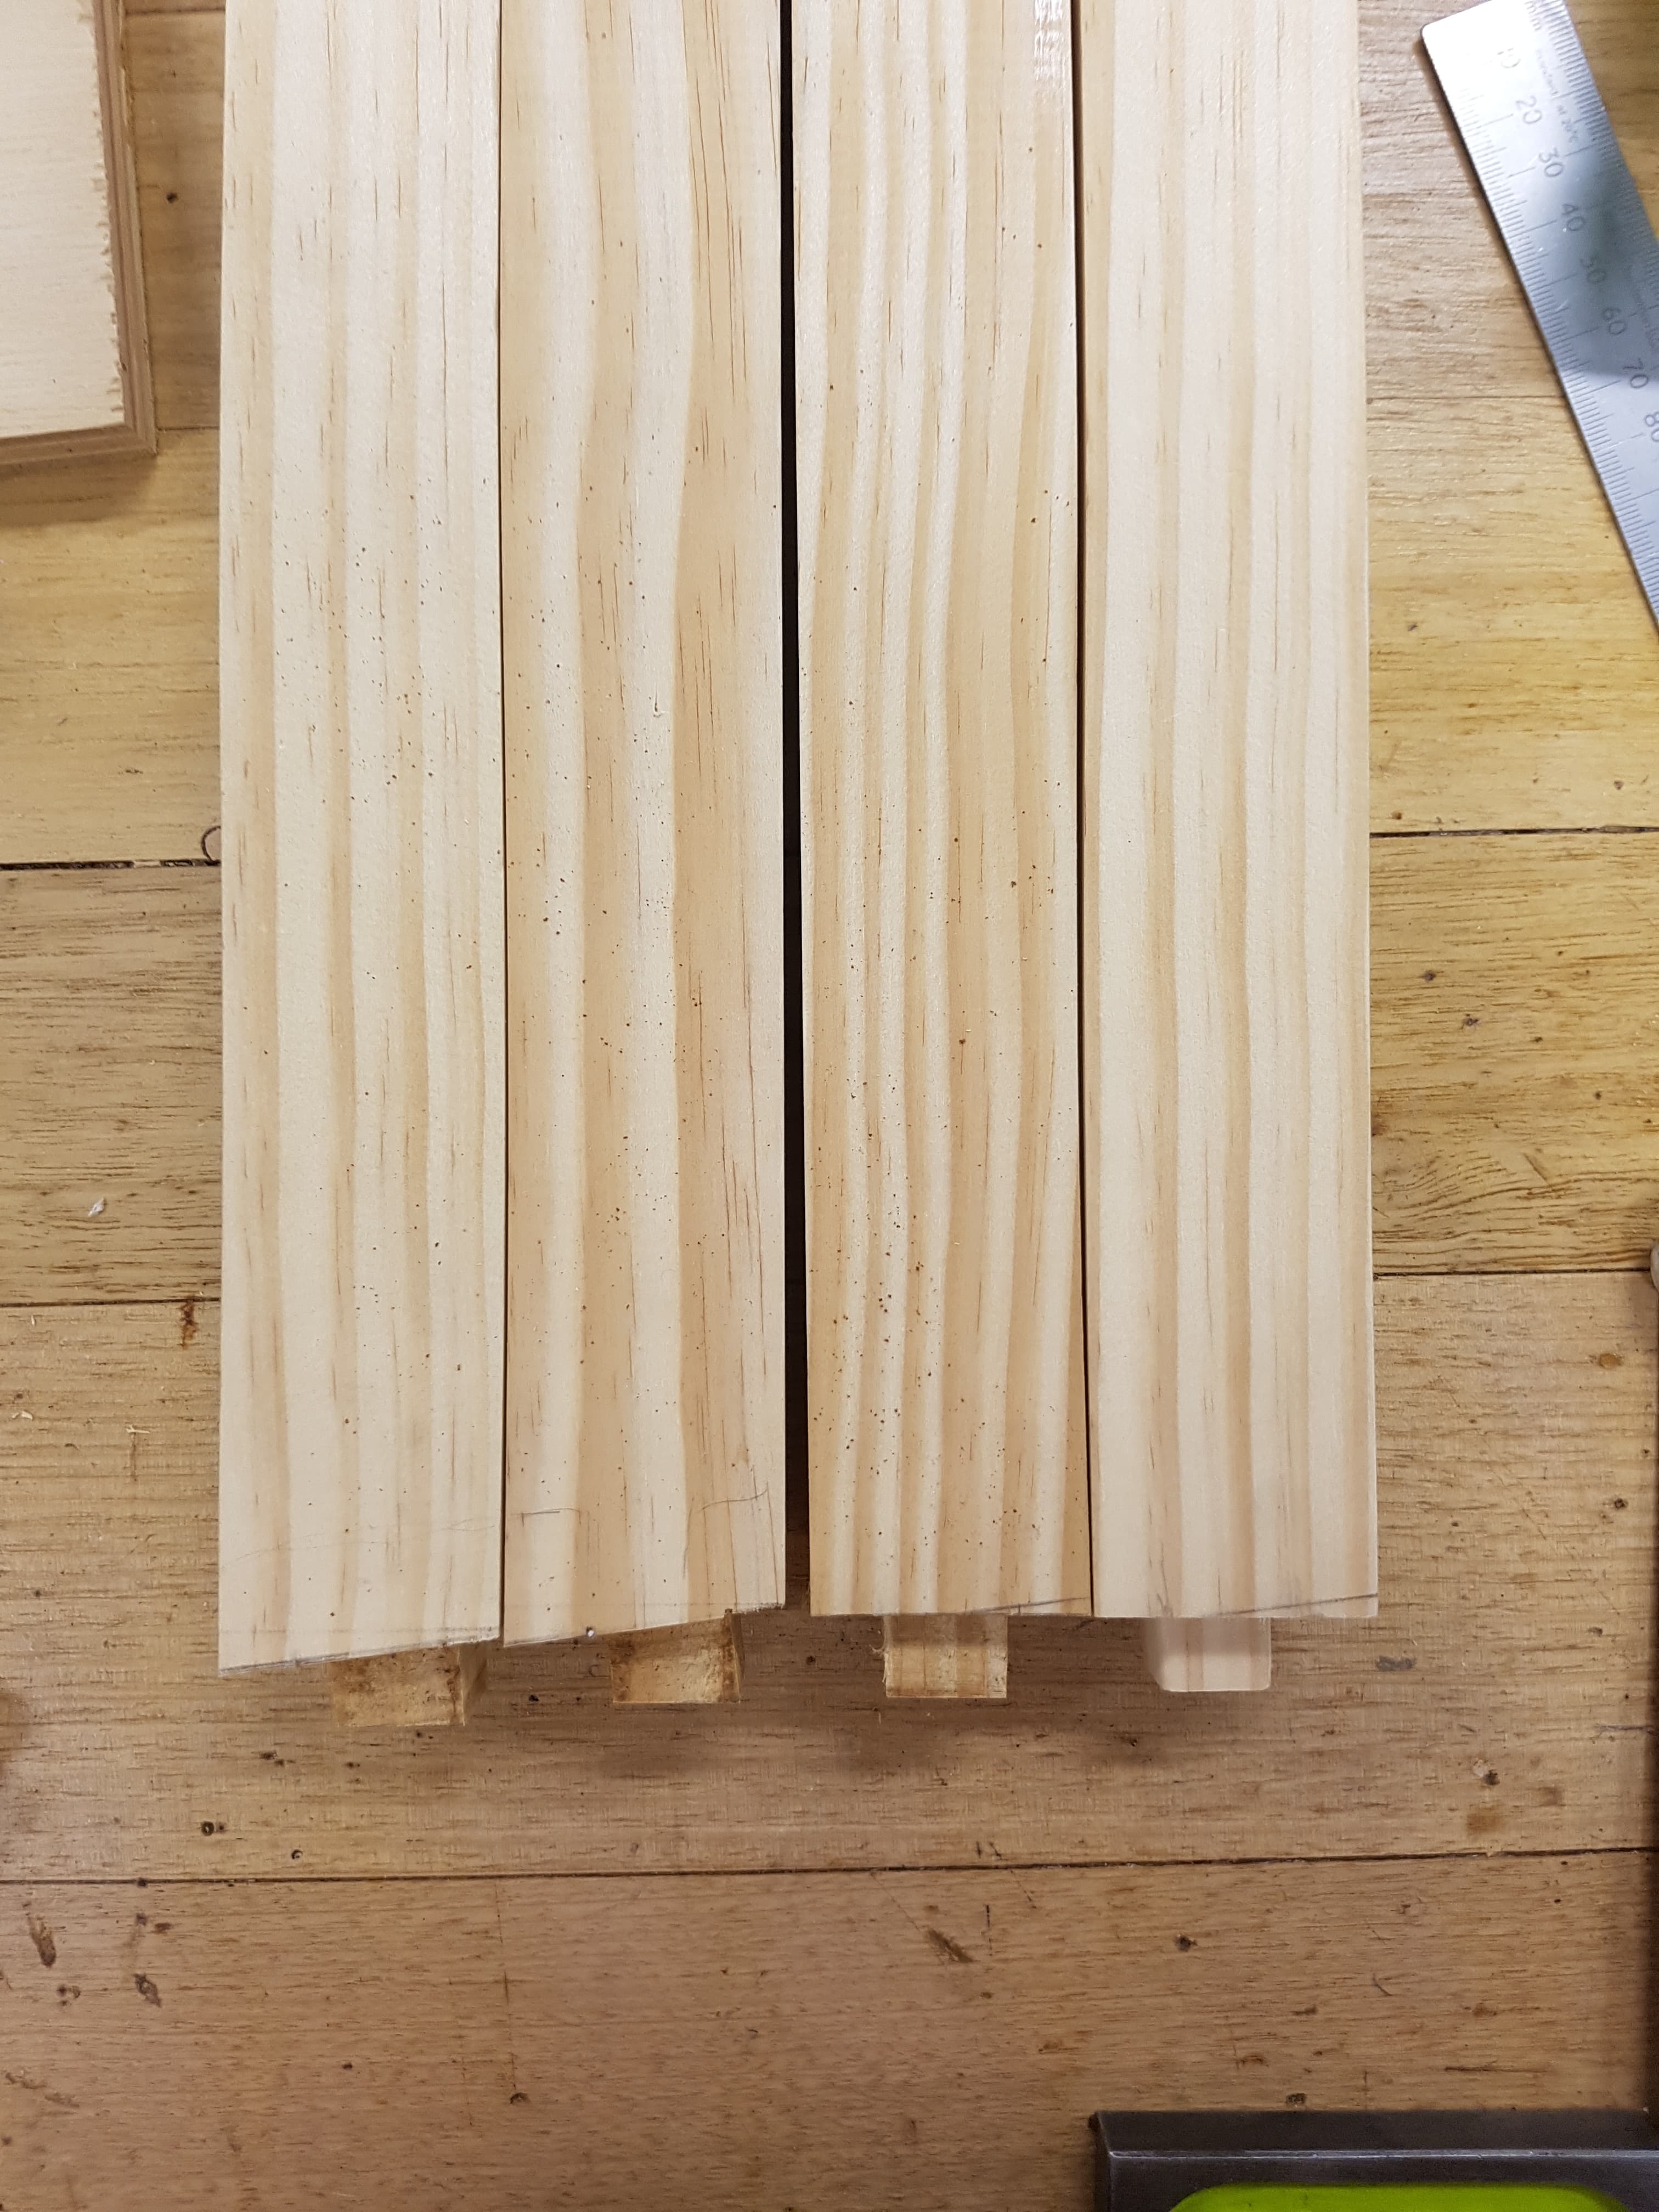
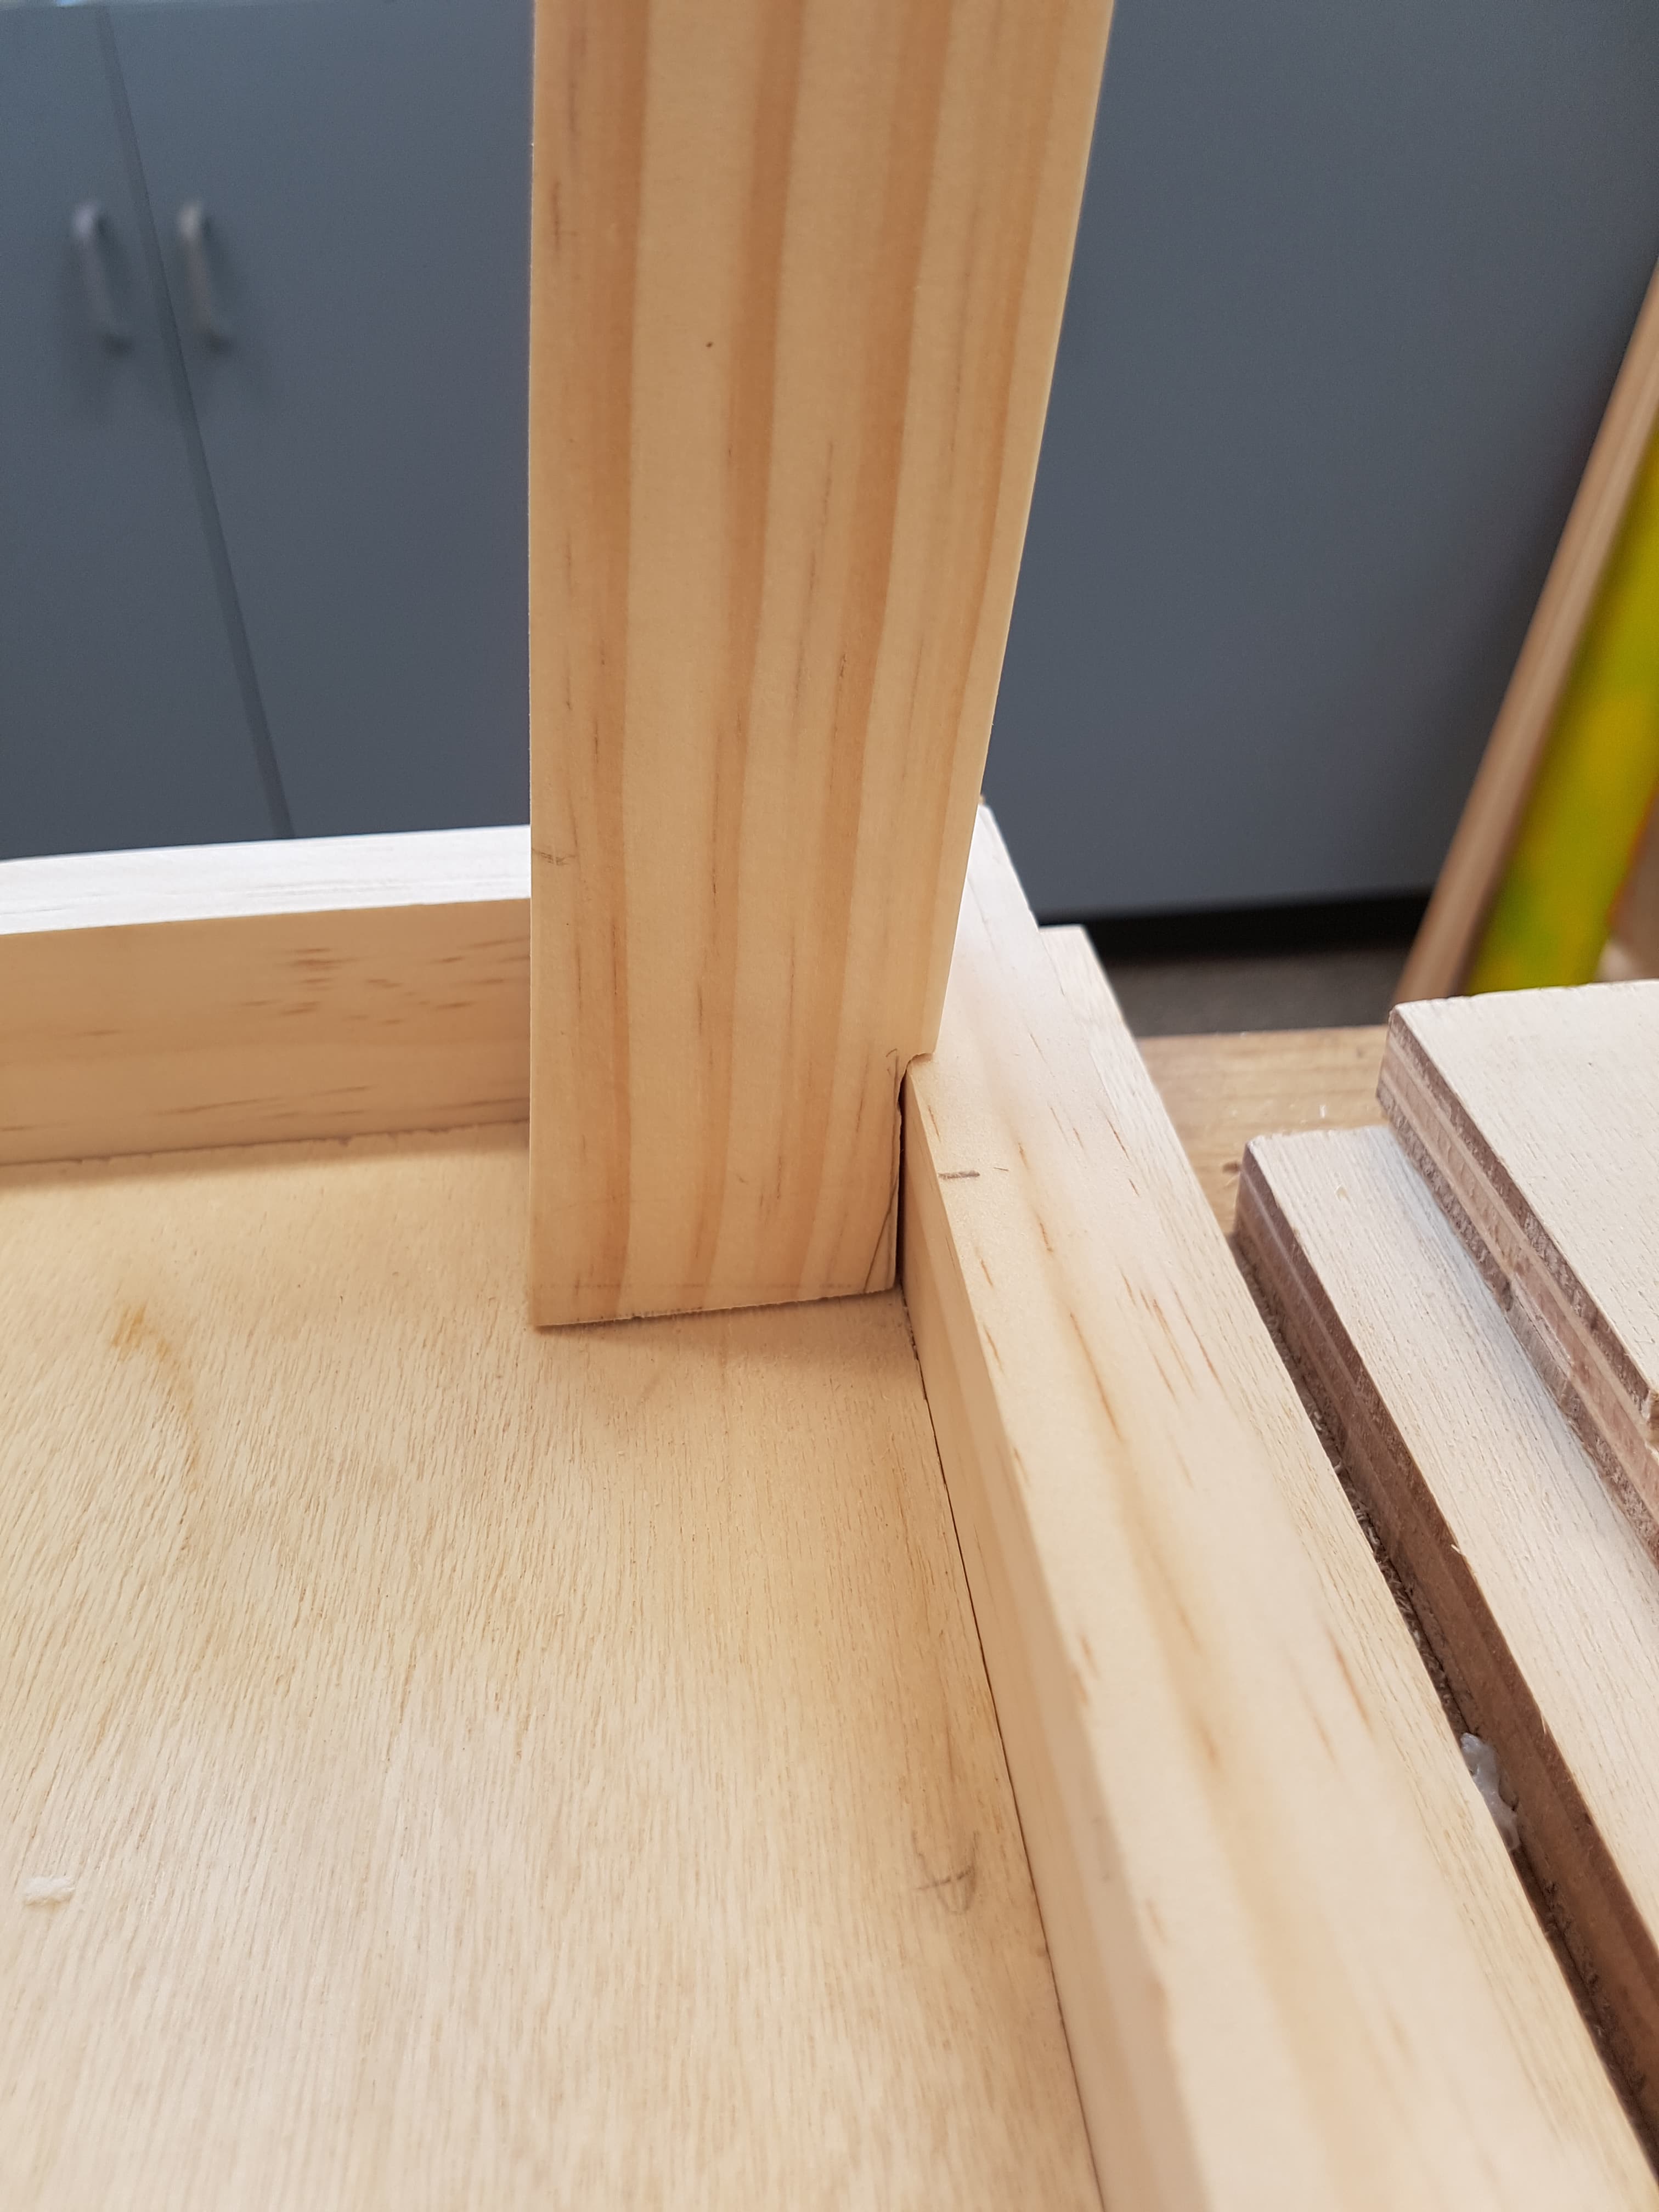
Using the same jig as used previously to cut the angles on the leg tenons, I measured a 6° shoulder into the legs in order to make the legs butt up against the inside frame and utilise the provided support.
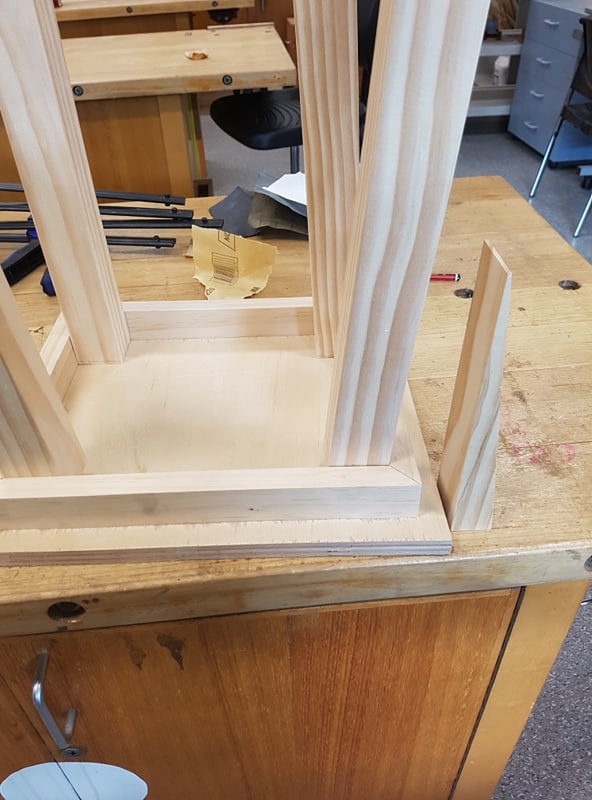
After completing the shoulders on the angled legs, another dry-fit was completed and checked for any necessary adjustment.
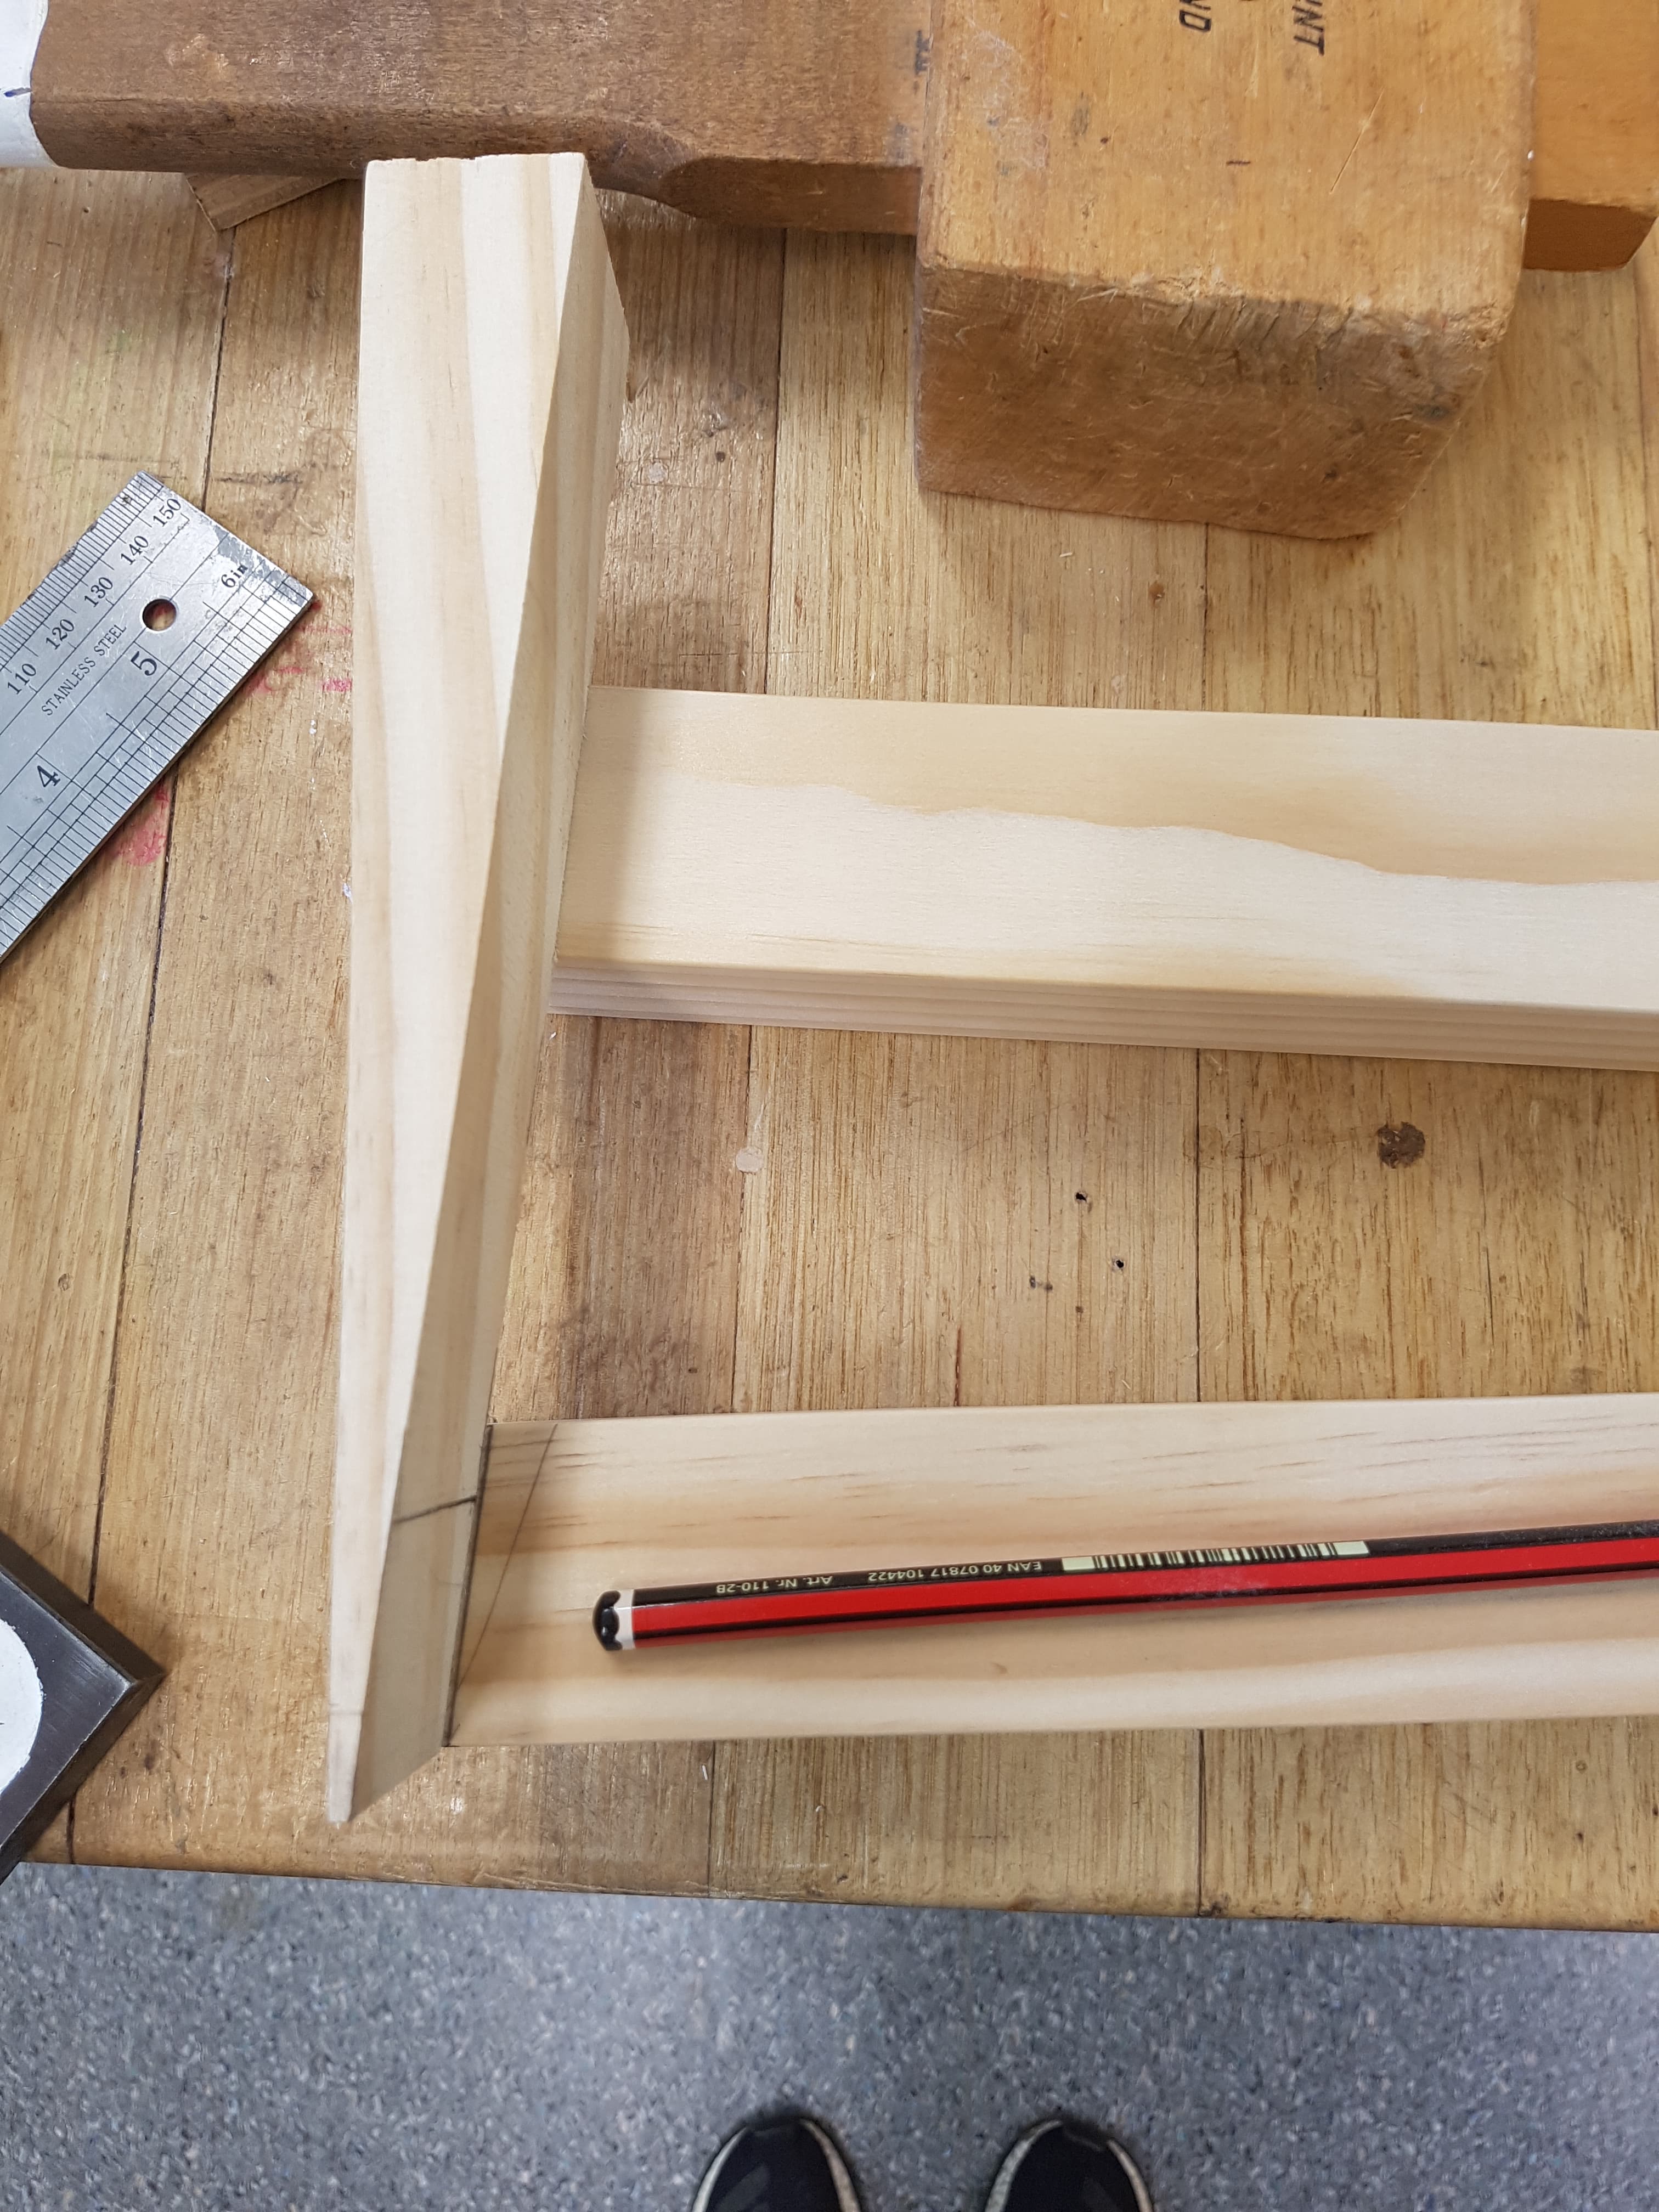
As two of the legs would be moving away from the chair at a 6° angle, the bottom of the legs would need to be cut at the same angle in order to remain flat to the ground. Once again, this was attained through use of the same jig as before.
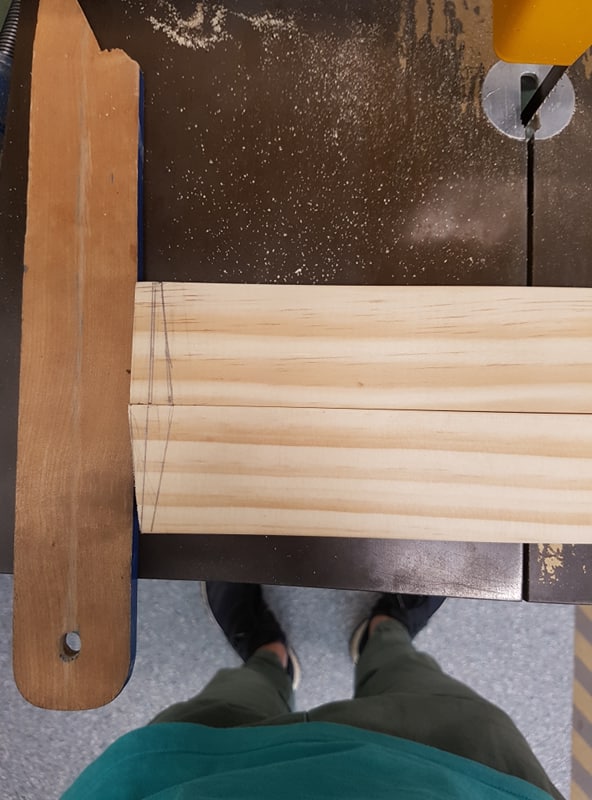
Using the bandsaw and the tapered jig to help the piece remain square to the guard, I cut the lengths off of the legs necessary to remove the excess material that had previously been allowed in case the tenons were made incorrectly.
After cutting the bottom of the legs on the bandsaw, I sanded them down in order to keep a smooth finish, while trying to maintain the square of the bottom as much as possible to avoid rocking.
After each leg had been cut to size, I checked another dry-fit and place the stool on the ground to make sure that it was sit with each leg an equal distance from the ground.
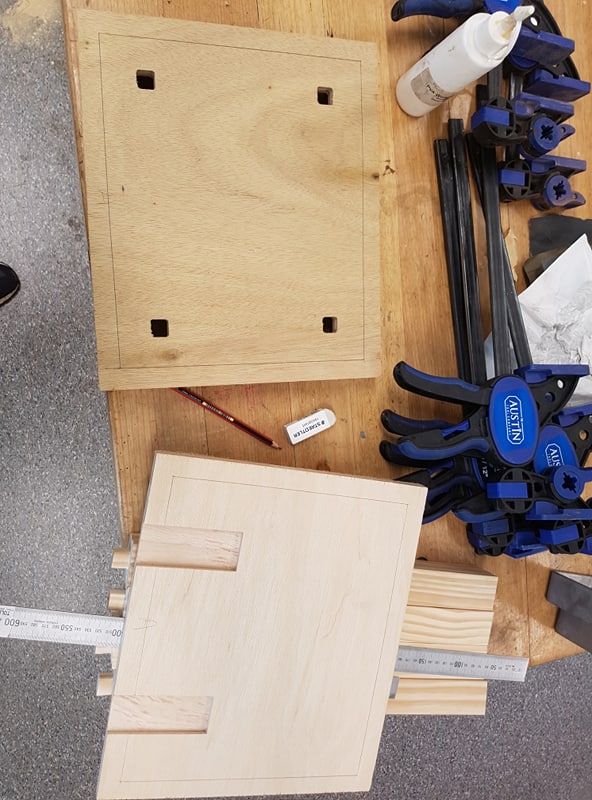
Before gluing each piece of the seat together, a line was pencilled around the frame of the top piece so that after gluing, screws could be put through both pieces of the seat and into the mitred frame underneath. This level of stability was not required, but would help to further stabilise the legs and avoid breakage, particularly in a classroom environment. After gluing, 35mm screws went around the inside of the pencilled line.
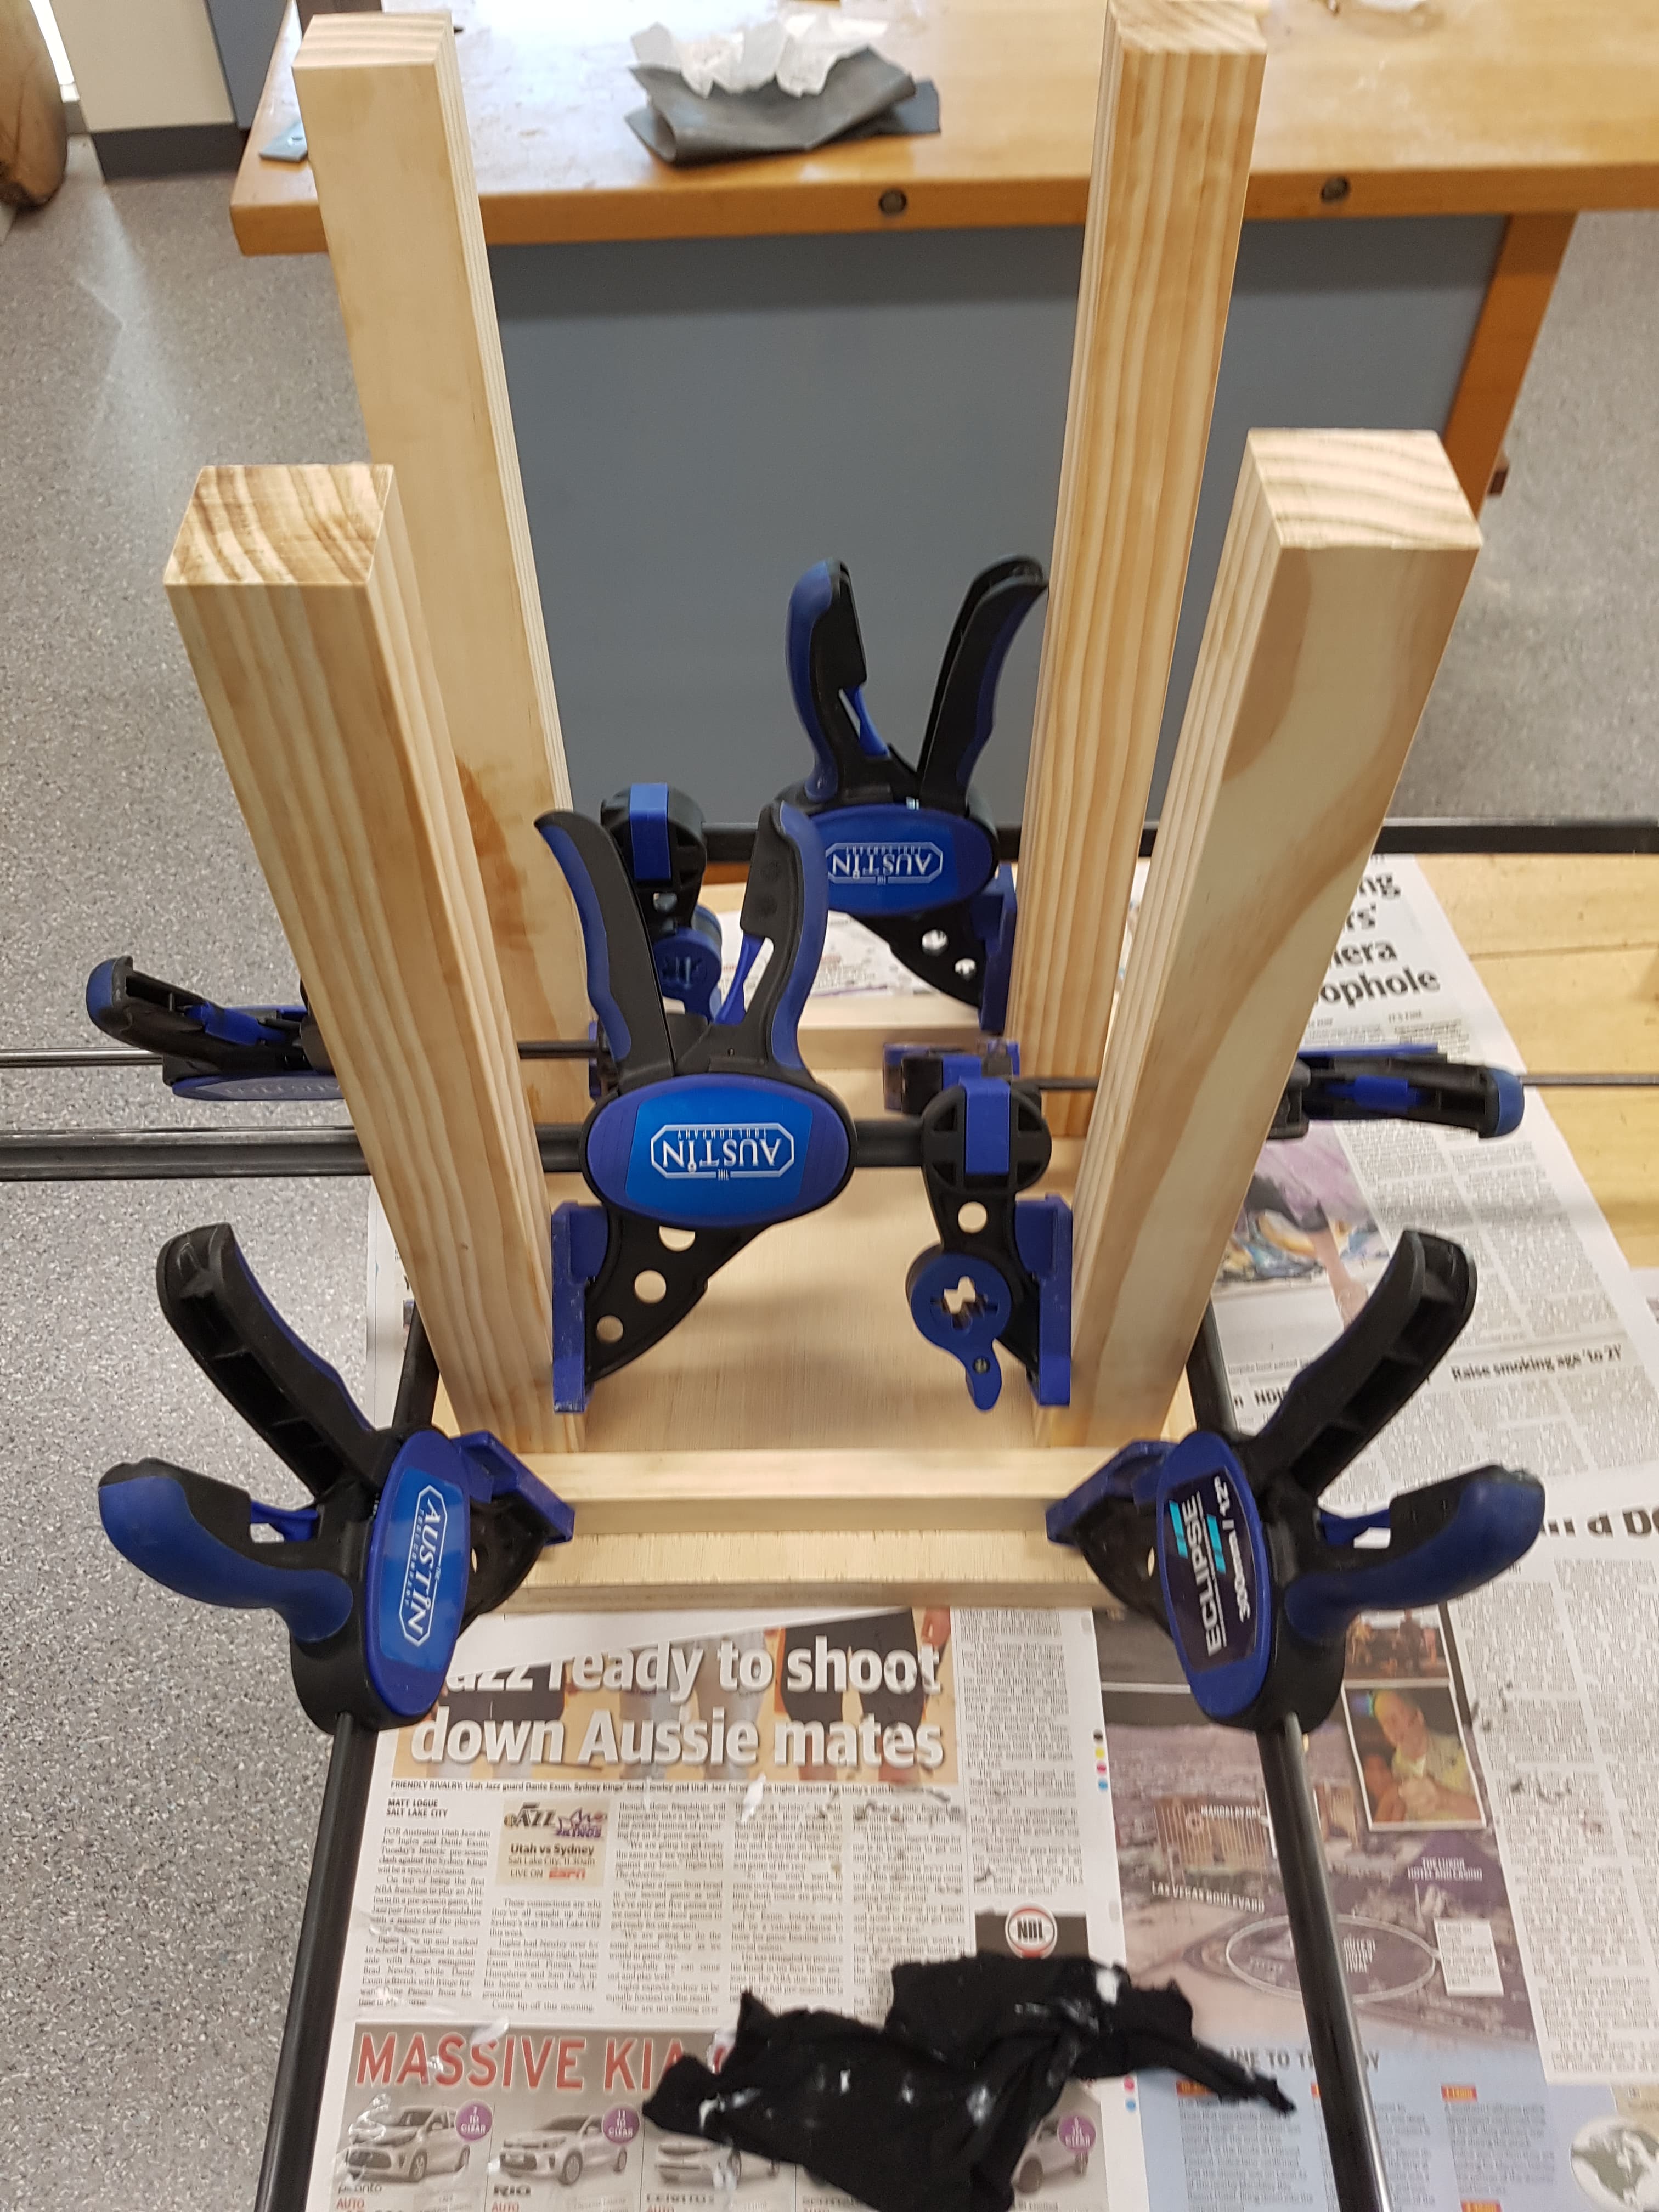
After the seat had had time to dry, the clamps were removed and two of them inverted in order to be used to maintain the shape of the legs. Ample glue was used in the mortises and around the sides of the legs that would be butted up against the mitred frame. A clamp was used to hold each leg to the mitred frame, and one per side to hold the square shape and prevent deformation while the glue dried.
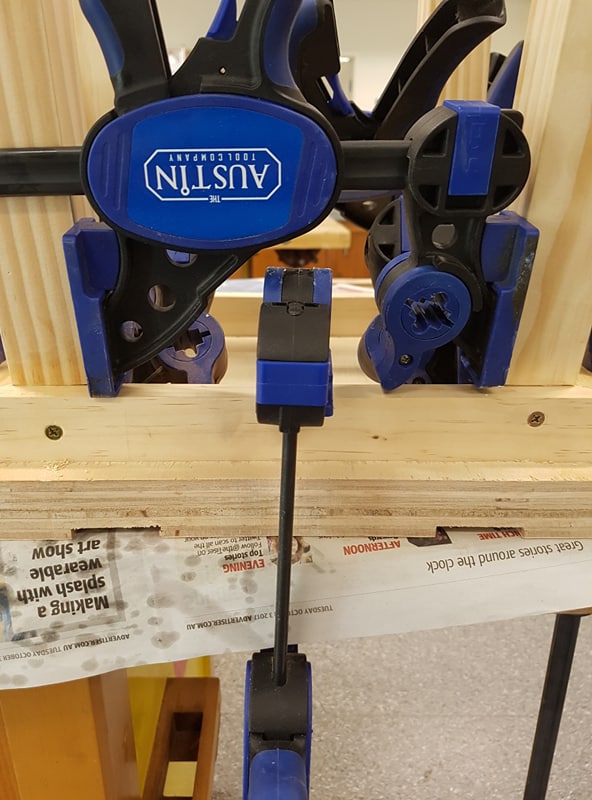
I fastened the stool to the workbench using a further two clamps before drilling small pilot holes through the frame and legs. These were then filled with 35mm screws to provide further stability and to utilise the function of the mitre frame once again.
Once the glue had been given long enough to dry, I finished the piece with another light sanding, and used a sealing wax to provide a finish that would not alter the colour of the wood too dramatically, but would help to reduce the effect of time on the piece.
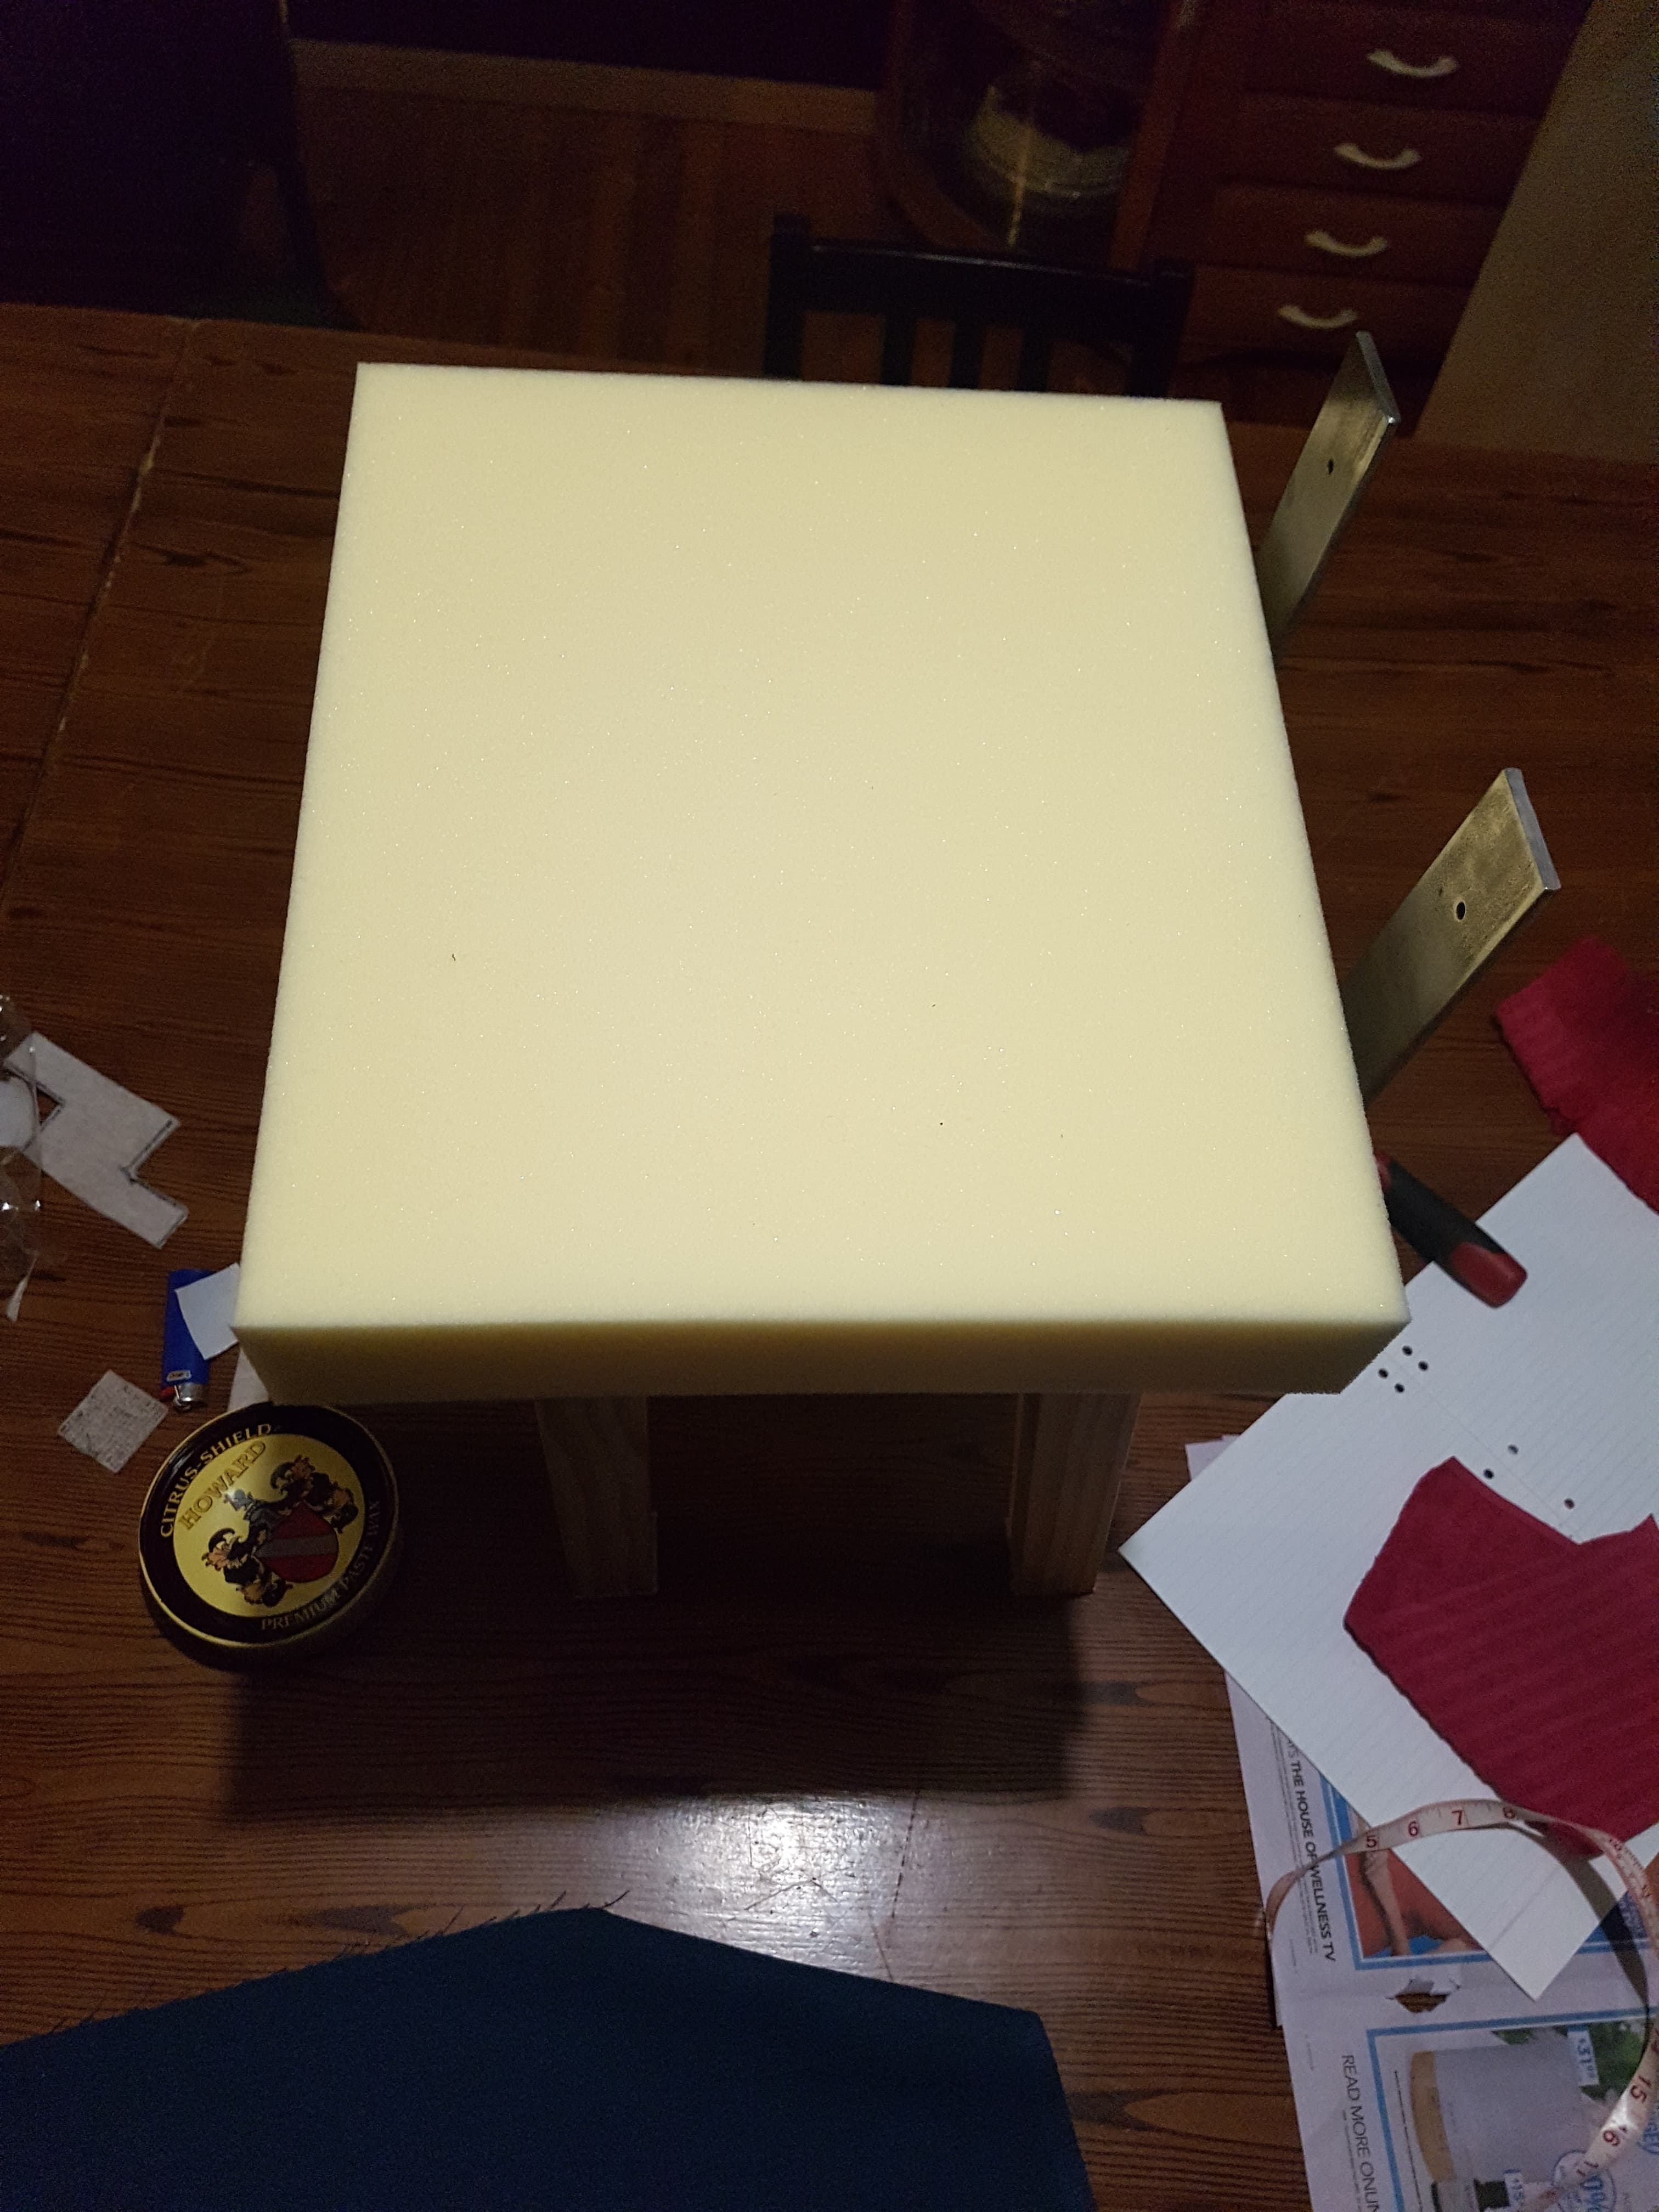
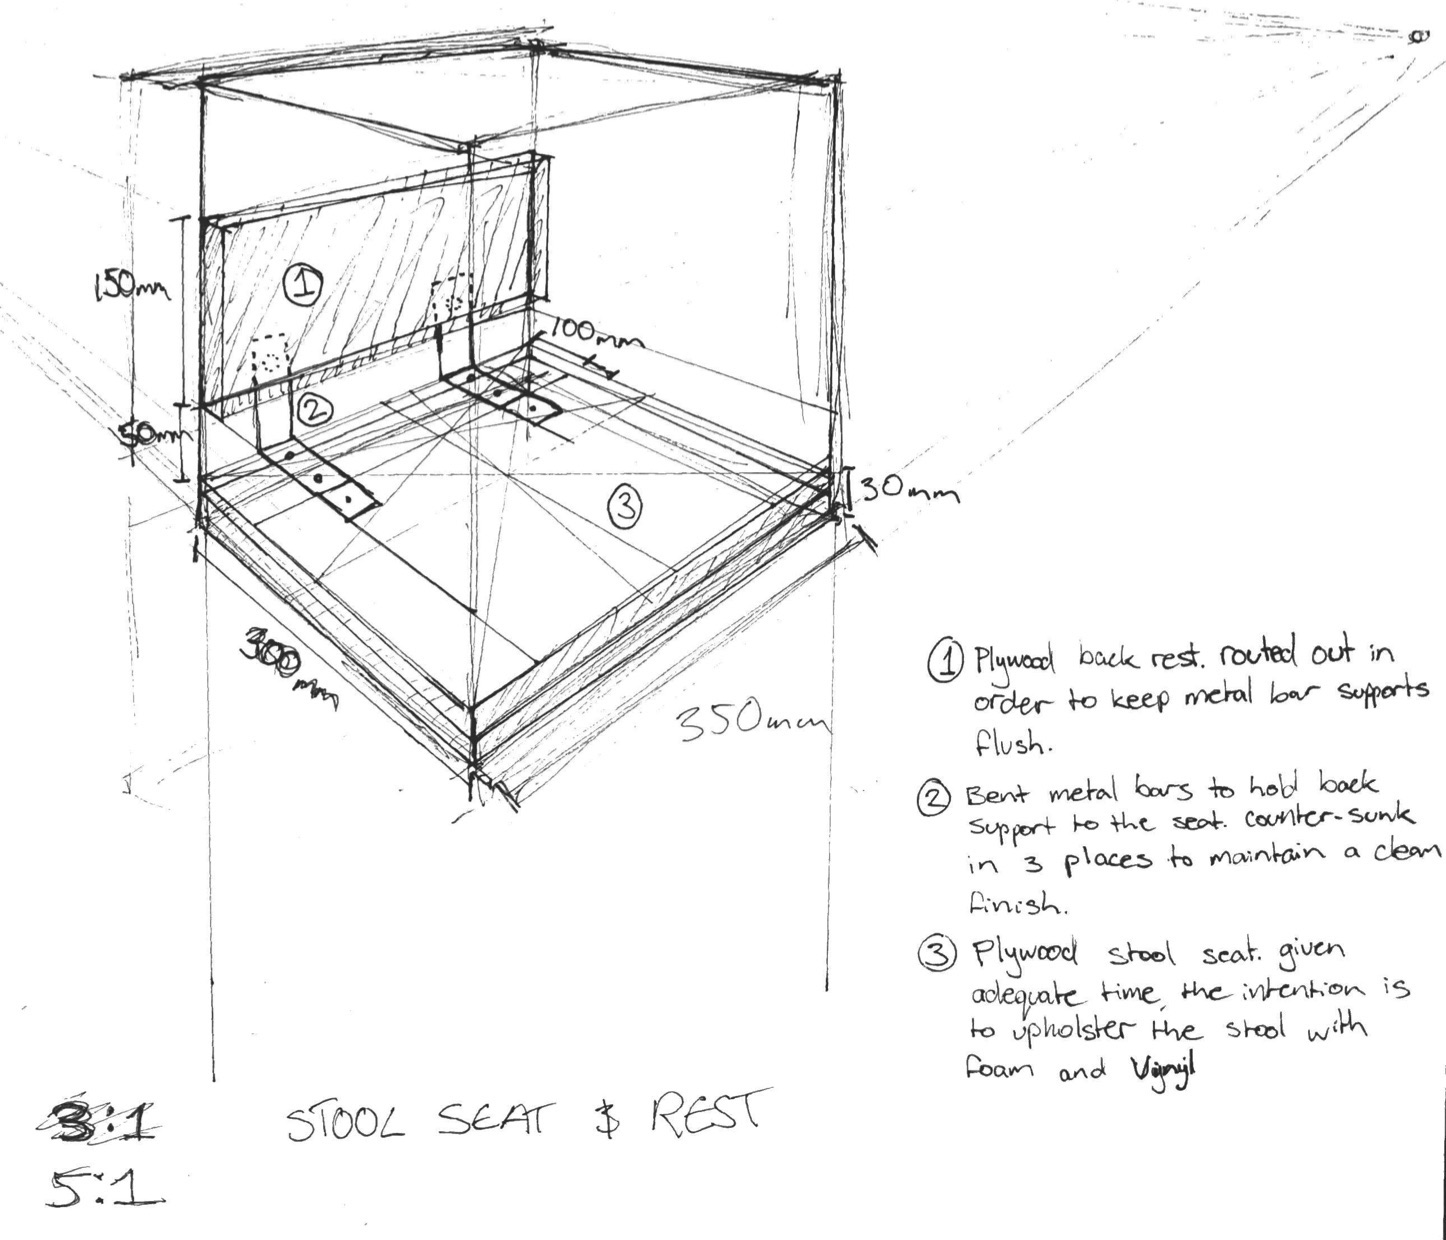
Giving the wax enough time to soak and set in the grain of the wood, I then screwed the brackets into the bottom of the seat before beginning the upholstery process.
Using a staple gun, I first stapled the material down to the top-side of the seat, as this would be the best way to ensure a clean finish to the upholstery given the positioning of the metal brackets at the back of the stool. The foam was then placed on top of the seat, and then the seat flipped over in order to staple the rest of the material to the underside of the stool.
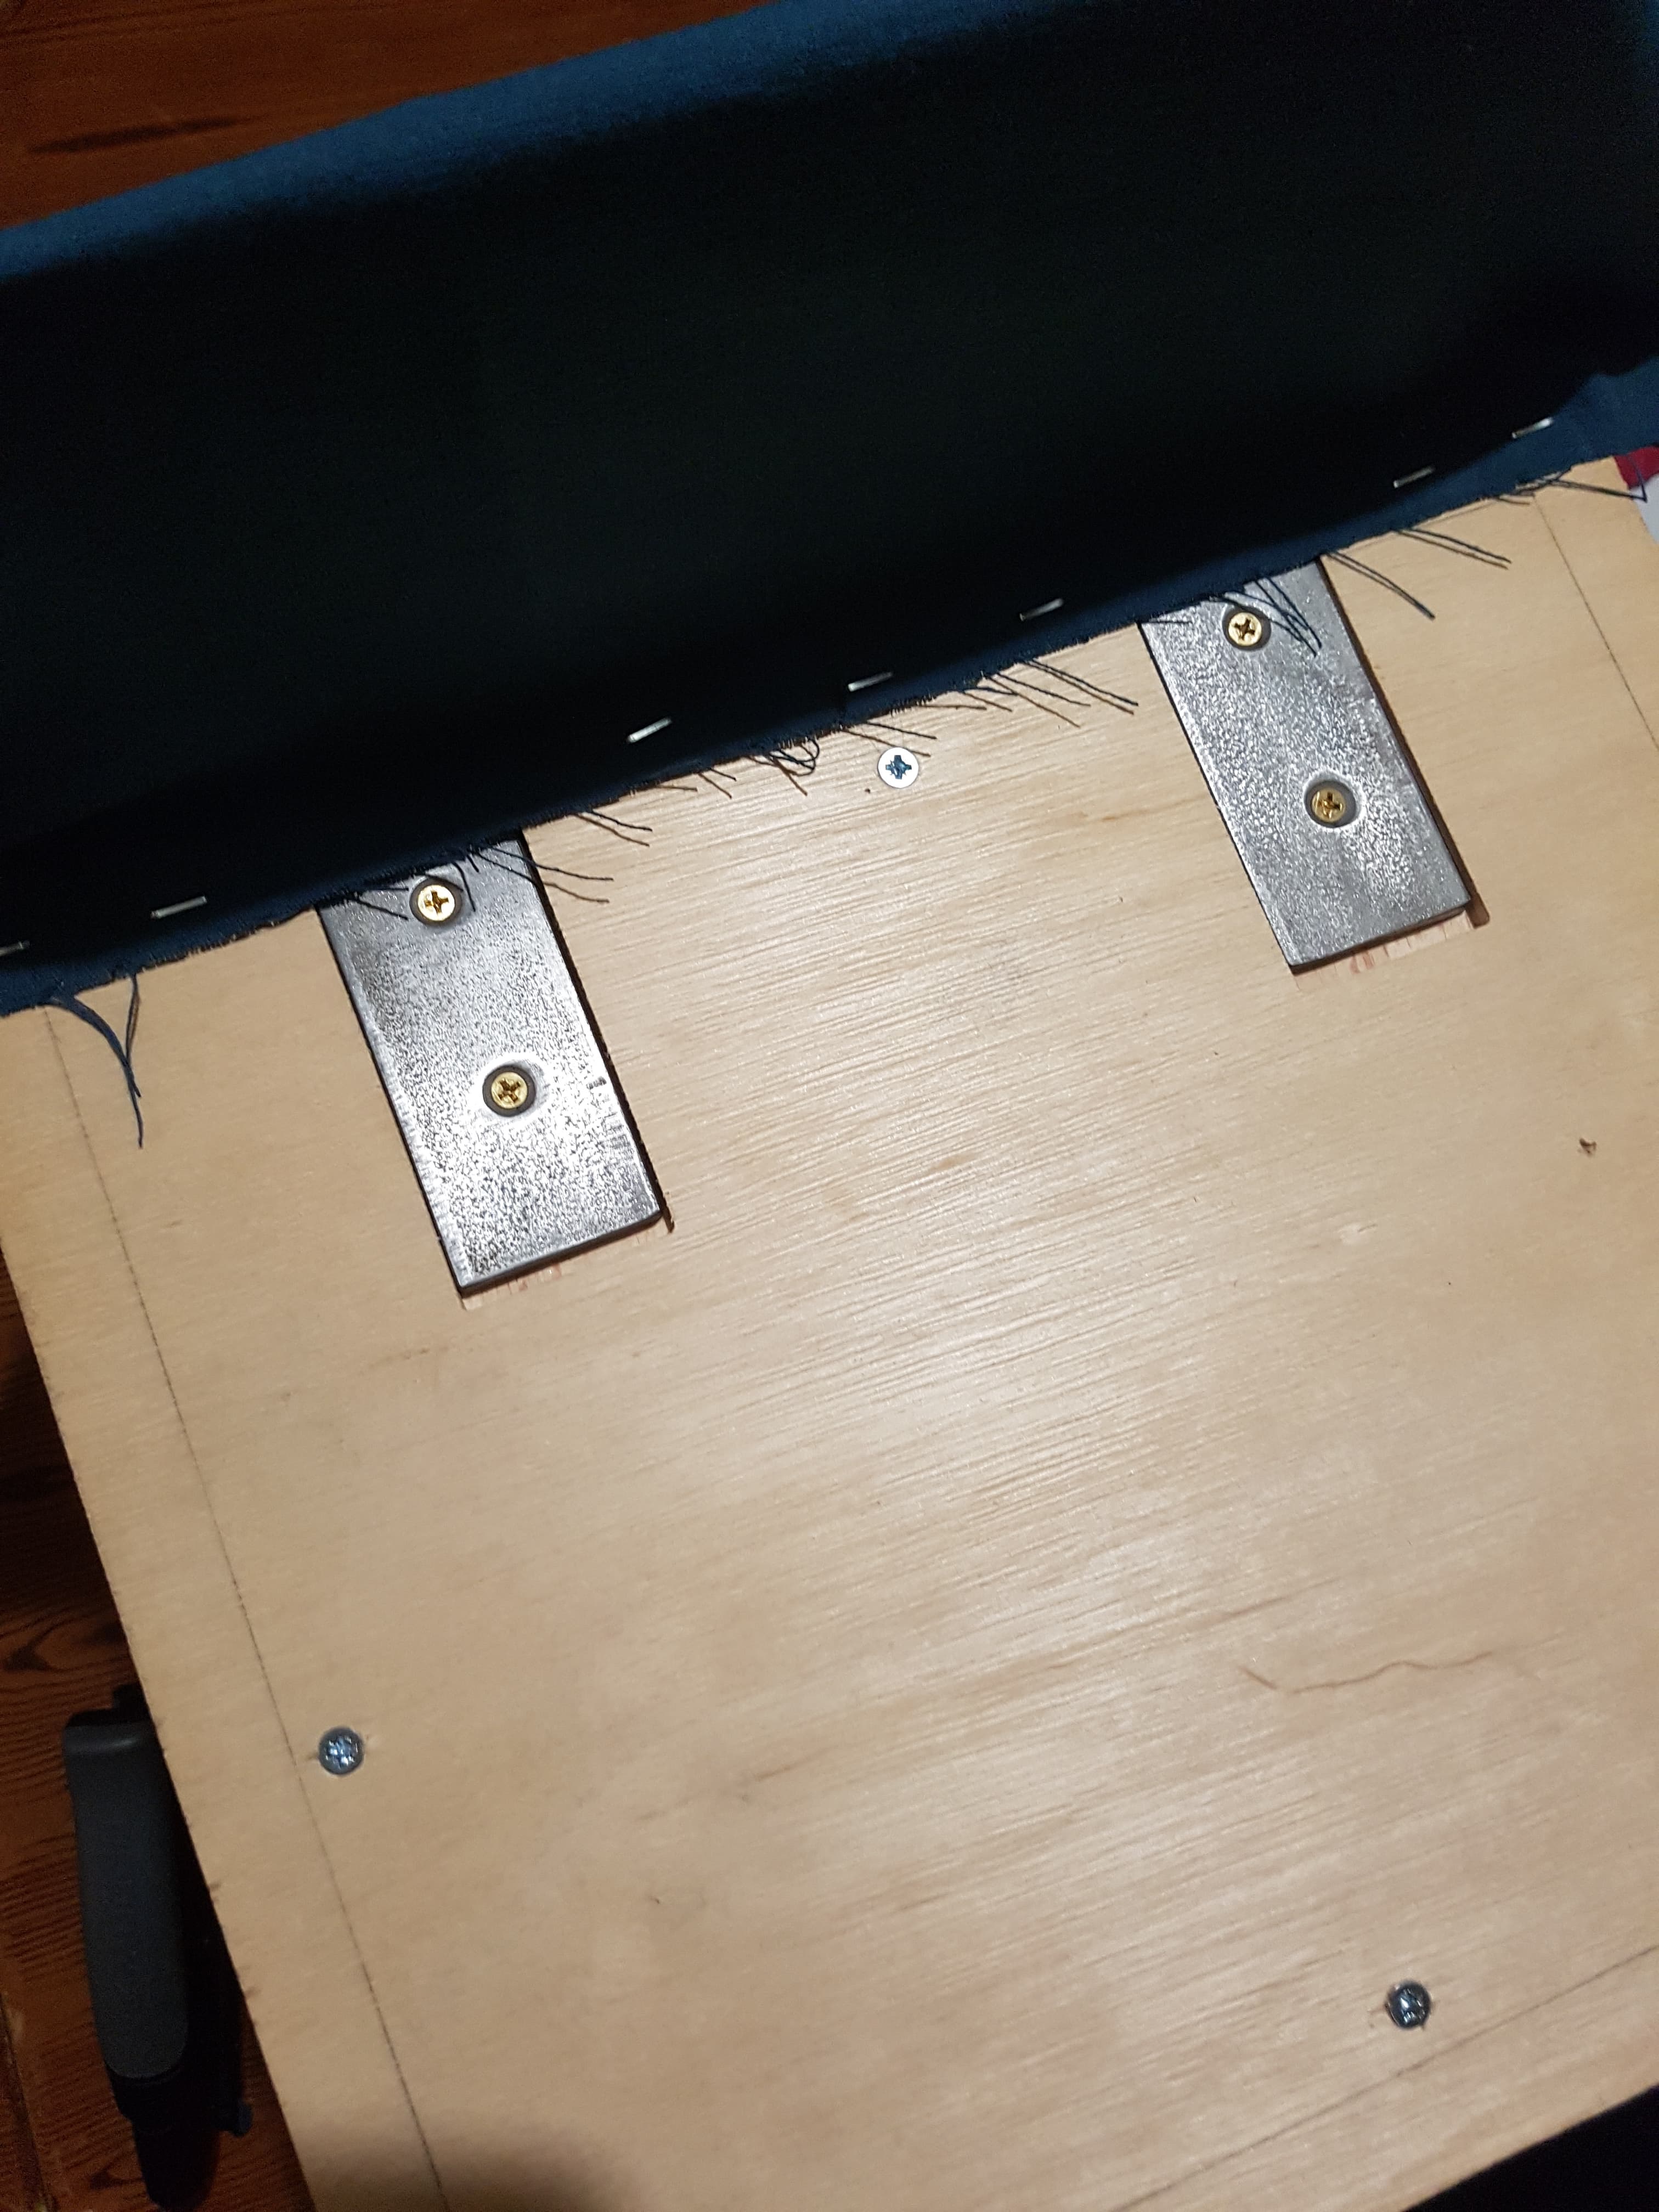
starting with the pleated corners at the back before moving down the sides, I used the staple gun to attach the material to the chair and fasten the cushion held underneath to the seat. The last part of the stool to be upholstered was the front facing side, as the loose material here would be most visible and needed to completed with a calculated focus.
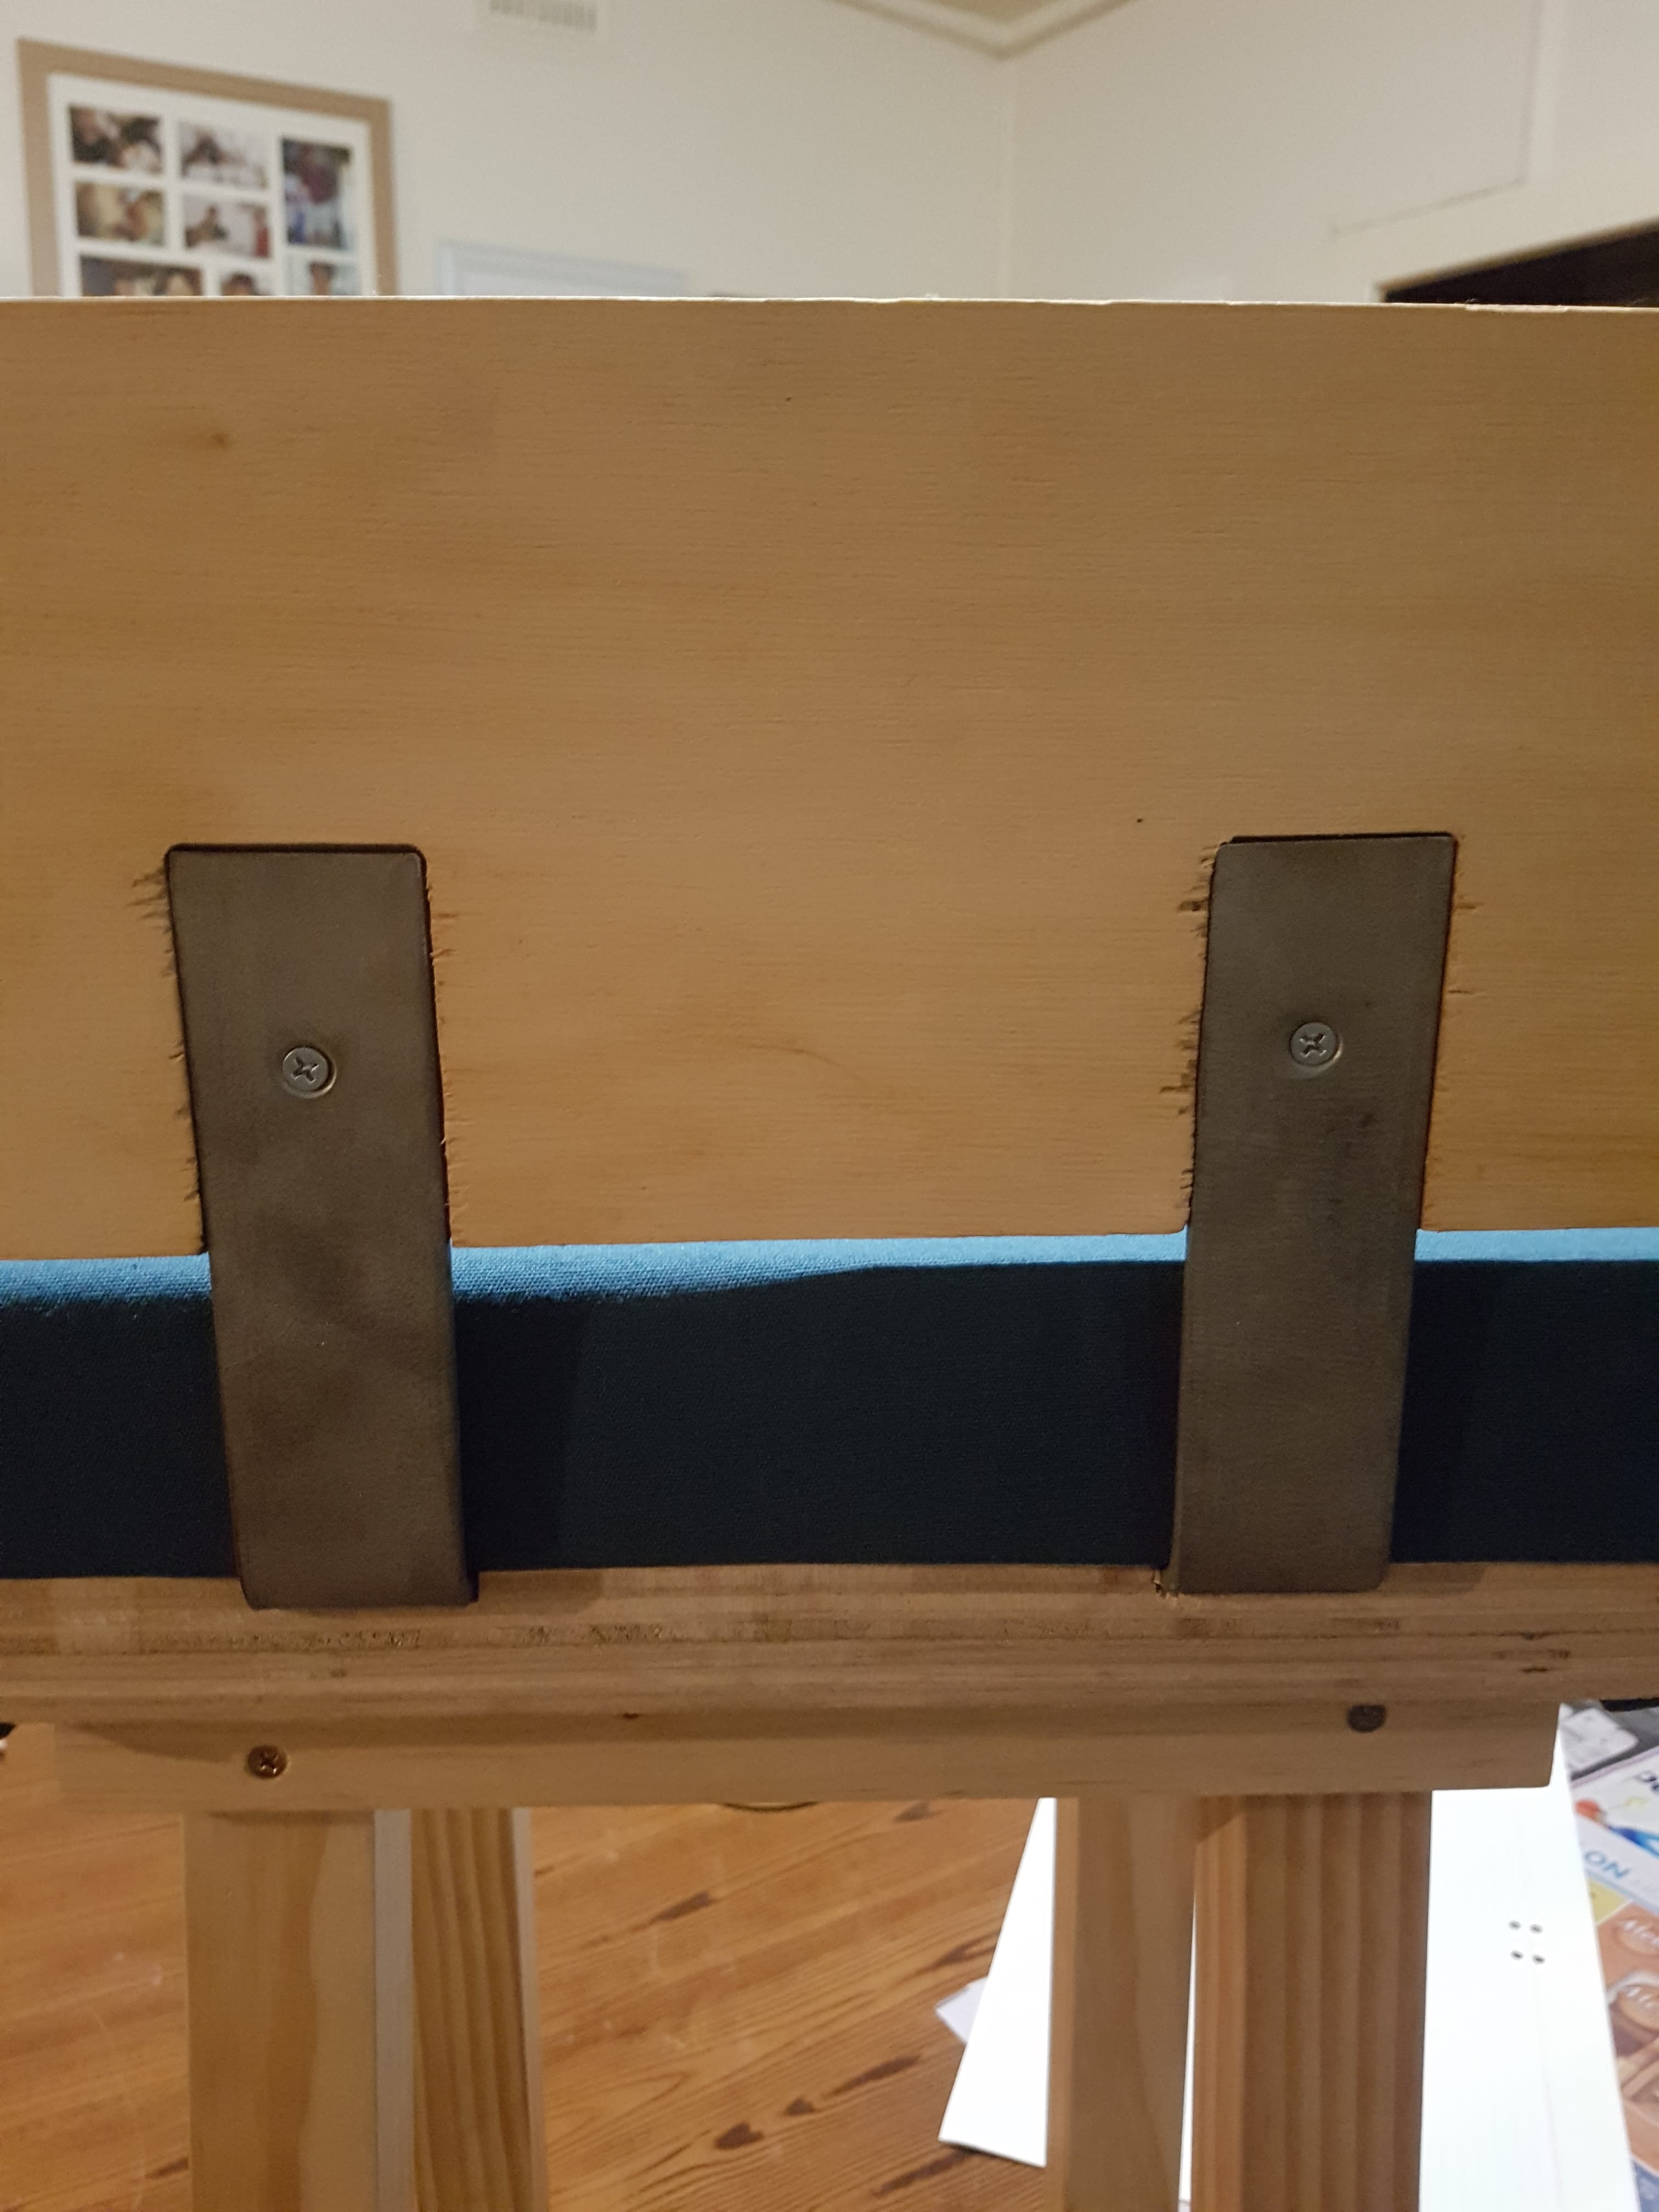
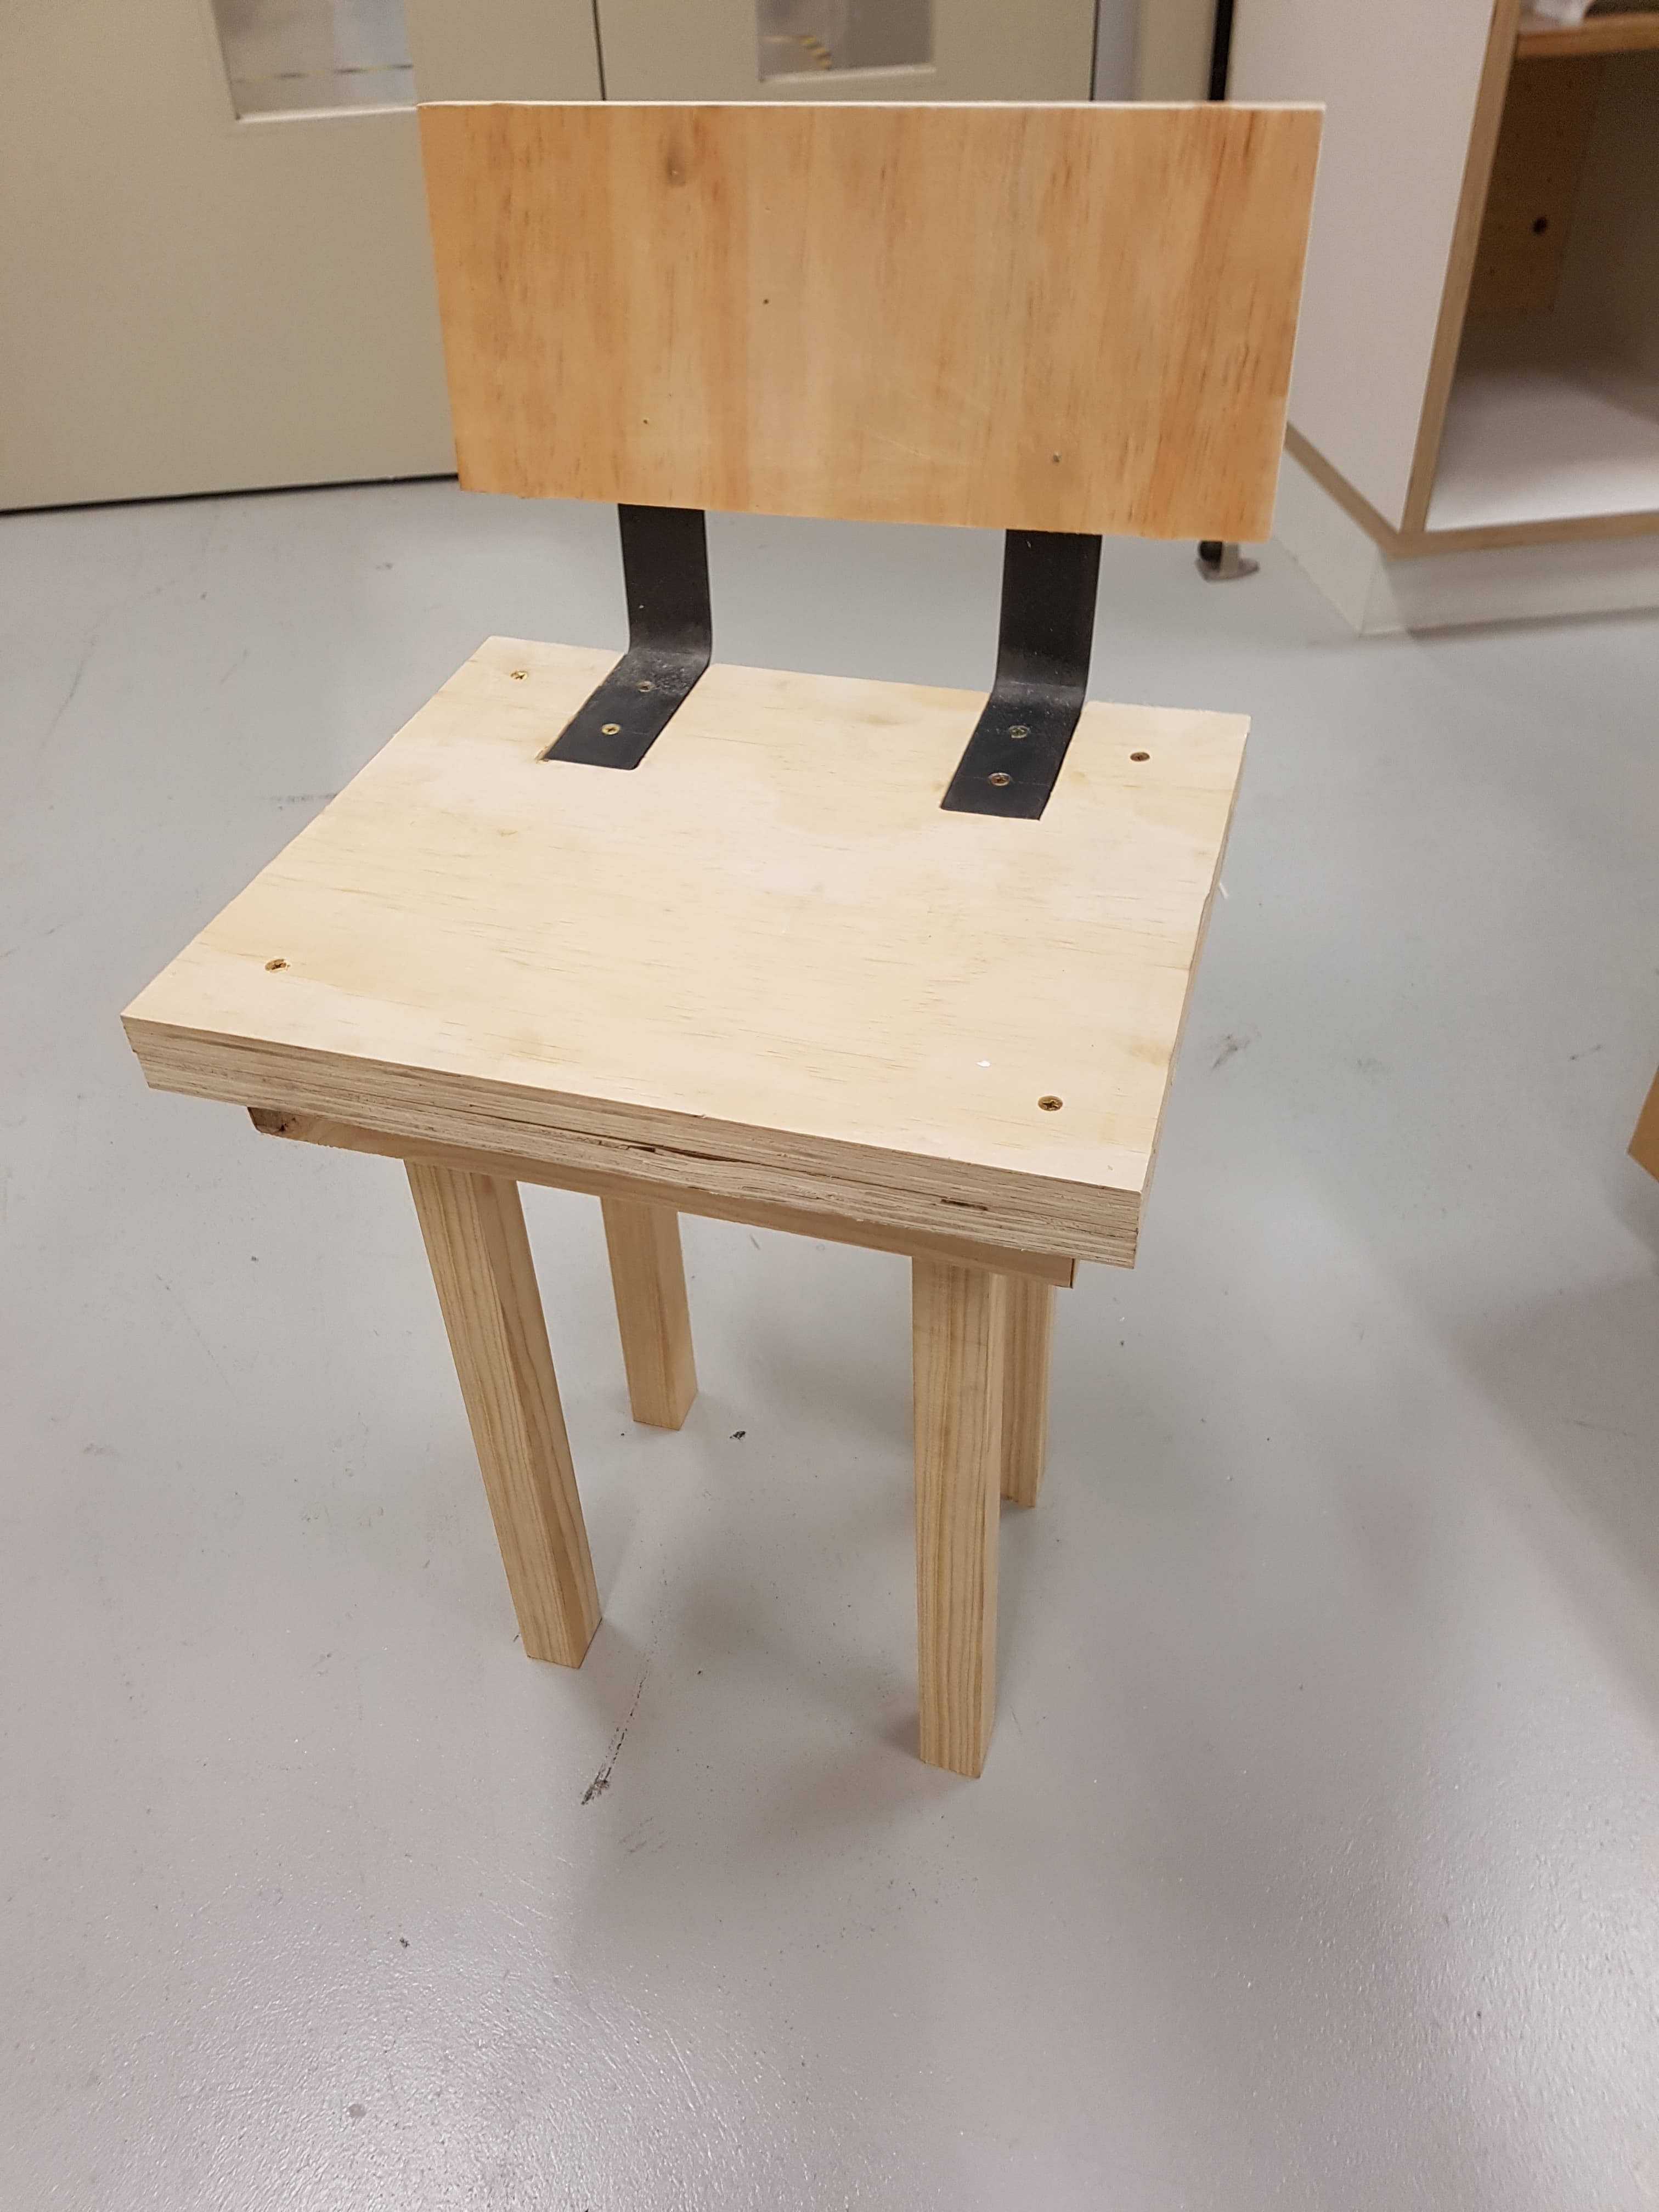
After the upholstery had been completed, I finished the stool process by screwing the back rest into the support brackets.
Evaluation
In terms of the progress made between the prototype and the completed product and given the changes to be made that were outlined in the evaluation of the prototype, this project made all the changes necessary that were found in that process. The CNC files were edited in order to ensure that the brackets aligned as intended in the fitting process, I avoided making the same mistakes with countersinking the brackets, found thicker timber for the legs and upholstered the seat of the stool.
However, many more issues arose, especially after making changes to the angles on the legs. As necessary as this step was in achieving a stable product, most of the issues that came from it pertained to problems with me being able to comprehend the interactions that the angles would have with the stool. I combatted this as well as possible using practice pieces, but managed to spend a lot of my time doing this, which also ended up being a problem for my product. With more effective use of time, I’m sure that I would have a much better finished product and would have been able to spend more time perfecting the finer details.
All things considered, the function of the stool is stable, the lumbar support is effective, the cushioning and upholstery is completed to a degree that I am overwhelmingly happy with, and the comfort as a result is solid. Given the opportunity to complete this project again, the major changes I would make would be to use a harder wood in order to improve the longevity of the product, and I would change the material that I used for the back support as I am unhappy with the aesthetic that the plywood provides.